
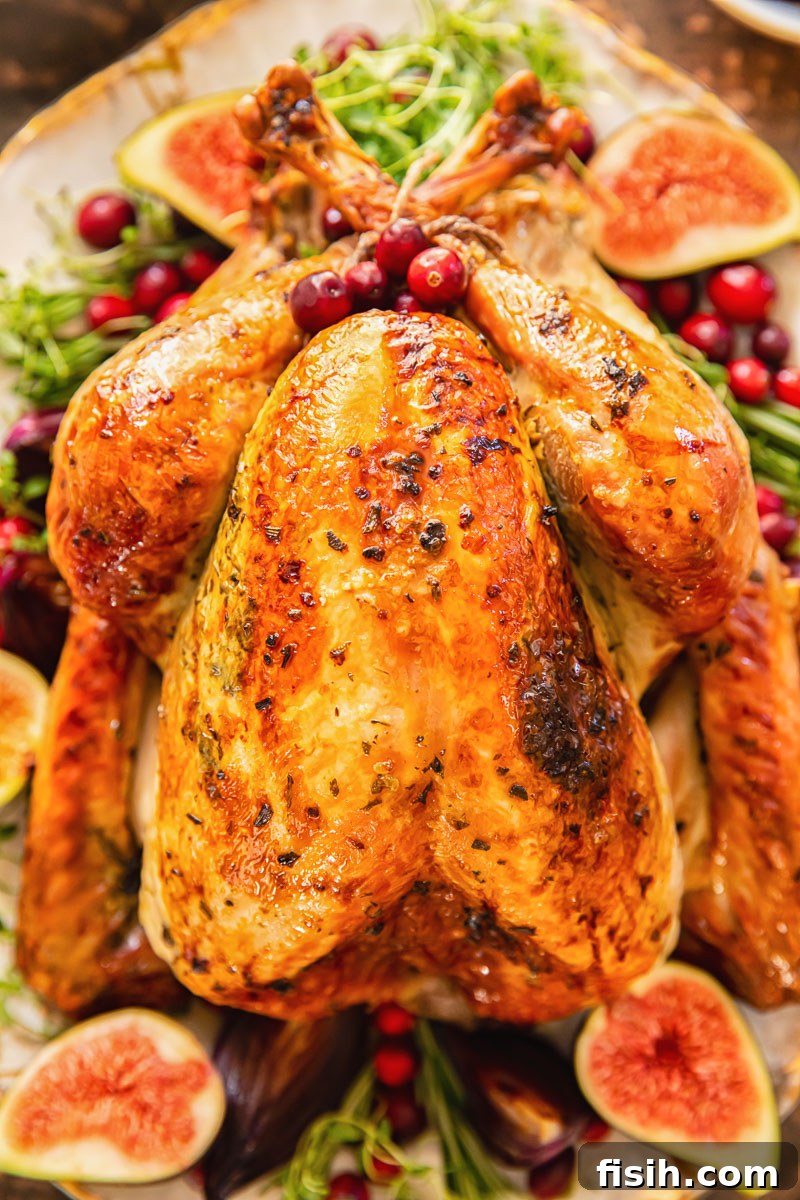
The Ultimate Guide to Roasting a Perfectly Juicy and Flavorful Turkey for the Holidays
The holiday season is a time for cherished traditions, heartwarming gatherings, and, most importantly, delicious food. At the center of many festive tables stands a magnificent roast turkey – a dish that, while iconic, often carries a reputation for being challenging to prepare perfectly. Many home cooks fear the dreaded dry turkey, but with the right techniques, you can transform this holiday centerpiece into a succulent, tender, and incredibly flavorful experience for your friends and family. This comprehensive guide will walk you through everything you need to know, from selecting your bird and mastering the art of seasoning to precise cooking times and foolproof methods for achieving that coveted juicy result. Get ready to serve the most memorable turkey of your life, perfectly complemented by our homemade gravy!
Whether you’re hosting a grand feast or a more intimate dinner, this guide is designed to empower you with the confidence and skills to tackle your holiday turkey with ease. For those considering alternatives or supplementary dishes, don’t miss our recipes for a delicious and juicy roast chicken or explore our full Thanksgiving Recipe Collection for inspiration, cooking tips, and organizational advice to make your holiday planning stress-free.
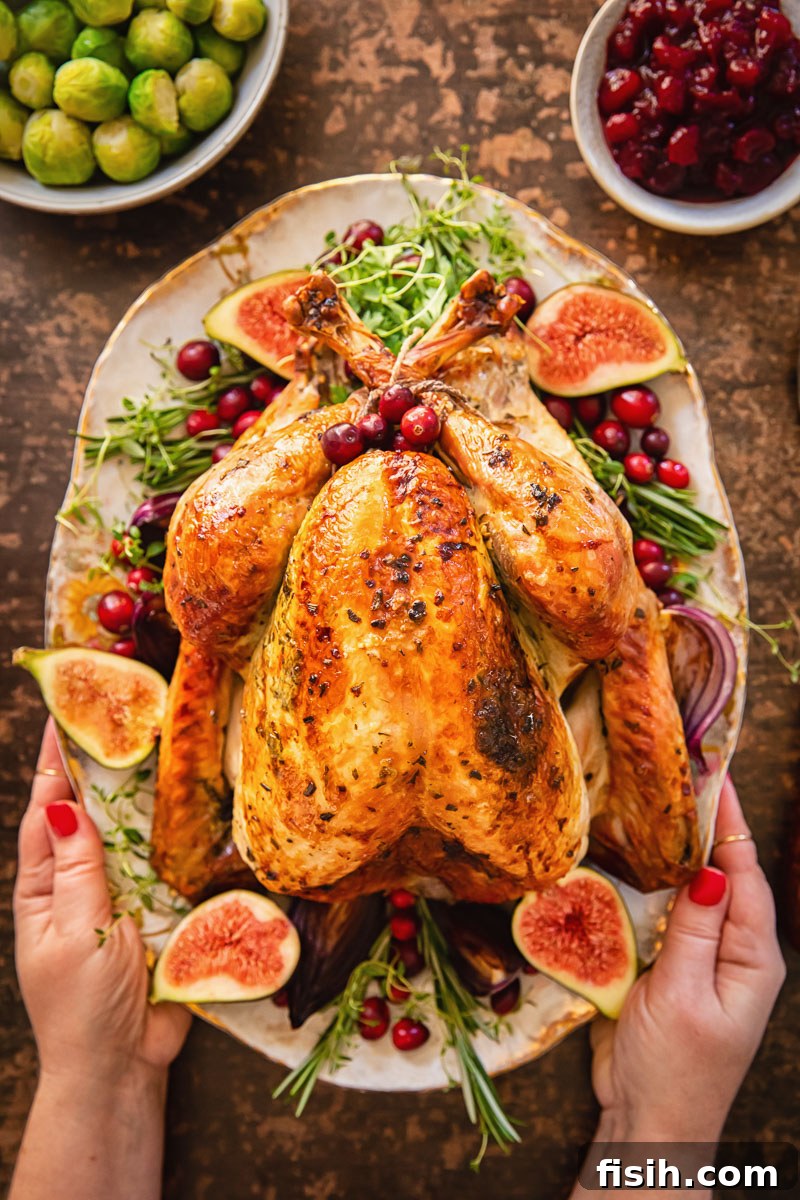
Why a Flawless Roast Turkey is the Heart of Your Holiday Feast
The turkey isn’t just a meal; it’s a symbol of togetherness, abundance, and tradition. For many, the aroma of a roasting turkey filling the kitchen signals the true start of the holiday season. Yet, this magnificent bird often intimidates even seasoned cooks. The challenges are clear:
- **It’s undeniably large:** Managing a sizable bird in the oven can be daunting.
- **Dual meat types:** Turkey features both white meat (breast) and dark meat (thighs, legs), which ideally cook to different internal temperatures for optimal juiciness. White meat tends to dry out faster.
- **The fear of the unknown:** Overcooking results in dry, stringy meat, while undercooking poses a health risk. Striking that perfect balance is key.
Despite these hurdles, achieving a consistently juicy and flavorful turkey is entirely possible. For over two decades, I’ve had the pleasure of roasting turkeys for Thanksgiving and Christmas, and I’ve never served one that wasn’t enjoyed by all. My secret isn’t magic; it’s a combination of three simple, yet highly effective, tricks that I’m thrilled to share with you today. These principles are easy to implement and will fundamentally change the way you approach holiday turkey preparation.
Unlocking the Secrets to a Succulent Turkey: My Top 3 Foolproof Tips
Ready to conquer the turkey-roasting challenge? Here are my three essential tips that guarantee a moist and delicious bird every single time:
Tip 1: The Indispensable Tool – An Accurate Meat Thermometer
This is arguably the most critical tool in your arsenal. Without an accurate meat thermometer, you’re left guessing whether your turkey is fully cooked, leading to either an undercooked (and unsafe) bird or, more commonly, an overcooked and terribly dry one. The fear of foodborne illness often pushes home cooks to roast turkey far longer than necessary, sacrificing all its natural moisture.
An instant-read or leave-in digital meat thermometer takes all the guesswork out. You need to cook your turkey until the internal temperature of its thickest part registers **165°F (75°C)**. It’s crucial to measure in several places: the thickest part of the breast (without touching bone) and the inner thigh (again, avoiding bone). Remember, the temperature will rise a few degrees even after you remove the turkey from the oven (known as carry-over cooking), so aiming for 160-162°F (71-72°C) before resting is a safe bet for a 165°F final temperature.
Tip 2: Size Matters – Opt for Smaller Birds (or More of Them!)
When it comes to roasting turkey, bigger is definitely not better for juiciness. A large turkey, say 20-25 lbs, presents an enormous challenge because the dark meat (thighs) takes longer to cook than the white meat (breast). By the time the thighs reach a safe temperature, the breast is almost guaranteed to be overcooked and dry. My recommendation? Stick to turkeys that weigh **no more than 10-12 lbs.**
Think back to past holiday dinners – how many leftovers did you really have? With an abundance of delicious side dishes gracing your holiday table, it’s rare that a single, massive turkey is truly necessary. For smaller gatherings, a turkey crown (just the breast) or even a delicious roast duck can be perfect alternatives.
I know what you’re thinking: “I have a large family; I NEED a huge turkey!” No, you don’t. If you absolutely must feed a large crowd, buy two 8-10 lbs turkeys instead of one 25 lbs behemoth. Trust me, that gargantuan bird will never achieve the same level of juiciness and tenderness. Two smaller birds will cook more evenly, faster, and taste infinitely better. Period.
Tip 3: The Power of Aromatics and Tender Loving Care (TLC)
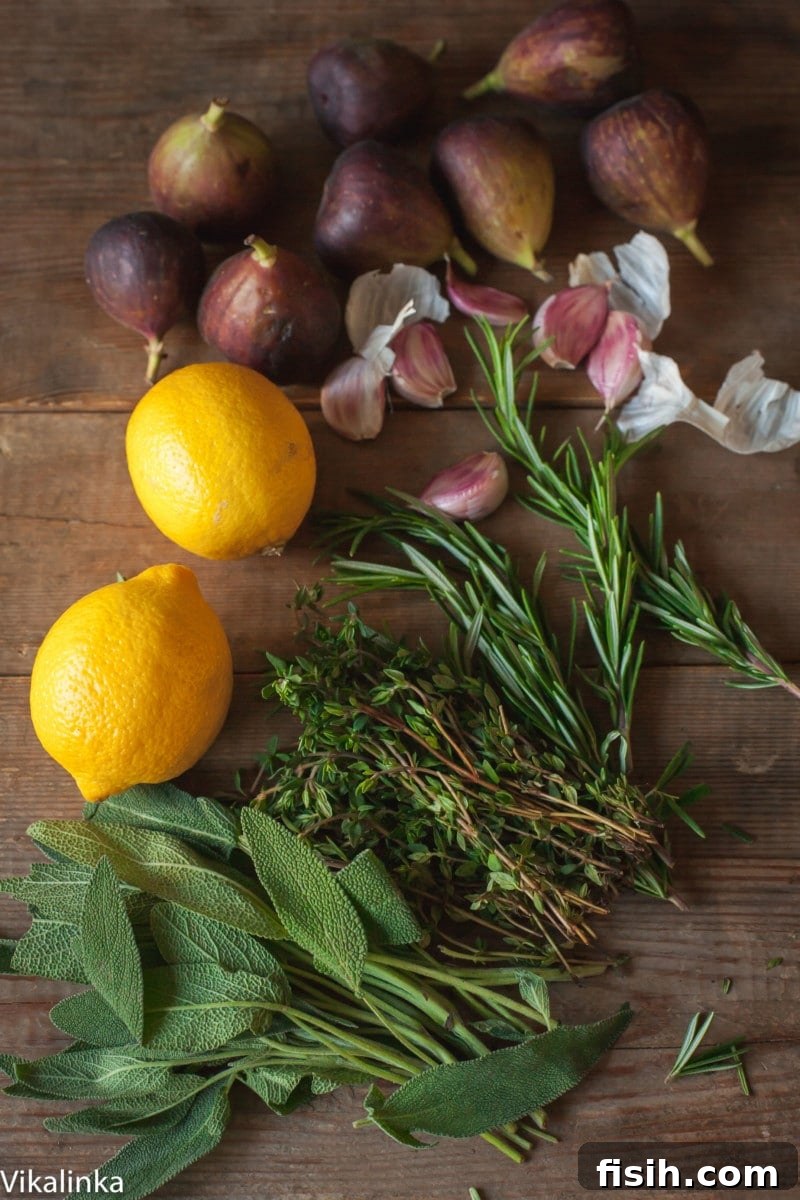
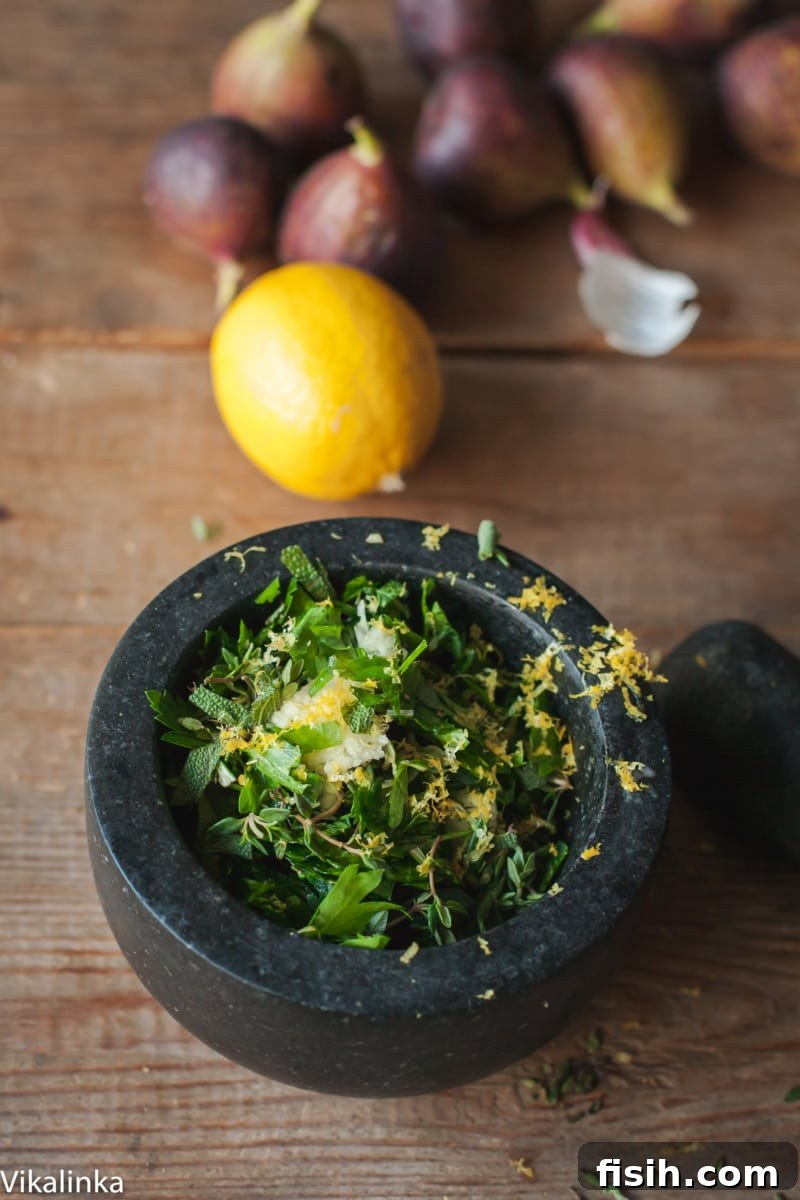
Turkey loves flavor, and you can never go wrong with generous amounts of aromatic herbs, garlic, and citrus. This trifecta not only infuses the meat with incredible taste but also contributes to moisture retention. A rich mix of fresh herbs like thyme, sage, rosemary, and parsley, combined with minced garlic and bright lemon zest, creates an irresistible rub that transforms your turkey from good to unforgettable. This “tender loving care” involves not just the ingredients, but how you apply them, ensuring every bite is packed with deliciousness.
Step-by-Step: Preparing Your Turkey for Roasting Perfection
Proper preparation is key to achieving that golden-brown, crispy-skinned, and moist-on-the-inside turkey. Follow these steps meticulously for the best results:
- **Thaw Your Turkey (if frozen):** If your turkey is frozen, ensure it is completely thawed before you begin. The safest method is in the refrigerator, allowing approximately 24 hours for every 4-5 pounds of turkey.
- **Pat it Dry:** Before anything else, use paper towels to thoroughly pat the entire turkey, inside and out, until it’s as dry as possible. This step is crucial for achieving crispy skin.
- **Craft the Aromatic Herb Rub:** Finely chop a generous combination of fresh herbs – think sage, rosemary, thyme, and parsley. In a small bowl, mix these chopped herbs with minced garlic and the zest of one lemon. Add a few tablespoons of high-quality extra virgin olive oil to create a paste-like rub. For an even richer flavor and more moisture, you can also incorporate softened butter into this mixture.
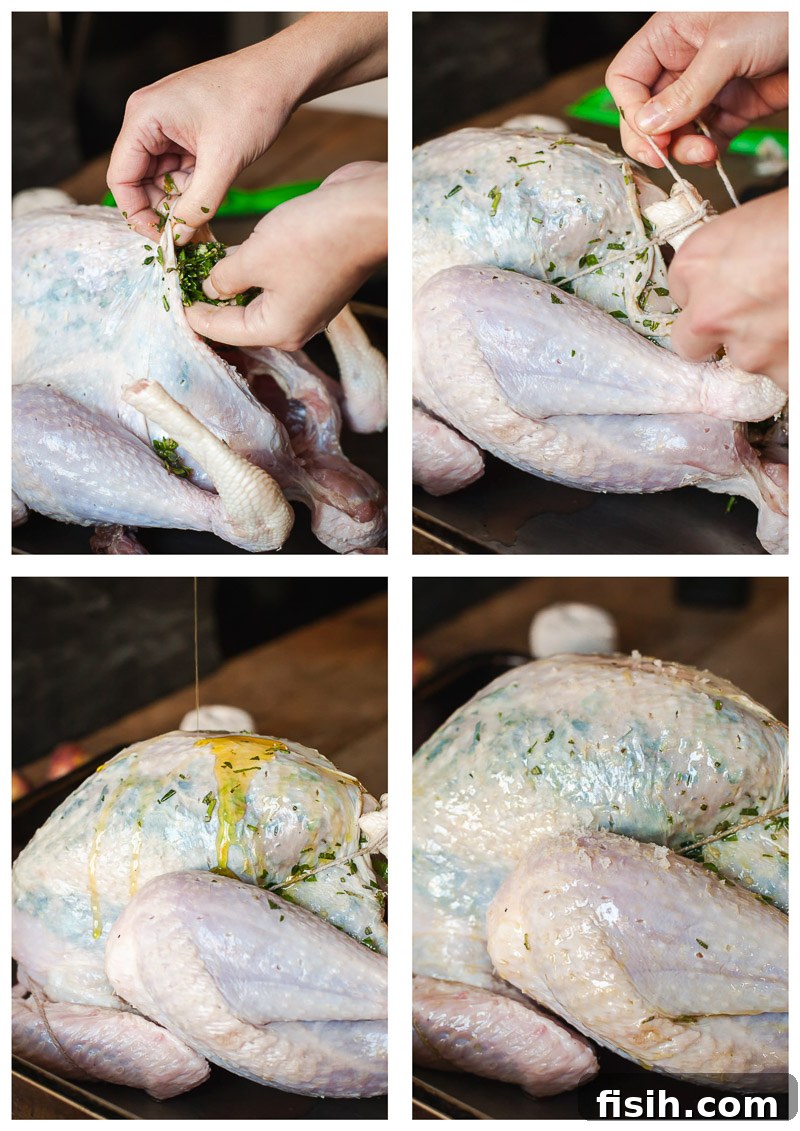
- **Infuse Flavor Under the Skin:** This is where the magic happens for juicy breast meat. Carefully separate the turkey skin from the breast meat by gently sliding your fingers underneath. Be gentle to avoid tearing the skin. Once separated, take generous handfuls of your aromatic herb rub and spread it evenly under the skin, directly onto the breast meat. This infuses flavor and helps keep the breast moist during roasting. Use any leftover rub for the turkey’s cavity.
- **Stuff the Cavity with Aromatics:** Pierce two whole lemons with a sharp knife in several places. Place these lemons inside the turkey cavity, along with extra sprigs of fresh herbs and a few more garlic cloves. This adds internal moisture and fragrance.
- **Truss Your Turkey:** Using kitchen twine, truss your turkey. This involves tying the legs together and tucking the wings underneath the bird. Trussing helps the turkey cook more evenly, promotes a compact shape for better browning, and keeps moisture locked in.
- **External Seasoning for Crispy Skin:** Finally, generously slather the entire exterior of the turkey with extra virgin olive oil. This helps with browning and crisping. Then, sprinkle generously with flaky sea salt, such as Maldon, and freshly ground black pepper. The flaky salt helps create an impossibly thin and shatteringly crispy skin.
- **Prepare Your Roasting Pan:** Place a wire rack in your roasting pan. For extra flavor in your drippings (which will become your gravy!), consider adding a bed of chopped mirepoix (onions, carrots, celery) and a cup of chicken or turkey broth to the bottom of the pan before placing the turkey on the rack.
The Roasting Process: Achieving Golden Brown and Gloriously Juicy
Now that your turkey is perfectly prepped, it’s time to roast it to perfection. My method uses a strategic temperature approach to ensure both crispy skin and juicy meat:
- **Initial High Heat Blast:** Preheat your oven to its highest temperature, typically 450°F (230°C). Place the turkey in the hot oven. This initial high heat helps to achieve beautiful browning and crispy skin right from the start.
- **Reduce Temperature & Roast:** Immediately after placing the turkey in the oven, reduce the temperature to a more moderate **350°F (180°C)**. This allows the turkey to cook through gently without drying out.
- **Calculate Cooking Time:** A good general rule of thumb is approximately **20 minutes per pound** for an unstuffed turkey weighing 8-12 lbs. For example, my 8 lbs turkey cooked for about 2 hours to reach the target internal temperature. Always use your meat thermometer as the ultimate guide, not just the clock.
- **Baste Periodically:** Every 30-45 minutes, open the oven and baste the turkey with the pan juices. This helps keep the skin moist, promotes even browning, and adds another layer of flavor. If the skin starts to brown too quickly, you can loosely tent it with aluminum foil.
- **Monitor Internal Temperature:** Begin checking the internal temperature with your meat thermometer about 30 minutes before the estimated cooking time is up. Insert the thermometer into the thickest part of the breast and thigh, avoiding bones. Once both areas read **165°F (75°C)**, your turkey is done.
- **The Critical Rest:** This step is NON-NEGOTIABLE for a juicy turkey. Once the turkey reaches its target temperature, remove it from the oven and transfer it to a large cutting board. Loosely tent it with aluminum foil and let it rest for at least **20-30 minutes** (for smaller birds) or even up to 45 minutes (for larger ones). Resting allows the juices, which have been driven to the center of the bird during cooking, to redistribute throughout the meat. If you carve immediately, all those precious juices will run out, leaving you with dry meat.
- **Carve and Serve:** After resting, carve your turkey against the grain for the most tender slices. Arrange it beautifully on a platter, ready to be the star of your holiday table.
Beyond the Main Course: Gravy, Sides, and Leftovers
A perfectly roasted turkey is just the beginning of your holiday feast. Don’t forget the essential accompaniments that elevate the entire meal:
The Perfect Gravy
The flavorful drippings from your roasting pan are the foundation for an incredible homemade gravy. While your turkey is resting, use these drippings to create a rich, savory gravy that will tie all the flavors of your meal together. Serve with our homemade gravy!
Essential Holiday Side Dishes
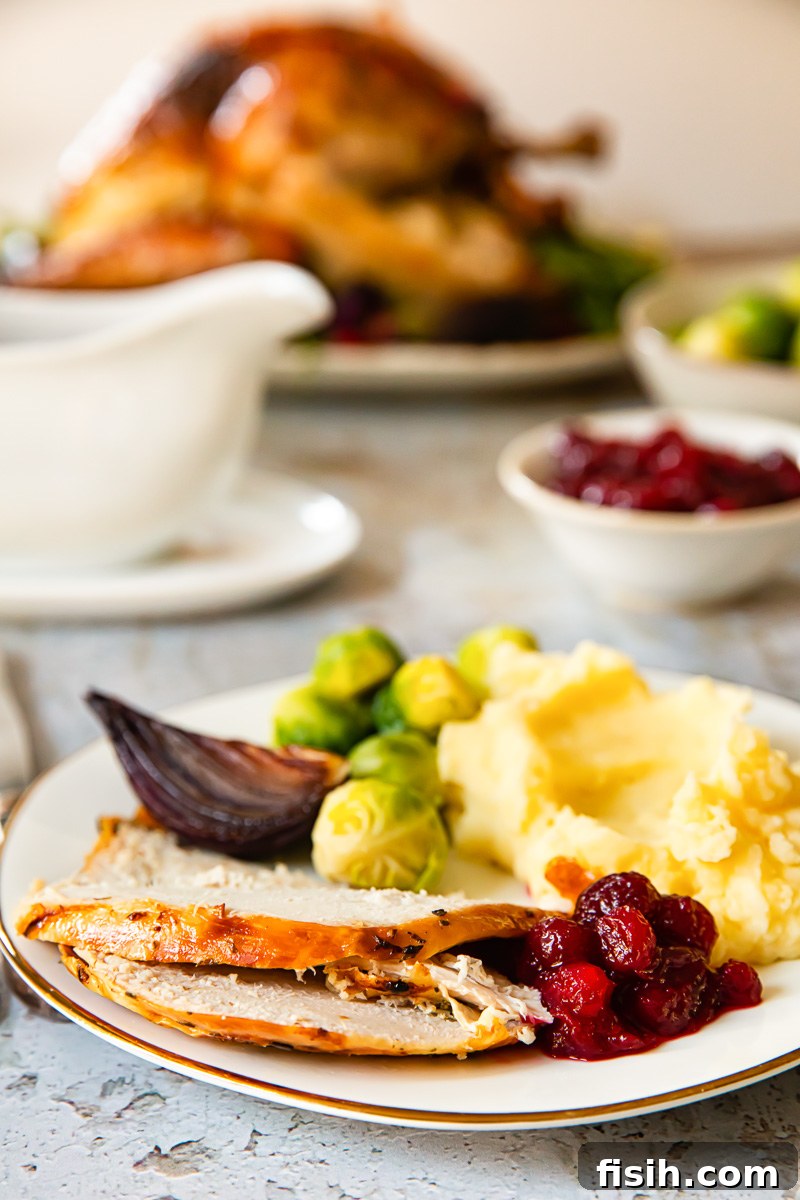
Wondering what sides truly complement a perfectly roasted turkey? These ideas are tried-and-true favorites that promise to delight your guests:
- **Herb and Garlic Mashed Potatoes:** Creamy, flavorful, and the perfect canvas for gravy.
- **Fresh Green Bean Casserole:** A classic reinvented with fresh ingredients for a delightful crunch and rich flavor.
- **Sausage, Pear and Sage Stuffing:** A savory and slightly sweet stuffing that’s bursting with holiday aromas.
- **Port Cranberry Sauce:** A homemade cranberry sauce with a hint of port wine adds a sophisticated sweet-tart balance to the rich turkey.
Creative Leftover Turkey Ideas and Storage
One of the true joys of roasting a turkey is the bounty of leftovers, offering convenient and delicious meals for days to come. To ensure safety and maximize flavor:
- **Refrigerator Storage:** Leftover turkey can be safely stored in an airtight container in the refrigerator for 3-4 days.
- **Freezer Storage:** For longer storage, freeze cooked turkey in airtight containers or freezer bags for up to 3 months for best quality. While safe for up to 6 months, the texture and flavor may start to degrade after 3 months.
Don’t let your family get bored of plain turkey sandwiches! The possibilities for creative leftover meals are endless. Explore my dedicated holiday leftovers section for inspiring ideas. Some standout recipes you’ll definitely want to try include:
- My comforting **Leftover Turkey Soup** – a hearty and warming dish perfect for a chilly evening.
- The rich and satisfying **Hearty Turkey Stew**, which transforms leftovers into a brand new, delicious meal.
- For a nostalgic and creamy classic, try **Turkey á la King**.
- And don’t forget to use the turkey carcass to make a flavorful **turkey stock**, a fantastic base for soups and risottos all year round!
Your Complete Roasting Turkey Guide
Ingredients
- 3.6 kg/8lbs Turkey
- 50 g A bunch of fresh herbs-sage, rosemary, thyme and parsley, chopped
- 4 cloves garlic , minced
- 2 lemons
- zest of 1 lemon
- 2 tbsp olive oil
- kitchen twine
- flaky salt such as Maldon
Instructions
-
Preheat your oven to its highest temperature. Place your turkey inside a roasting pan.
-
Chop up all herbs and combine with zest of 1 lemon, minced garlic and 2 tbsp of olive oil.
-
Gently peel back the skin that is covering turkey breast, grab a handful of the herb and garlic mixture and spread it all over the breast under the skin, repeat until the whole surface is covered. Use the rest of the herb rub for the cavity if you have any leftover.
-
Pierce lemons with a sharp knife in several places and place inside the cavity.
-
Slide a piece of kitchen twine under the turkey, bring the legs and together tie them with a twine, you can also run the twine along the side of the bird so the thighs also stay tucked in.
-
Rub the entire turkey with olive oil and sprinkle with flaky salt like Maldon.
-
Put the turkey in the oven and immediately turn the temperature down to 350F/180C.
-
Roast until the thickest part of turkey breast and turkey thigh reach an internal temperature of 165F/75C. Allow for 20 minutes per lbs of roasting time.
-
Baste with turkey juices every 30 minutes or so.
Video
Watch our video guide for a visual demonstration of how to roast the perfect turkey!
Notes
Nutrition
Nutrition information is automatically calculated, so should only be used as an approximation.
Tried this recipe?Let us know how it was!
Frequently Asked Questions (FAQ) About Roasting Turkey
How long does it take to thaw a turkey?
Thawing time depends on the turkey’s weight. In the refrigerator (40°F / 4°C or below), allow approximately 24 hours for every 4-5 pounds (1.8-2.3 kg) of turkey. For an 8-pound turkey, this means about 2 days. Never thaw turkey at room temperature.
Should I brine my turkey?
Brining (wet or dry) is an excellent way to ensure a juicy and flavorful turkey, especially for larger birds. A wet brine involves submerging the turkey in a salt-sugar solution for several hours. A dry brine (or pre-salting) involves rubbing the turkey with salt and letting it sit in the refrigerator for 1-3 days. While this recipe doesn’t explicitly require brining due to its focus on smaller birds and internal aromatics, it’s a fantastic advanced technique for added moisture and flavor if you have the time.
What if my turkey browns too quickly?
If your turkey skin is browning too rapidly before the internal temperature is reached, simply tent it loosely with aluminum foil. This will protect the skin from further browning while allowing the meat to continue cooking.
Can I stuff my turkey?
While many traditions include stuffing the turkey, it’s generally recommended to cook stuffing separately. Stuffing inside the turkey prolongs cooking time significantly and can make it difficult for the turkey to reach a safe internal temperature evenly. If you do stuff your turkey, ensure the stuffing itself reaches an internal temperature of 165°F (75°C) for safety.
With these proven techniques and a little attention to detail, you’ll undoubtedly impress your guests with a beautifully roasted, incredibly juicy, and supremely flavorful turkey this holiday season. Forget the fear of dry turkey and embrace the joy of preparing a truly magnificent feast. Happy roasting!