
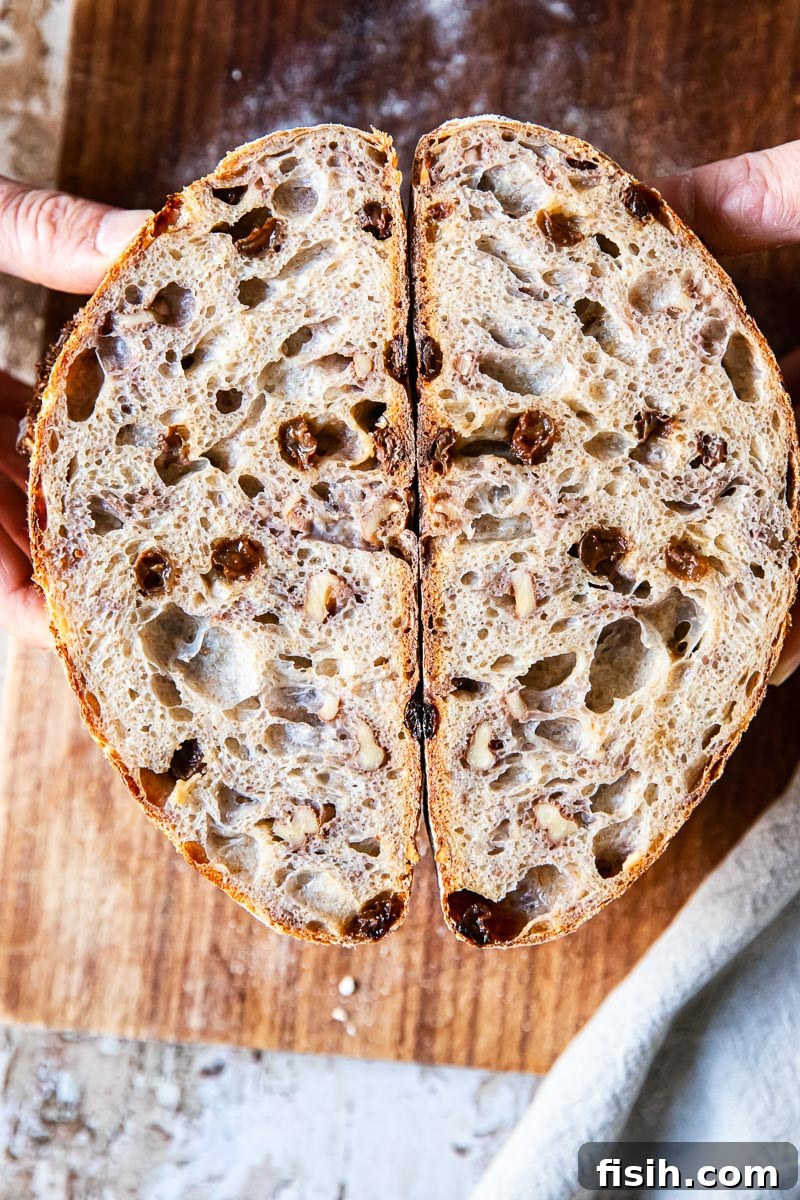
A Symphony of Flavor and Texture: Walnut and Raisin Sourdough Bread
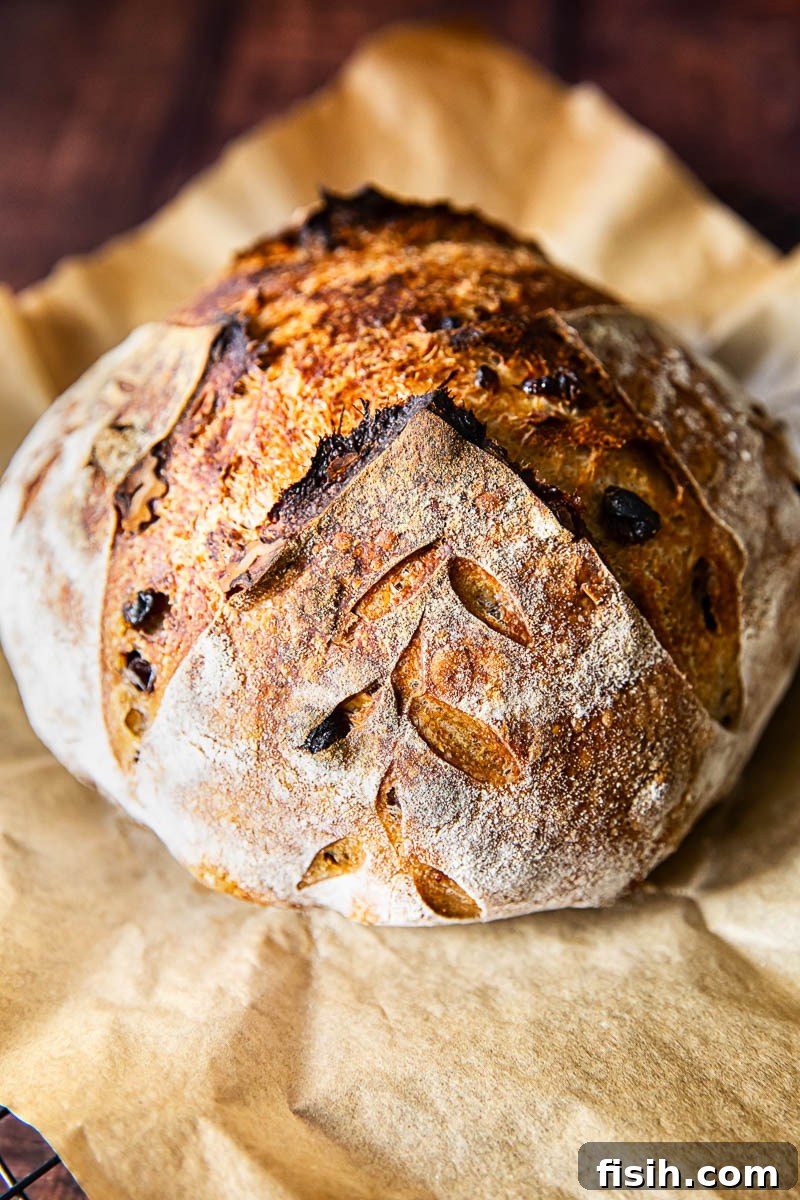
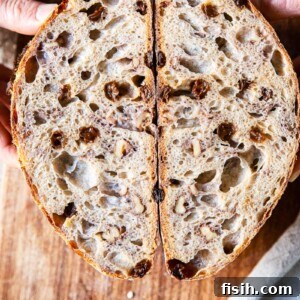
Imagine a slice of bread that transcends the ordinary—a crispy, golden crust giving way to an impossibly airy, open crumb, generously studded with crunchy walnuts and sweet, plump raisins. This isn’t just bread; it’s an experience. This Walnut and Raisin Sourdough Bread redefines what a truly exceptional loaf can be, offering a sophisticated twist on a comforting classic. Forget your average cinnamon raisin toast; this is the elevated, artisan version you’ve been dreaming of.
Elevate your breakfast or snack time by pairing a warm slice of this exquisite sourdough with our homemade Maple Peanut Butter or the luxurious Honey Cinnamon Cashew Butter. It’s a match truly made in culinary heaven, promising to delight your palate with every bite.
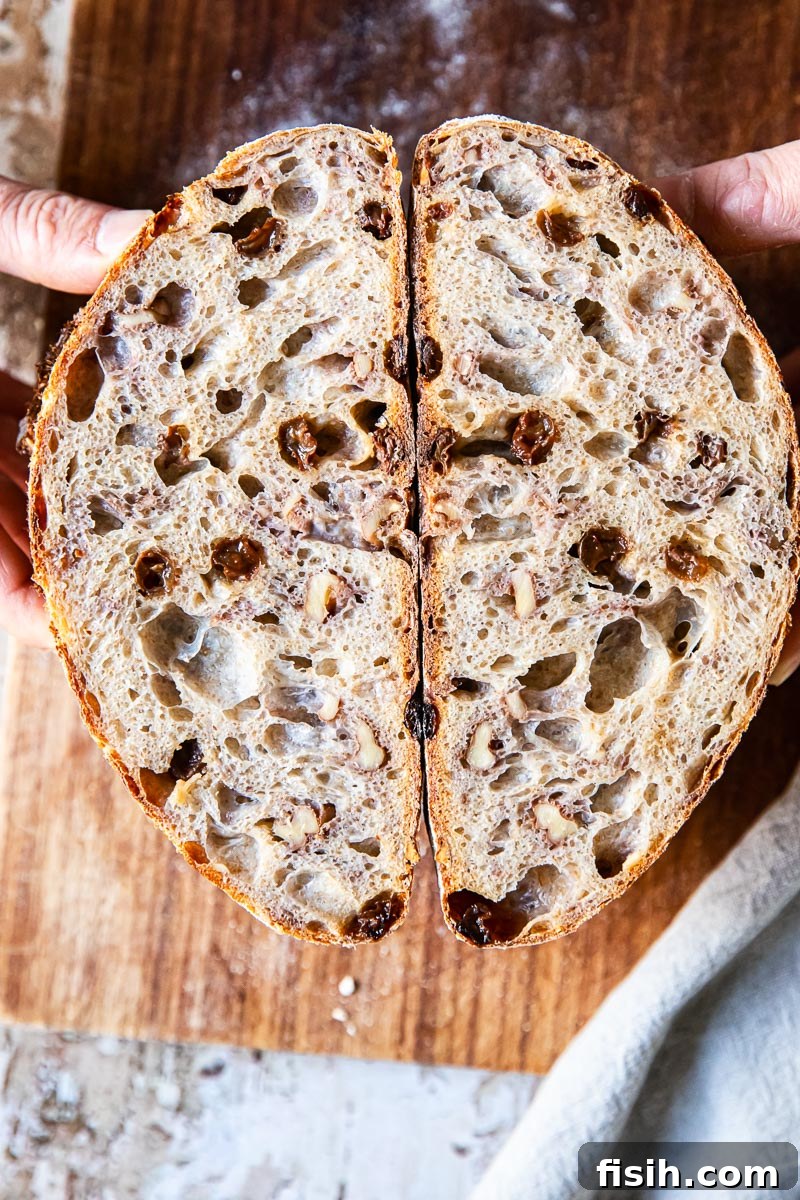
Beyond the Basic Loaf: Your Sourdough Evolution
For many of us, the past year has been a deep dive into the fascinating world of sourdough baking. If you’ve journeyed through the initial triumphs and challenges, mastering the foundational basic plain sourdough loaf, you’re undoubtedly ready to explore new horizons. The beauty of sourdough lies not just in its incredible flavor and texture, but in its versatility. It serves as a perfect canvas, inviting culinary experimentation. My own sourdough adventure quickly led to exploring sourdough pizza, which became an instant family favorite!
The unique tangy flavor and wonderfully crisp crust of traditional sourdough bread make it an ideal foundation for innovative additions. Why settle for plain when you can transform a simple dough into an artisanal masterpiece? This recipe guides you in crafting a loaf that rivals those found in professional bakeries, right in your own kitchen.
Our secret to elevating the classic sourdough? Infusing its tender, airy interior with the complementary textures and flavors of crunchy walnuts and naturally sweet raisins. This simple yet profound variation introduces layers of complexity and satisfaction, making it an irresistible choice whether enjoyed with sweet spreads or savory accompaniments. It’s a testament to how minor changes can yield spectacular results.
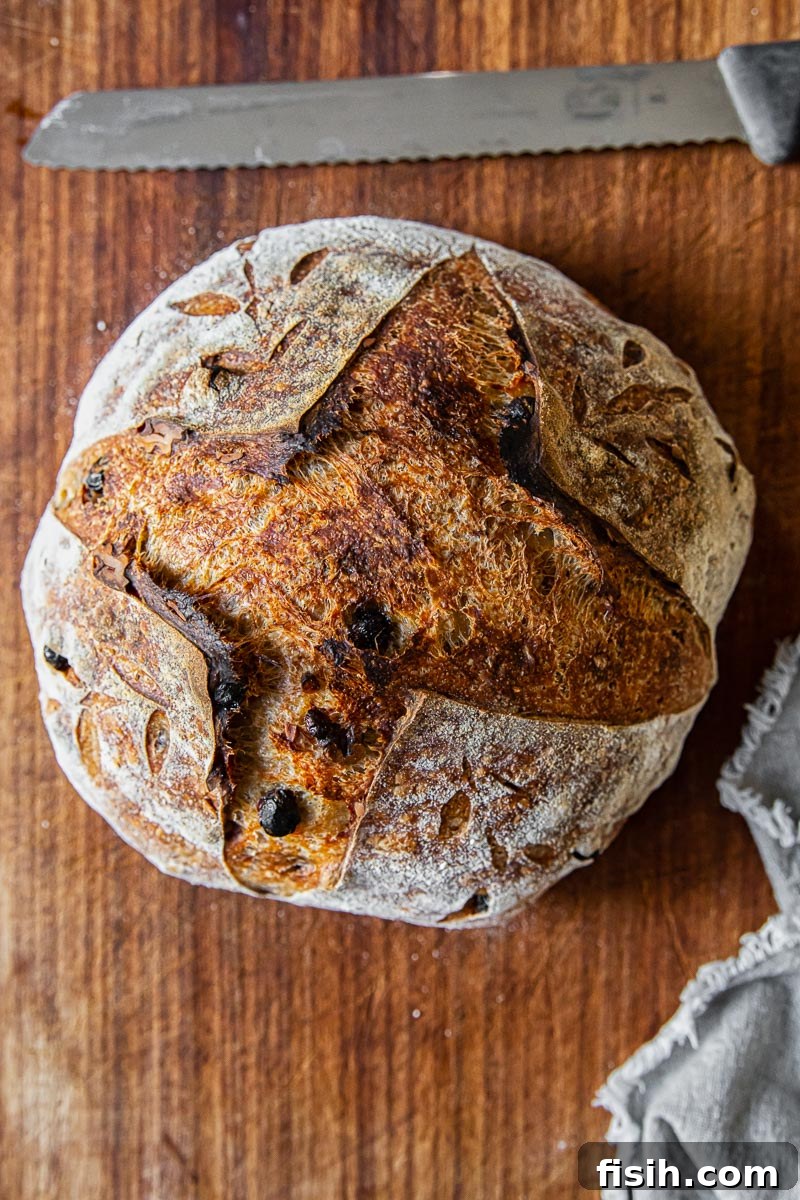
Unlocking the Art of Walnut and Raisin Sourdough
If you’ve already conquered the fundamentals of sourdough baking, you’ll be pleased to discover that this recipe follows a very similar rhythm. For newcomers eager to embark on their sourdough journey, I highly recommend starting with my comprehensive article, Sourdough Bread for Beginners. It covers everything from nurturing a vibrant sourdough starter to understanding the crucial role of stretch and folds, and even includes a helpful video on shaping a basic boule (a round loaf).
At its core, this Walnut and Raisin Sourdough Bread requires only a few high-quality ingredients: robust bread flour, pure water, essential salt, and of course, the star additions—walnuts and raisins. The assumption, naturally, is that you have a lively and active sourdough starter patiently waiting to work its magic.
While not strictly mandatory, I find that feeding my sourdough starter with whole wheat flour adds a delightful layer of texture and a subtle, earthy depth to the final loaf. The slight boost of fiber is an added bonus. Furthermore, whole wheat flour tends to activate your sourdough starter more quickly and vigorously than white flour, preparing it perfectly for a strong fermentation process. This small tweak can significantly impact the overall flavor profile and crumb structure of your artisan bread.
Essential Sourdough Baking Tips for Success
Recipe Tips and Notes
- Hydrating Raisins is Key: It is paramount to soak your raisins in hot water for a minimum of one hour before incorporating them into your sourdough dough. This crucial step rehydrates them. Without adequate soaking, the raisins will draw moisture directly from your dough, resulting in an overly stiff and potentially dry loaf. This simple preparation ensures juicy raisins and a perfectly textured crumb.
- Dough Consistency: Even with proper soaking, raisins inherently absorb moisture, so you might notice that your dough feels slightly firmer than a plain sourdough. Do not be alarmed by this; this subtle difference in consistency typically does not negatively impact the final texture of the bread. In fact, some bakers find this firmer dough easier to handle and score, allowing for more intricate and beautiful designs on the crust.
- Patience is a Virtue – Cool Your Loaf: As tempting as it may be to slice into your freshly baked, aromatic loaf right out of the oven, resist the urge! Cutting into hot bread allows crucial moisture to escape, leading to a gummy texture and a drier crumb. Allowing the loaf to cool completely to room temperature, ideally for at least 4 hours, gives the internal moisture time to redistribute and reabsorb, resulting in the perfect chewy texture and an open, airy crumb. This waiting period is arguably one of the most important steps for an ideal sourdough experience.
Storage and Enjoyment: Keeping Your Sourdough Fresh
Unlike commercially produced bread, homemade sourdough—including this delicious Walnut and Raisin loaf—is free from artificial preservatives. This is a huge advantage for healthy eating, but it does mean that its shelf life will be naturally shorter. However, the unique acidity of sourdough helps it stay fresh longer than many other homemade breads.
Bread is always at its absolute best when enjoyed fresh, ideally on the day it’s baked. Nevertheless, this sourdough loaf can be stored for up to three days at room temperature without significant loss of quality. For optimal freshness and to maintain its delightful crust, it’s best stored in a breathable cotton bag or wrapped snugly in a clean tea towel and placed in a bread box. This method allows for slight air circulation, preventing the crust from becoming soft while protecting the crumb.
Avoid storing your sourdough in plastic bags for extended periods, as this traps moisture and can lead to a soggy crust and a faster development of mold. Furthermore, the refrigerator is not suitable for bread storage, as the cold temperatures accelerate staling. Keep your precious loaf out of the fridge!
If you anticipate needing to store your Walnut and Raisin Sourdough for longer than a few days, freezing is the best preservation method. Once the loaf has cooled completely to room temperature, wrap it tightly first in plastic wrap, ensuring no air pockets. For an extra layer of protection against freezer burn, add a second wrapping of aluminum foil. Properly frozen, your sourdough will maintain its quality for up to two months, ready to be thawed and enjoyed whenever a craving strikes. Simply thaw at room temperature and refresh in a warm oven for a few minutes to bring back its fresh-baked glory.
Explore More Artisan Bread Recipes
- No Knead Farmhouse Bread: A perfect entry point for beginners, yielding delicious results with minimal effort.
- Classic Rye Bread: Dive into the hearty, distinctive flavors of a traditional rye loaf.
- Aromatic Rosemary Spelt Bread: Experience a rustic bloomer infused with fragrant rosemary and nutty spelt flour.
- Quick & Easy Flatbread: A versatile recipe for delicious, pliable flatbreads perfect for any meal.
Walnut and Raisin Sourdough Bread
Equipment
-
Cast iron Dutch oven
-
Banneton (bread proofing basket)
Ingredients
- 100g / 1/2 cup activated sourdough starter
- 500g / 4 cups white bread flour
- 350ml / 1⅓ cup + 1 tbsp water
- 9g / 1/2 tbsp salt
- 50g / 1/4 cup raisins
- 50g / 1/3 cup walnuts, chopped
Instructions
-
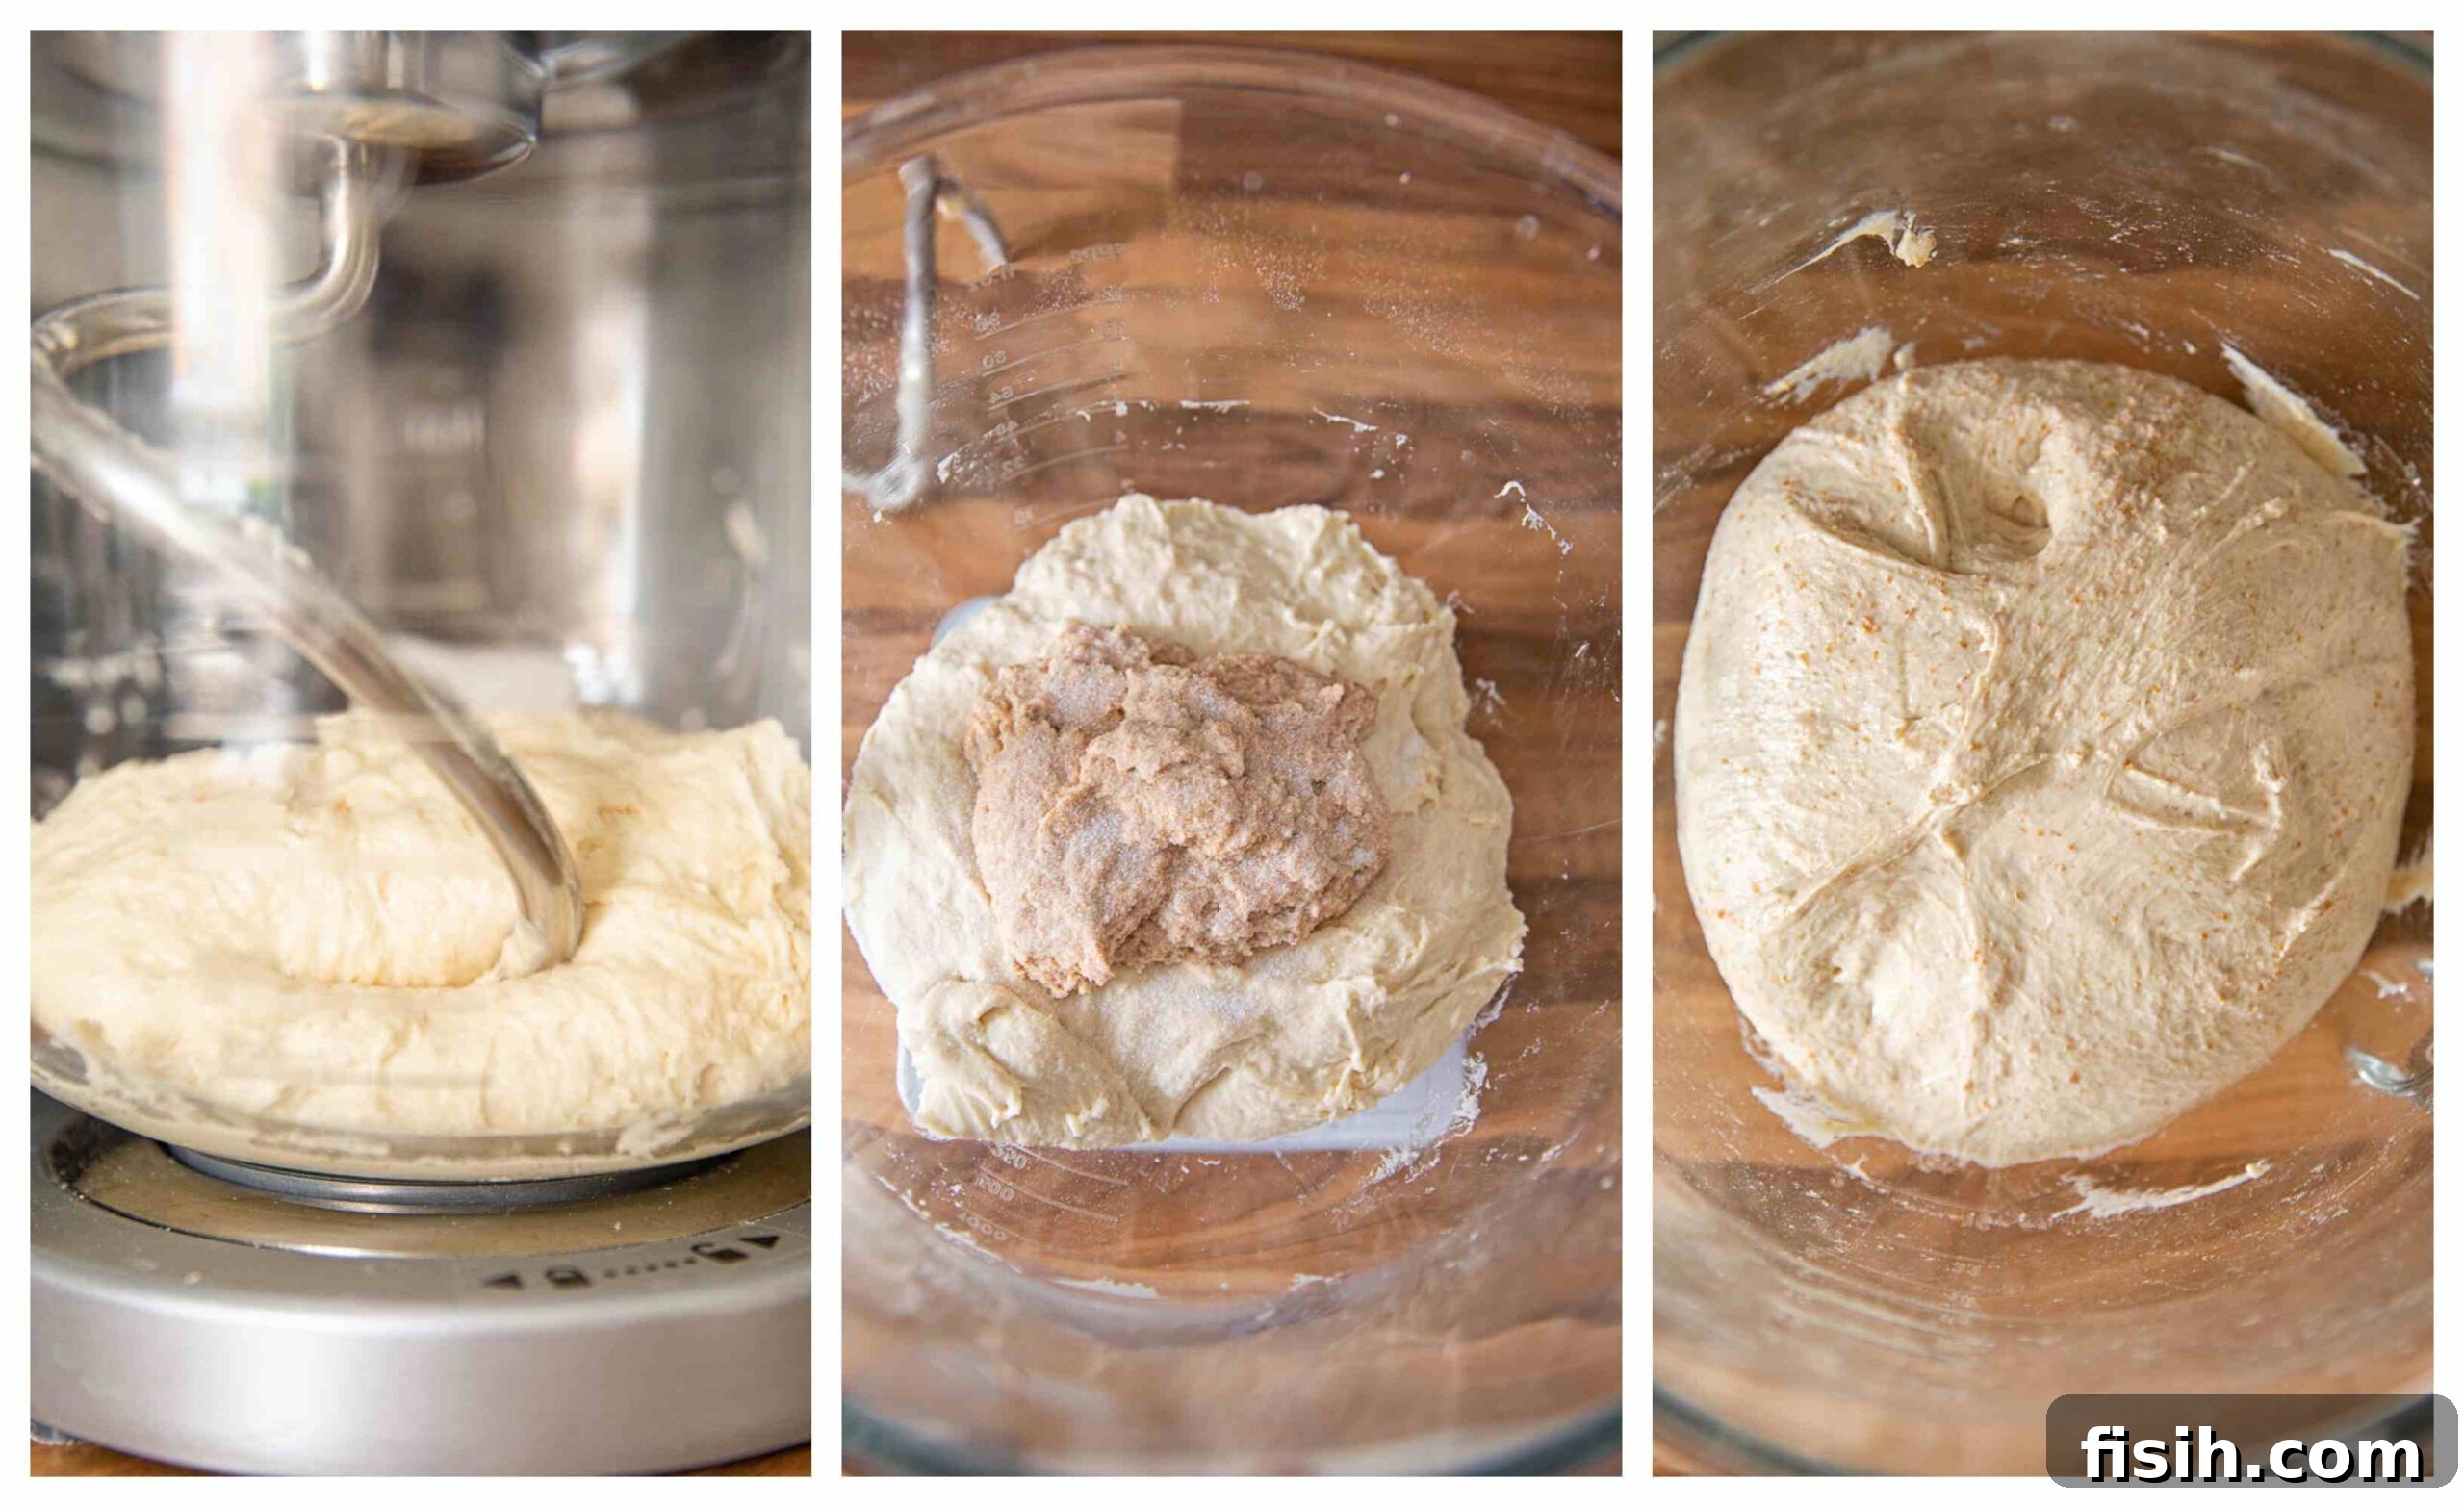
Begin by soaking the raisins in 2 cups of hot water for 1-2 hours to ensure they are plump and rehydrated. While the raisins soak, combine the bread flour and water in a large mixing bowl. This initial mix, often called an autolyse, helps the flour fully hydrate and gluten development begin naturally. Cover the bowl with plastic wrap and let it rest for 30 minutes. Following this rest, incorporate your activated sourdough starter and the salt into the dough. Mix gently until all ingredients are well combined and no dry spots remain. Cover again with plastic wrap and let it rest for another 30 minutes.
-
After the second rest, uncover the dough and begin the first set of ‘stretch and folds’. To do this, gently pick up a section of the dough with a wet hand, stretching it upwards as far as it will extend without tearing. Fold it back over itself towards the center of the bowl. Rotate the bowl approximately 45 degrees and repeat this stretch and fold motion. Continue rotating and folding until you have completed 4 stretches and folds in total for this set. This technique helps to build gluten structure and strength in your dough without vigorous kneading.
-
Perform three sets of these stretch and folds, spaced 30 minutes apart. Before starting the third and final set, drain your soaked raisins thoroughly and add them, along with the chopped walnuts, to the dough. Gently work the inclusions into the dough during the stretch and fold process, being careful not to tear the delicate gluten strands. Once all inclusions are evenly distributed, cover the dough once more with plastic wrap and allow it to bulk ferment (the first rise) for 5-7 hours. The exact fermentation time can vary based on the ambient temperature of your kitchen; warmer environments will ferment faster, colder ones slower. At the end of bulk fermentation, the dough should appear slightly rounded on top with a few small bubbles visible on the surface. Importantly, it will not necessarily double in size, but rather show signs of activity and increased volume.
-
Once bulk fermentation is complete, gently transfer the dough onto a lightly floured surface. Carefully shape the dough into a tight ball (boule) by tucking the edges inward to create surface tension. This tension is crucial for a good oven spring. Then, gently place your shaped boule seam-side up into a well-dusted proofing basket (banneton). Ensure your banneton is generously dusted with rice flour to prevent sticking. Cover the banneton with a clean tea towel and refrigerate for a cold proof of 14-16 hours, or ideally, overnight. This slow, cold fermentation enhances the flavor of the bread and makes it easier to handle and score. (You can watch a detailed shaping technique here).
-
The following day, preheat your oven to 450°F/220°C with your cast iron Dutch oven inside for at least one hour. This ensures the Dutch oven is scorching hot, creating the perfect steamy environment for baking. Carefully turn the cold dough out of the banneton onto a sheet of parchment paper. Using a very sharp blade (like a lame), score your desired design onto the top of the dough. With extreme caution, transfer the parchment paper with the bread into the preheated Dutch oven, using the corners of the parchment paper as handles. Cover with the lid and bake for 30 minutes. After 30 minutes, remove the lid to allow the crust to brown and crisp up, and continue baking for another 15 minutes.
-
Once baked, carefully remove the sourdough bread from the Dutch oven and transfer it to a wire rack to cool completely. This cooling period is vital; allow it to rest for at least 4 hours (or even longer) before attempting to slice it. This allows the internal moisture to redistribute and sets the crumb, preventing a gummy texture and ensuring the perfect airy consistency.
Notes
Nutrition
Carbohydrates: 30g |
Protein: 4g |
Fat: 3g |
Saturated Fat: 1g |
Polyunsaturated Fat: 2g |
Monounsaturated Fat: 1g |
Sodium: 80mg |
Potassium: 78mg |
Fiber: 1g |
Sugar: 1g |
Vitamin A: 1IU |
Vitamin C: 1mg |
Calcium: 10mg |
Iron: 2mg
Nutrition information is automatically calculated, so should only be used as an approximation.
Tried this recipe?Let us know how it was!