
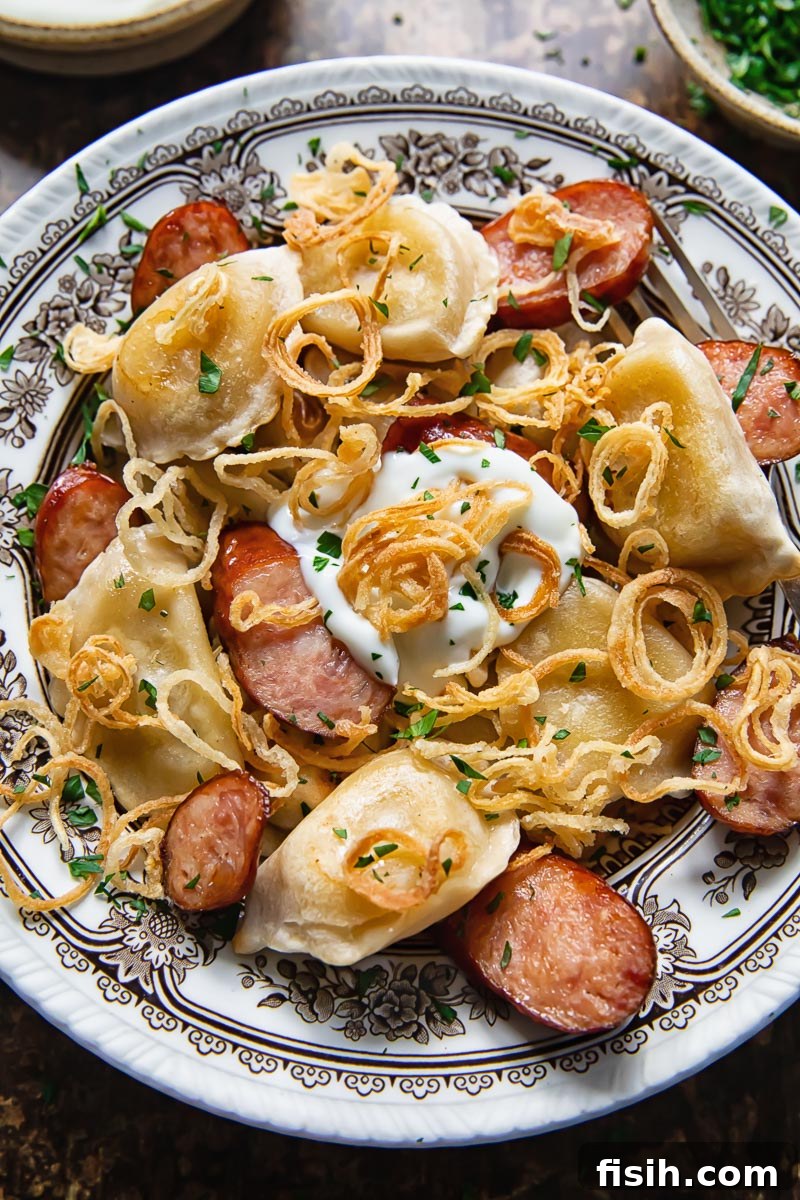
Authentic Pierogies and Kielbasa: A Hearty Taste of Eastern European Comfort
There are some dishes that simply define comfort, and Pierogies and Kielbasa stand proudly among them. This classic Eastern European pairing brings together tender, doughy dumplings with a fluffy potato filling and succulent, smoky slices of kielbasa sausage. It’s a meal that promises warmth and satisfaction, perfect for chasing away the chill of a long day. Crowned with sweet, crisply fried shallots and a generous dollop of velvety sour cream, this dish transforms into an authentically Polish culinary experience. What’s more, by opting for readily available store-bought pierogies, you can bring this delightful meal to your table in a mere 20 minutes, making it an ideal choice for a comforting midweek dinner without compromising on flavour.
As the days grow shorter and a cozy blanket becomes a necessity, my cravings instinctively drift towards the robust, soul-satisfying dishes of Eastern Europe. This deeply ingrained culinary heritage calls for hearty meals that evoke childhood memories, like a rich sweet and sour beef stew (solyanka), another beloved recipe that frequently features the versatile kielbasa sausage. But for sheer simplicity and nostalgic appeal, pierogies and kielbasa remain a top contender, delivering a symphony of textures and tastes that speak directly to the heart.
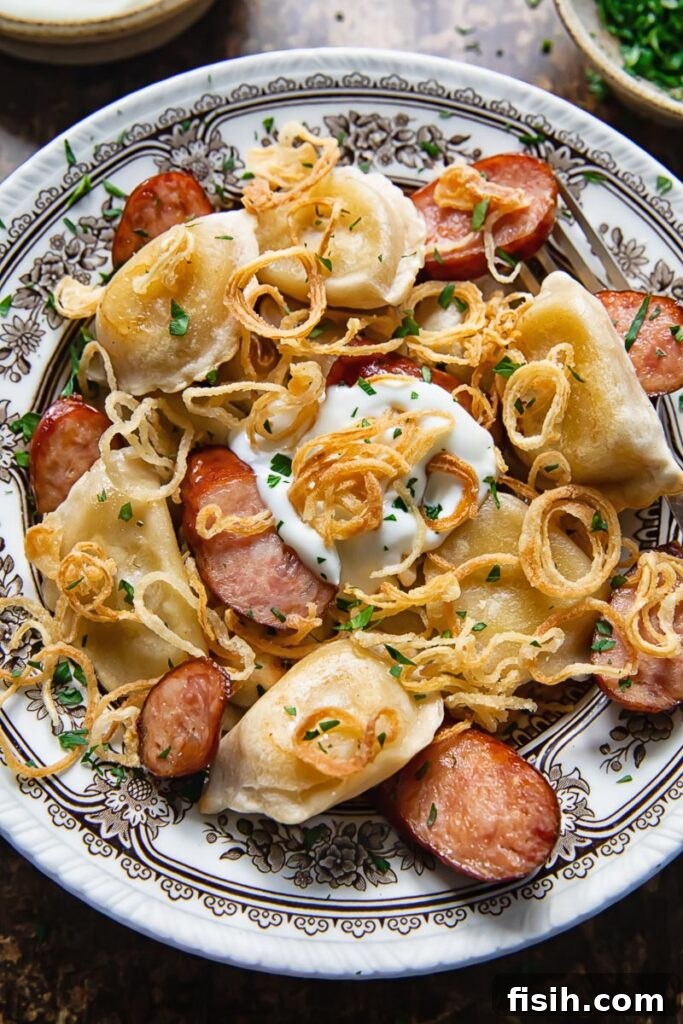
Unveiling Pierogi: A Journey into Eastern European Dumplings
These delightful little dumplings hold a special place in my heart, steeped in nostalgia. Growing up closer to Ukraine and the Eastern reaches of Europe, I knew them by the name vareniki. However, across the globe, they are perhaps most famously recognized by their Polish moniker: pierogi (the plural form, with pieróg being singular). Regardless of the name, these delectable parcels of dough encapsulate a rich culinary tradition.
Pierogi are essentially pockets of tender dough, carefully filled with an array of sweet or savoury ingredients. While vegetarian fillings are the most common, offering a delightful versatility, meat-filled varieties often go by other names, such as pelmeni. My personal favourites lean towards the savoury and robust, including those generously stuffed with sauerkraut and mushroom, or the incredibly comforting combination of potato and caramelised onion with crispy bacon bits.
For this particular recipe, I’ve embraced the modern convenience of store-bought potato pierogies from the freezer aisle. This smart shortcut drastically slashes kitchen time, transforming what could be a labour-intensive, hour-and-forty-minute endeavour into a quick 20-minute meal. This allows you to enjoy the authentic flavours without the extensive preparation. However, if you’re inclined to spend a delightful afternoon perfecting the art of dumpling making, I also offer a comprehensive, step-by-step homemade pierogi recipe that walks you through every stage of the process, from dough to filling.
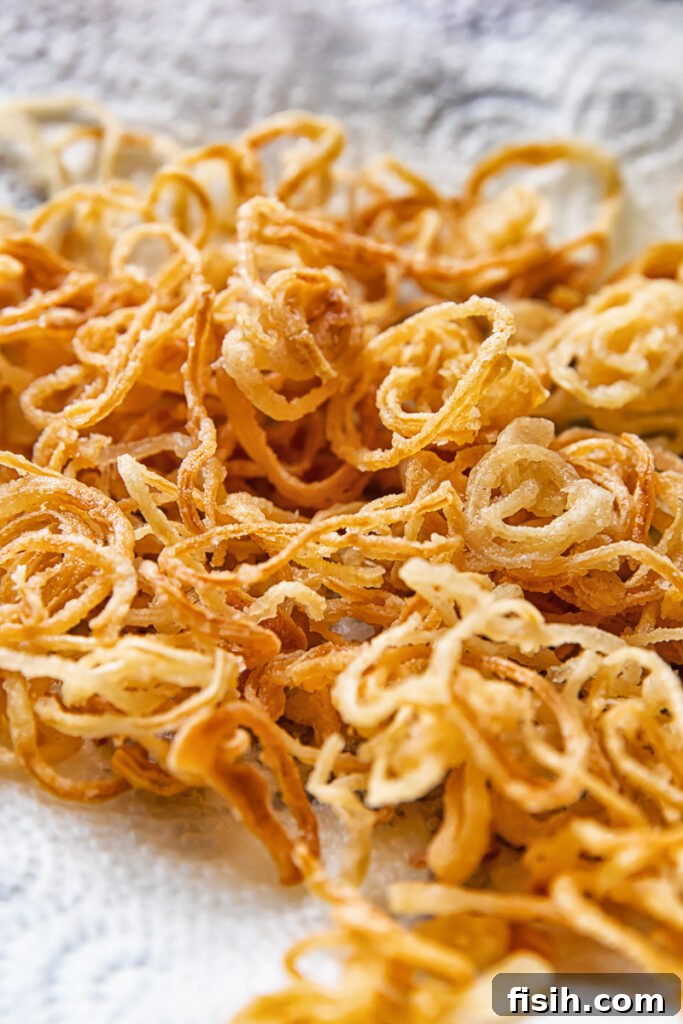
The Secret Weapon: Perfect Crispy Fried Shallots
The addition of crispy fried shallots to your pierogies and kielbasa is far more than mere garnish; it’s a non-negotiable component that elevates the entire dish. These delicate, golden spirals provide a crucial textural contrast to the soft-centred pierogi, introducing a satisfying crunch that dances beautifully with the smooth dumpling. Beyond texture, their inherent sweetness acts as a perfect counterpoint, balancing the rich, smoky notes of the kielbasa sausage. Omitting them would be a missed opportunity to experience this dish in its full, layered glory.
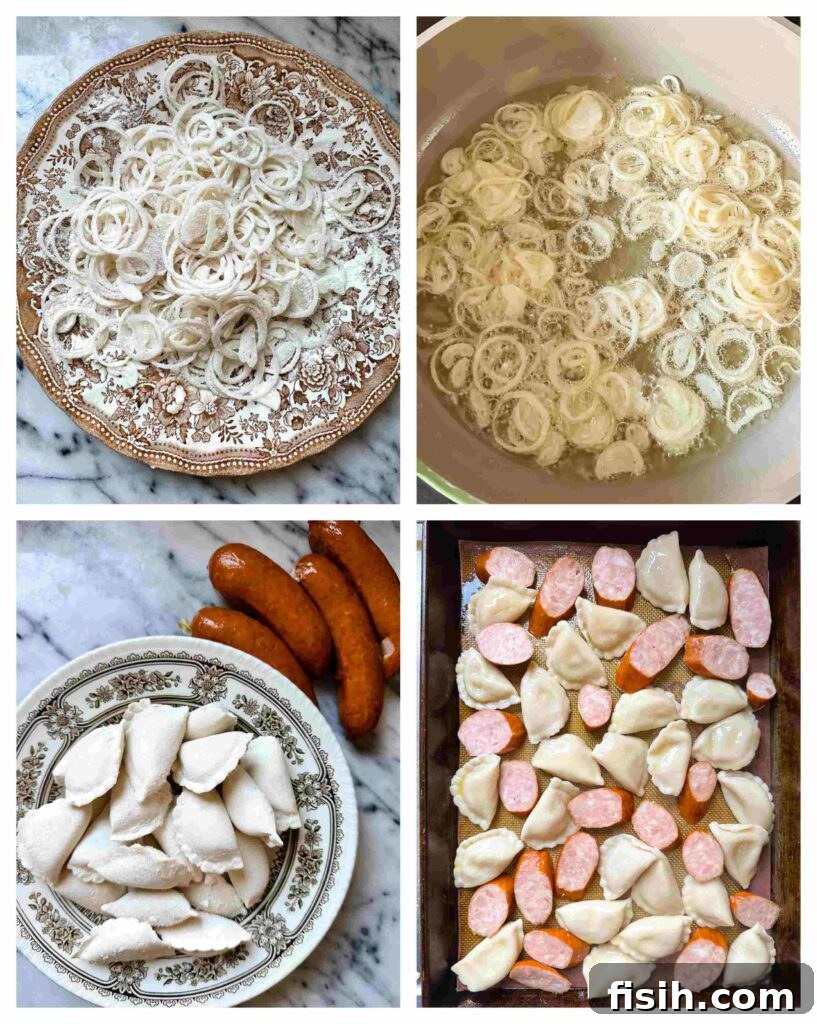
Achieving their signature fragile wispiness requires a few careful steps. Begin by slicing the shallots as thinly as humanly possible – a mandolin slicer is an invaluable tool here, ensuring uniform, paper-thin rings that will fry up to the palest yellow. Once sliced, give them a generous, complete coating of flour. Every single curl and strand should be thoroughly dusted before they make their debut in the sizzling hot oil. The frying process is relatively quick; keep a close watch, as it won’t take long for them to transform into a beautiful, light fresh straw colour. The key is to catch them at that perfect golden hue, just before they turn too dark.
Once they reach that ideal golden crispness, swiftly remove them from the oil using a slotted spoon and transfer them to a plate generously lined with paper towels. This resting period is critical, allowing the excess oil to be thoroughly absorbed. Skipping this vital step will result in greasy, heavy onions that detract from your delicate pierogi and, crucially, lose their delightful crunch. Patience here ensures they remain light, airy, and exquisitely crispy, delivering that essential textural pop to every bite. While shallots offer a natural sweetness and dainty sliced circles, regular onions can be substituted if that’s what you have on hand, yielding a similarly delicious, albeit slightly bolder, crisp.
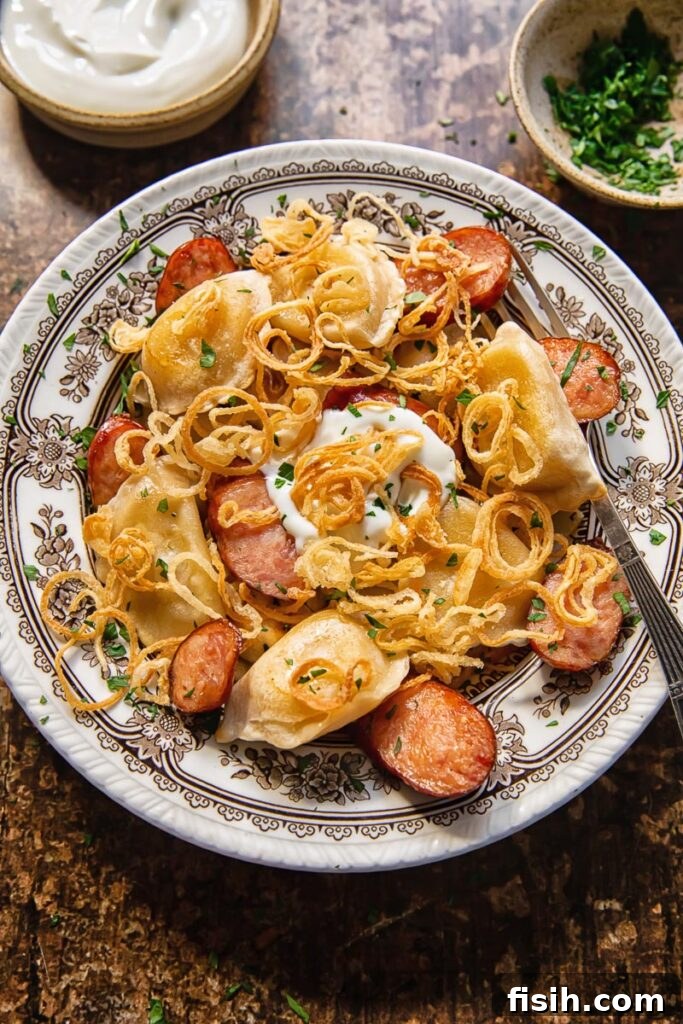
Expert Recipe Tips and Essential Notes for Success
- For achieving the absolute crispiest shallots, ensure they are thoroughly coated in about 2 tablespoons of flour. This thin layer helps them brown evenly and prevents them from clumping, guaranteeing a delicate, shattering crunch with every bite.
- Frying shallots demands your full attention. They can go from perfectly golden to dark and bitter in a matter of seconds. Keep a vigilant eye on them, stirring occasionally to ensure even browning. The moment they turn a beautiful sunlight golden, it’s time to act.
- As soon as your shallots achieve that perfect golden hue, promptly remove them from the hot oil. Transfer them directly onto a plate lined with paper towels. This allows the towels to efficiently soak up any residual oil, ensuring your crispy shallots are light, airy, and utterly non-greasy.
- Don’t discard that flavourful oil! After frying the shallots, the vegetable oil will be beautifully infused with their sweet, delicate essence. This aromatic oil is a fantastic addition to other savoury dishes, providing a subtle depth of flavour. Strain it to remove any small shallot pieces and store it in an airtight container for future culinary adventures.
- Many traditional pierogi recipes suggest frying them in butter to achieve a shimmering, golden-brown exterior and an exquisite crisp-tender texture. While undeniably delicious, this method can be more time-consuming. For an easy, fuss-free approach, I’ve discovered a fantastic alternative: simply arrange your boiled pierogies on a baking tray, drizzle them with a bit of oil, and finish them under the broiler (or grill, for those in the UK). This yields a wonderfully crisp exterior with minimal effort.
- When broiling your pierogies, resist the urge to leave them under the heat for “just one more minute” to deepen their colour. Broilers are powerful, and an extra minute can quickly transform them from gloriously shiny and tender to disappointingly dry and chewy. Trust the recommended cooking time for optimal results.
- To truly elevate this dish, it’s worth the effort to seek out an authentic kielbasa. While many varieties are available, visit an Eastern European speciality shop if possible. Look for a genuine Polish brand, as their rich, smoky flavour and traditional preparation will make a noticeable difference in the overall taste of your meal.
Serving Suggestions: Completing Your Eastern European Feast
A heaping plate of steaming pierogies, glistening and perfectly cooked, is a sight to behold in its beautiful simplicity. Traditionally, they are served quite “naked,” allowing their pure, unadulterated flavour to shine. Sometimes, they might arrive with nothing more than a knob of melted butter, gently dripping over them as a delicate dressing, a testament to their inherent deliciousness. However, the true beauty of pierogies lies in their versatility and the wonderful accompaniments that can enhance their flavour profile.
For an authentic experience, a generous dollop of traditional sour cream (or smetana), a vibrant side of tangy homemade sauerkraut, or a scattering of fresh, feathery dill are all classic pairings that complement the rich flavours of the pierogi and kielbasa. In my household, we often opt for a bit of everything, creating a dynamic and flavourful plate that celebrates the best of Eastern European cuisine.
If you’re planning an elaborate, three-course Eastern European inspired meal, consider starting with a warming bowl of classic borscht, its deep colours and earthy flavours setting the stage. For a sweet conclusion to your feast, a delightful rustic plum cheesecake offers a perfect balance of rich and fruity notes, leaving your guests utterly satisfied.
Storage and Leftovers: Enjoying Freshness
Similar to delicate fresh pasta or tender gnocchi, pierogies tend not to fare well after being refrigerated. Their delicate, doughy nature means that time spent chilling in the fridge can transform them from wonderfully tender and plump to disappointingly tough and chewy. The texture, which is so crucial to their appeal, degrades significantly upon cooling and reheating. So, if you needed a delicious justification to finish every single pierogi and slice of kielbasa on your plate, consider this your official permission! They are truly best enjoyed fresh, hot, and straight from the pan or oven, ensuring you experience their intended melt-in-your-mouth perfection.
More Eastern European and Russian Recipes to Explore
- Russian Eggplant Caviar (Ikra): A flavorful and versatile spread.
- Russian Potato Salad Recipe (Olivier): A creamy, classic side dish for any occasion.
- Russian Frikadellar Soup (Meatball Soup): A hearty and comforting soup.
- Homemade Russian Sauerkraut: Tangy and delicious, perfect as a side or ingredient.
Pierogies and Kielbasa: A Quick & Comforting Meal
Prep: 5 mins
Cook: 35 mins
Servings: 4 people
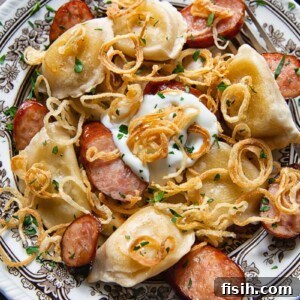
Pierogies and kielbasa combine doughy dumplings with a fluffy potato center and thick slices of hearty smoked sausage for an ultimate comfort meal.
Ingredients
- 400g / 14 oz frozen potato pierogi
- 1-2 tbsp olive oil
- 4 kielbasa sausages, thickly sliced
- 1 shallot, thinly sliced
- 2 tbsp flour
- 1/2 tsp salt
- 100 ml vegetable oil for frying (save for later use)
- Sour cream for serving
Instructions
- Set a pot of water boiling for the pierogi. Once the water boils, add the frozen pierogi and boil them until they float to the surface, then drain in a colander. Meanwhile, preheat your oven to broiler/grill mode.
- In a large, shallow plate, combine the flour with the salt. Thinly slice the shallot (a mandolin will achieve the best results for uniform thinness). Toss the sliced shallots with the flour mixture until each piece is well coated, then set aside.
- Add about an inch deep of vegetable oil to a frying pan and heat it over medium heat until it sizzles when a pinch of flour is sprinkled in. Shake any excess flour off the shallots and carefully add them to the hot oil, spreading them evenly across the bottom of the pan. Fry until they turn a light golden color, which typically takes about 3-5 minutes, depending on your oil’s temperature. Using a slotted spoon or spatula, remove the shallots as soon as they begin to colour and transfer them to a paper towel-lined plate to absorb excess oil. Set them aside until serving.
- Line a rimmed baking sheet with parchment paper. Add the drained pierogies, drizzle with olive or sunflower oil, and gently toss to ensure they are evenly coated. Add the thickly sliced kielbasa sausage to the same baking sheet. Place the baking sheet on the top rack of your oven and broil for 5 minutes. Flip the pierogies and sausage, then broil for another 2 minutes on the other side, or until lightly golden and heated through.
- Serve the hot pierogies and kielbasa immediately, generously topped with your prepared crispy shallots and a dollop of sour cream or crème fraîche (smetana). Enjoy this comforting and flavourful meal!
Nutrition
Calories: 598kcal | Carbohydrates: 45g | Protein: 19g | Fat: 39g | Saturated Fat: 11g | Polyunsaturated Fat: 5g | Monounsaturated Fat: 15g | Trans Fat: 0.02g | Cholesterol: 64mg | Sodium: 1500mg | Potassium: 226mg | Fiber: 3g | Sugar: 5g | Vitamin A: 0.3IU | Vitamin C: 12mg | Calcium: 49mg | Iron: 3mg
Nutrition information is automatically calculated, so should only be used as an approximation and is based on a single serving.