
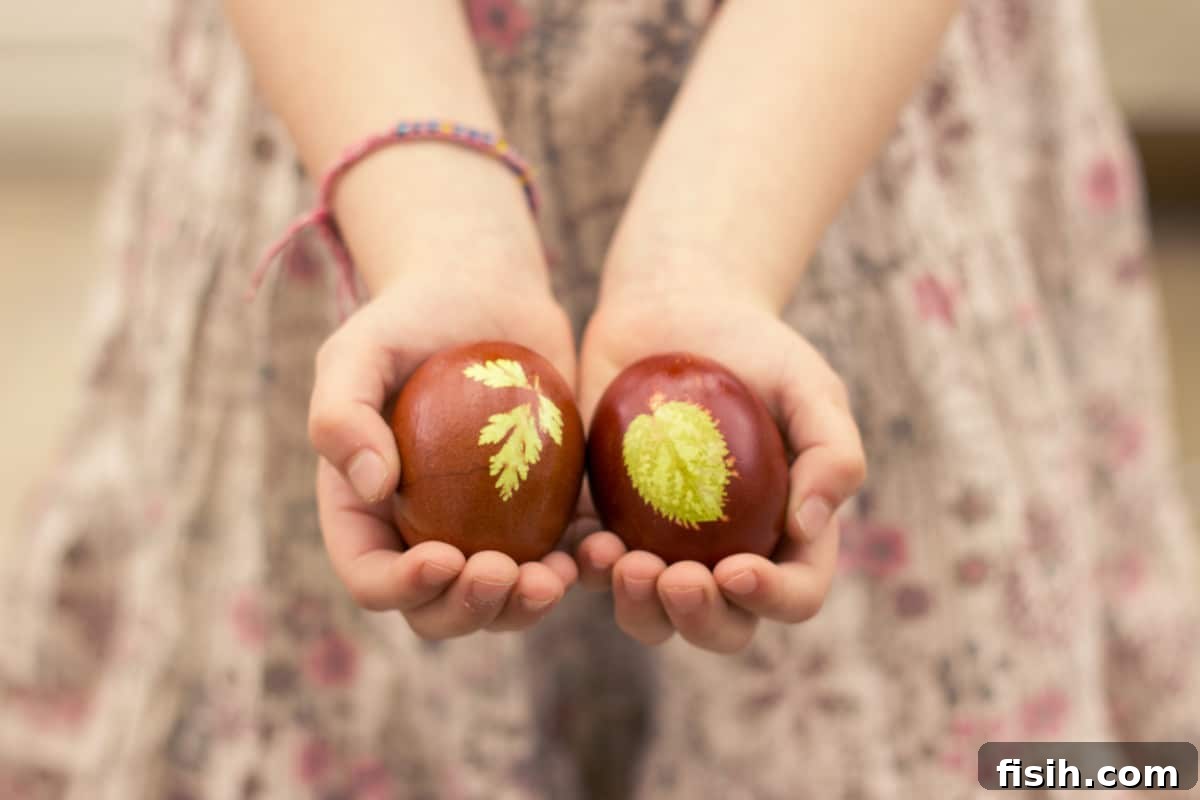
How to Naturally Dye Easter Eggs: A Timeless Family Tradition with Onion Peels
Coloring Easter eggs naturally using red and yellow onion peels is a cherished tradition that continues to bring joy to countless families across generations.
This age-old practice, which I fondly remember from my own childhood, is one I’m delighted to share with my children. Why do we continue this tradition? Because it’s an incredibly fun, creative, and meaningful activity that unites the entire family in preparation for the Easter celebration. It transforms a simple task into a memorable bonding experience, steeped in cultural heritage and the spirit of renewal.
Beyond the vibrant eggs, you can further enrich your Easter table by baking a delectable and visually stunning Russian Easter Bread Kulich or preparing a traditional Russian cheesecake Paskha. These culinary delights perfectly complement the handmade beauty of naturally dyed eggs, creating an unforgettable holiday feast.
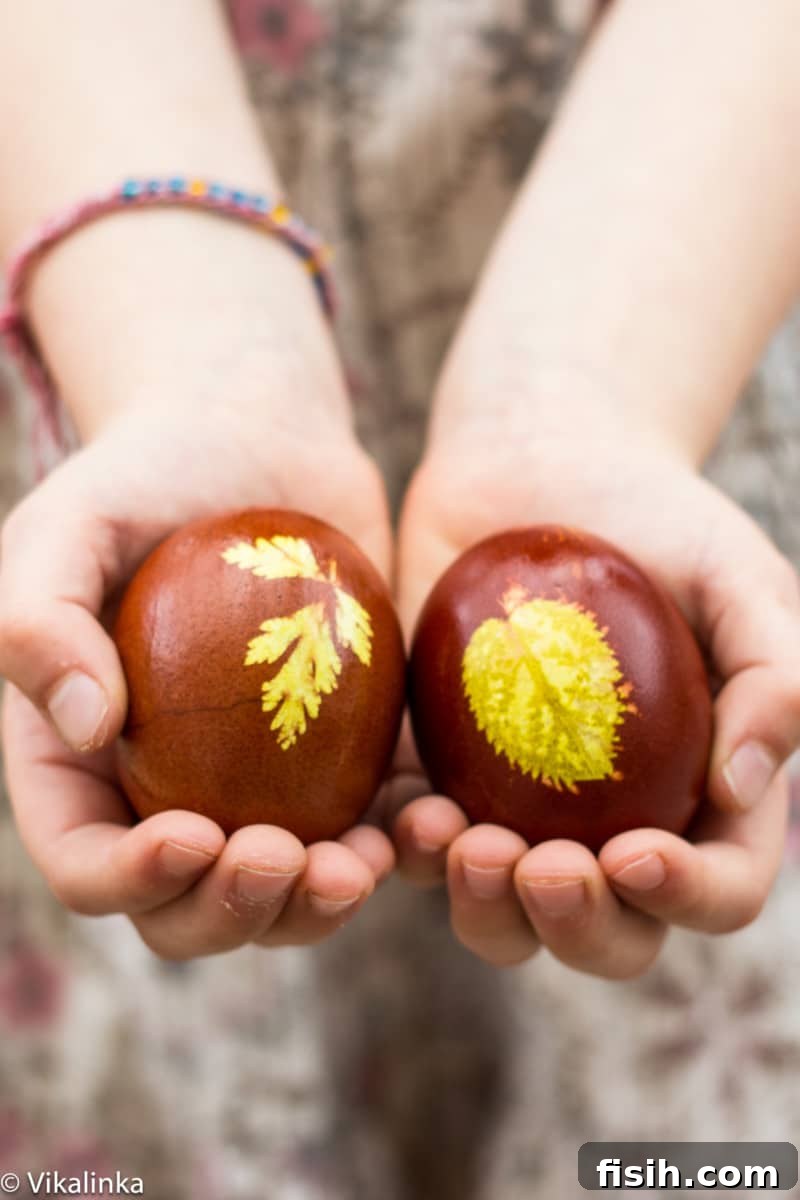
Echoes of the Past: Cherished Russian Easter Traditions
Every Easter, my mind drifts back to my childhood in Russia, a time when this sacred holiday was deeply woven into the fabric of daily life, rich with century-old traditions and heartwarming memories. Easter, or Paskha, holds such profound love and reverence among the people that not even the austere years of Communism could erase it from the nation’s collective psyche. It remained a quiet beacon of hope and faith, celebrated in homes even when public displays were discouraged.
It seems that early childhood memories often leave the deepest imprints, and what stands out most vividly for me is my babushka (grandmother) meticulously collecting onion peels. Weeks before Easter’s arrival, she would begin stashing red and yellow onion skins in a large plastic shopping bag, ensuring there would be an abundant supply to naturally color dozens upon dozens of eggs. This careful preparation was a ritual in itself, a quiet countdown to the joyous holiday.
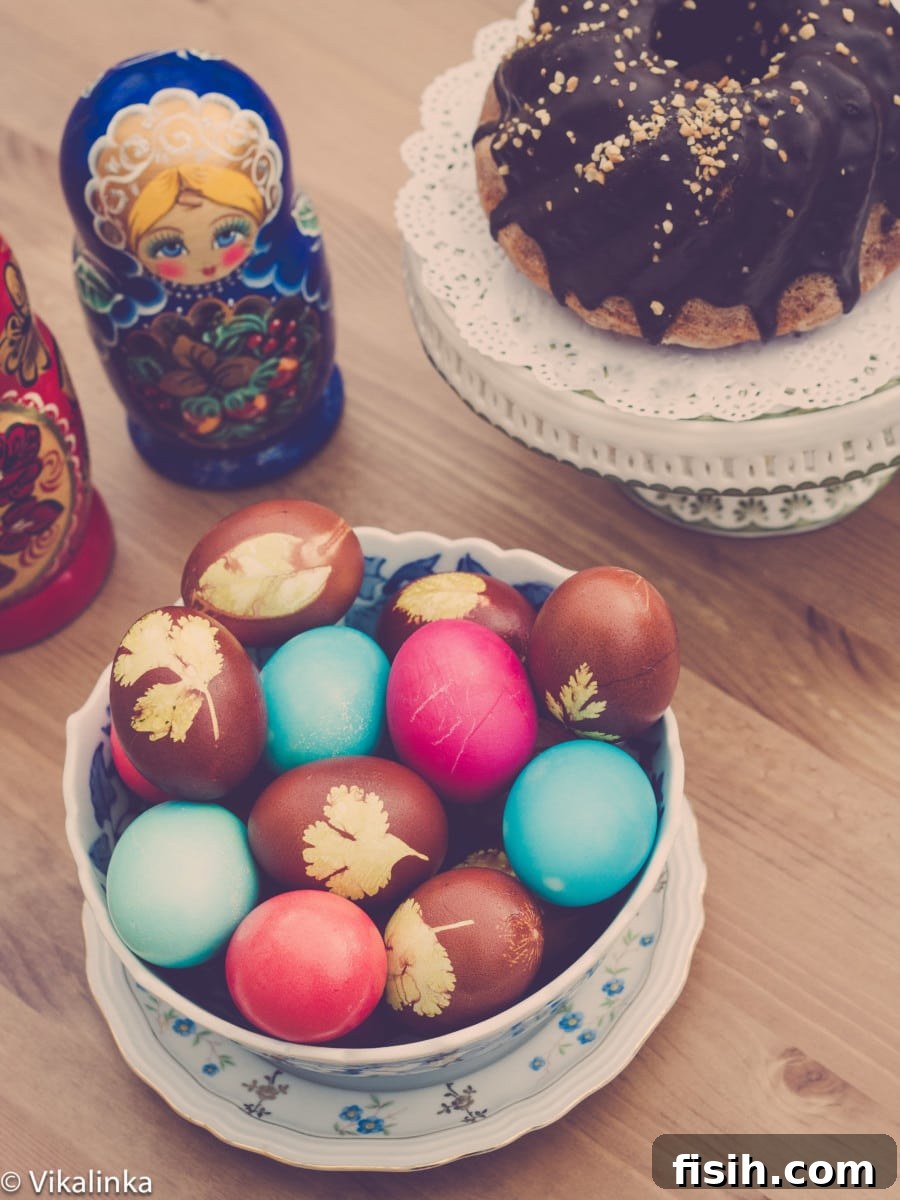
One might wonder: how could we possibly eat all those eggs? The truth is, we didn’t! As the sun began to rise on Easter Sunday, we would hear gentle knocks on our front door. My granny, with a large bowl of beautifully colored eggs at the ready, would open the door to a cheerful chorus of neighborhood children exclaiming, “Christ is risen!” To this, she would unfailingly reply with a joyful, “Risen Indeed!” and tenderly hand each child an egg. This heartwarming exchange would continue for hours, a symbol of shared joy and community spirit.
This tradition of giving and receiving eggs, often accompanied by the reciprocal greeting, is one of the many Easter customs that have endured through centuries. It was carefully preserved even during the toughest years when public religious observance was suppressed. The resilience of such traditions, passed down from generation to generation, speaks volumes about their deep cultural and spiritual significance.
Even now, I sometimes struggle to comprehend how such an openly celebrated holiday survived those times, but one thing I know for certain: there wasn’t a single family that didn’t celebrate Easter in some form or another. It felt like a small miracle, a testament to the enduring human spirit and faith.
Having moved away from Russia many years ago, I’ve inevitably lost touch with some traditions. However, I was determined not to lose the joy and anticipation of Easter, particularly the act of coloring eggs with my own children! It’s a way to connect them to their heritage and create new memories.
We color eggs each Easter not just for fun, but as a symbolic reminder of Christ’s sacrifice and resurrection, paving the way to new life, new birth, and a new beginning. Each beautifully dyed egg becomes a tangible representation of hope and renewal, shared with loved ones.
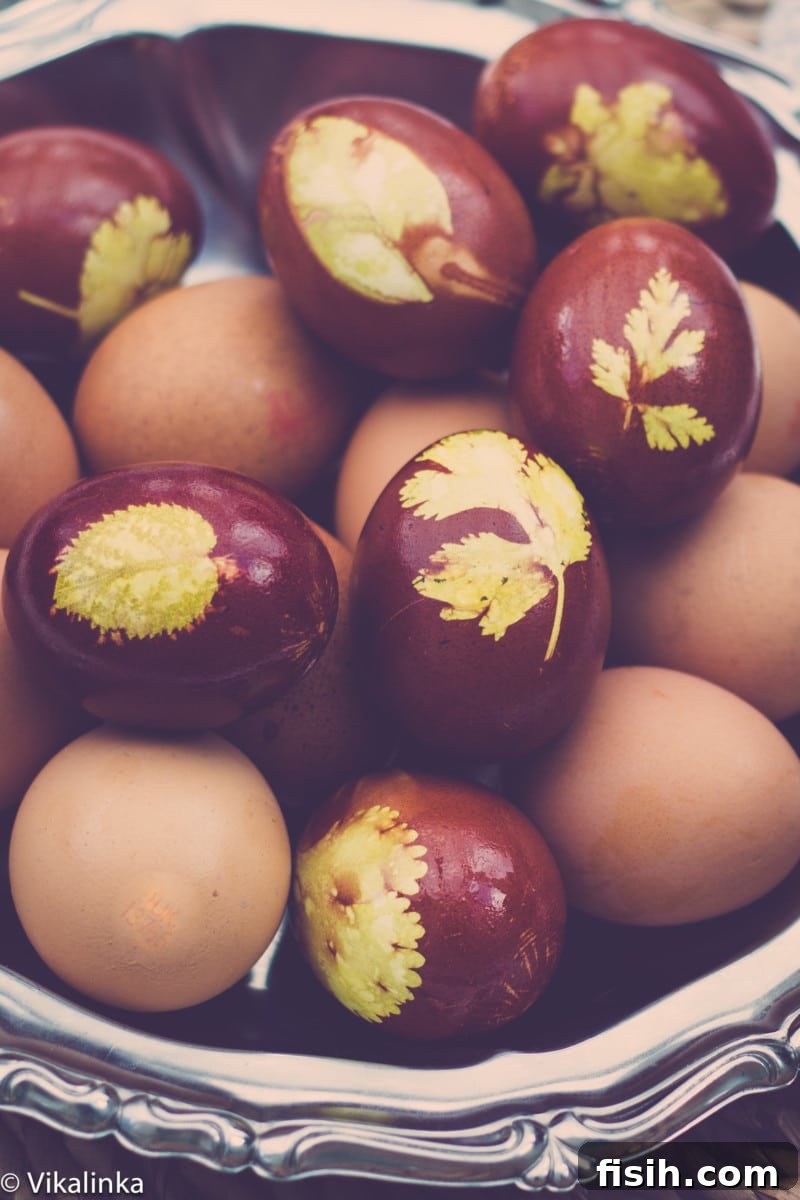
Embracing Nature’s Palette: What You Need for Onion Peel Egg Dyeing
The intricate designs you can achieve on eggs using onion peels are remarkably beautiful, yet surprisingly simple to create. What’s even better is that this method is completely natural, free from any artificial dyes or chemicals. Here’s a detailed list of what you will need to embark on this eco-friendly and artistic endeavor:
- Onion Peels: Collect a generous amount of peels from about 10-15 red or yellow onions. Red onion peels typically yield deeper, more reddish-brown hues, while yellow onion peels tend to produce shades of orange, gold, and lighter browns. The more peels you use, the more concentrated and vibrant your dye bath will be.
- White Eggs: These are ideal as their light shell allows the natural colors to show through most clearly.
- Fresh Leaves and Herbs: Any small, interesting leaves or sprigs from your garden or kitchen can create stunning patterns. Popular choices include rose leaves, parsley, dill, cilantro, fern fronds, or even small clover leaves. Experiment with different shapes and textures!
- Salt: About 1 teaspoon. Salt helps to prevent the eggs from cracking during the boiling process and can also aid in color adhesion.
- Old Pantyhose or Nylon Stockings: You’ll need a few pairs, cut into individual segments large enough to wrap around an egg. This acts as a ‘sleeve’ to hold the leaves firmly against the egg.
- Strong Thread or Twine: For tying the pantyhose securely around each egg.
- Vegetable Oil: A tiny amount for polishing the finished eggs to a beautiful shine.
- Large Pot: For boiling the eggs and dye bath.
Step-by-Step Guide: How to Naturally Dye Easter Eggs
Creating these naturally colored masterpieces is a rewarding process. Follow these simple steps to achieve stunning, chemical-free Easter eggs:
- Prepare the Dye Bath: Begin by placing all your collected onion peels into a large pot. Fill the pot with enough water to fully submerge the eggs, adding about 1 teaspoon of salt. Bring the water to a boil, then reduce the heat and let the onion peels simmer for at least 20-30 minutes. This process extracts the pigment from the peels, creating a rich dye base. The longer it simmers, the deeper the color will be.
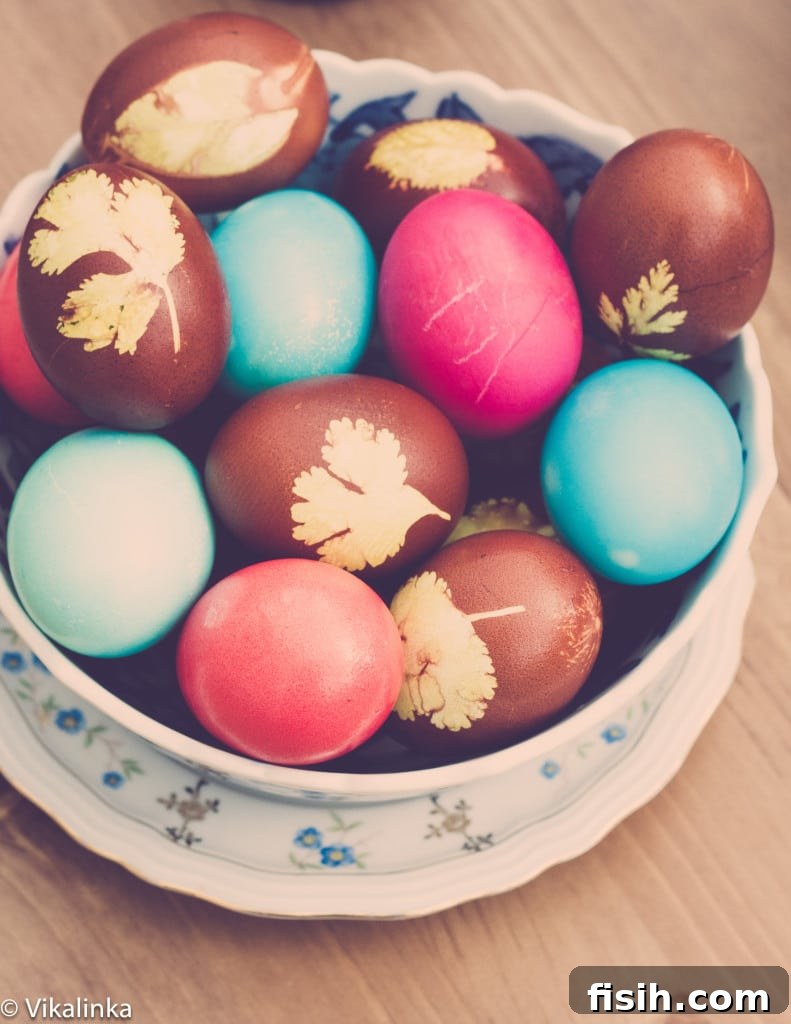
- Prepare the Eggs with Leaf Patterns: This step requires a bit of patience and a delicate touch. Select a leaf or herb sprig of your choice. Gently press it onto the surface of a clean, uncooked white egg. Carefully slide the leaf-adorned egg into a small section of pantyhose. Ensure the leaf stays flat and firmly pressed against the eggshell. Tie a piece of thread tightly on each side of the egg, cinching the pantyhose around it, to prevent the leaf from shifting during boiling. Repeat this process for all your eggs. A helpful tip: Very stiff or rigid leaves may not work as well, as they don’t “hug” the egg’s curvature tightly enough, which can result in a blurry or unclear print. Opt for softer, more pliable leaves for the best results.
- Boil the Eggs: Once all your eggs are “dressed,” carefully place them into the pot with the simmering onion peel dye bath. Ensure the eggs are fully submerged. Bring the water back to a gentle boil, then reduce the heat to a low simmer. Boil the eggs for 15-20 minutes. It’s crucial to keep the heat at a gentle simmer; a rolling boil can cause the eggs to knock against each other or the pot, leading to cracks. If you desire even deeper colors, you can leave the eggs in the cooling dye bath for several hours or even overnight (in the refrigerator once cooled) before proceeding to the next step.
- Cool and Reveal: Carefully remove the eggs from the pot using a slotted spoon and place them in a bowl of cold water or on a wire rack to cool completely. Once cool, meticulously remove the pantyhose and gently peel off the leaves. You might need a soft cloth to wipe away any tiny leaf remnants, revealing the intricate, beautiful patterns beneath.
- Add a Touch of Shine: For a professional and attractive finish, take a tiny drop of vegetable oil (any cooking oil will do) on a soft cloth or paper towel. Gently rub each egg to give it a lovely, subtle sheen. This not only enhances their appearance but also helps to protect the natural colors.
Exploring Other Natural Dye Options for Easter Eggs
While onion peels create stunning earthy tones, the world of natural egg dyeing extends far beyond! You can easily use the same general method (boiling ingredients in water, then simmering eggs) to achieve a spectrum of different colors:
- Beetroot: For gorgeous shades of pink to deep red, simply add chopped beetroot to your water instead of onion peels. The intensity of the color will vary depending on the amount of beetroot used and how long the eggs are left in the dye bath.
- Red Cabbage: For beautiful blues and purples, chop up red cabbage and boil it with water. You might be surprised to find that red cabbage often yields blue eggs, and if you add a splash of vinegar after dyeing, the color can shift towards purple!
- Turmeric: A fantastic option for vibrant yellows and golds. Add a few tablespoons of turmeric powder to your water.
- Coffee or Black Tea: For shades of brown, ranging from light beige to dark chocolate.
- Spinach: Can produce a pale green color.
- Blueberries or Grape Juice: Can create various shades of blue or lavender.
Experimentation is key with natural dyes, and each batch often brings delightful surprises. The process itself is part of the charm!
I am absolutely certain that you and your children will have an immense amount of fun coloring eggs together, creating cherished memories that will last a lifetime.
Simple & Bright: Dyeing Easter Eggs with Food Colouring for Little Hands
While the natural dyeing method with onion peels is incredibly rewarding, it can be a bit intricate for very young children’s tiny fingers. If you’re looking for a quicker, less fiddly alternative that still delivers vibrant results and allows for plenty of creative expression, food coloring is your answer. This is often my go-to method when I have very young ones eager to participate without too much complexity.
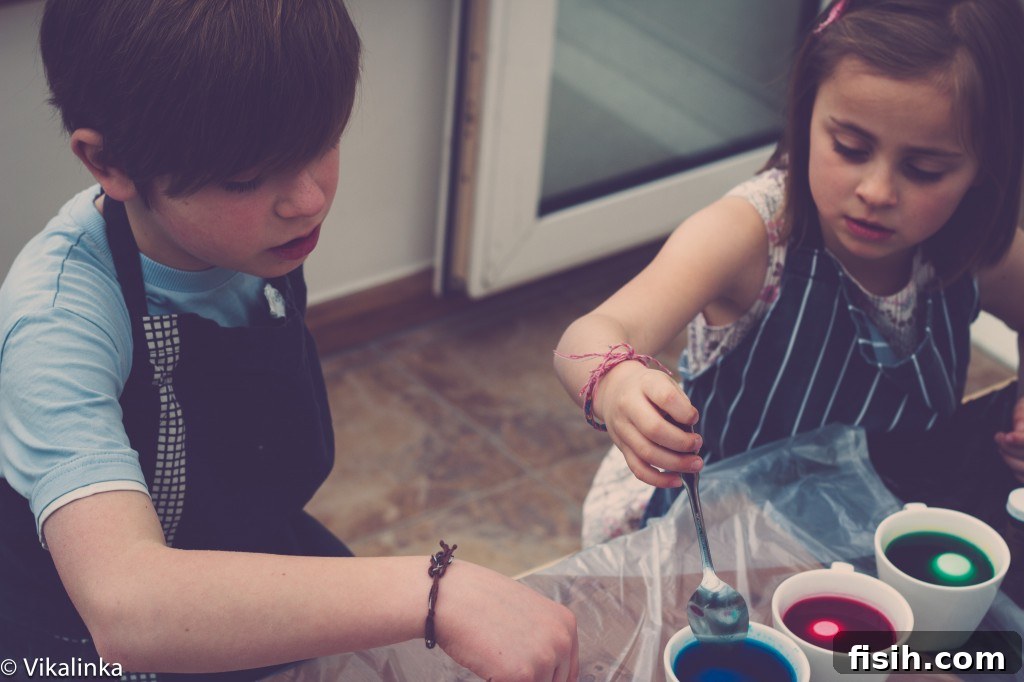
For this wonderfully simple and colorful activity, you will primarily need two main ingredients:
- Food Safe Colouring Gels: Gather as many vibrant colors as you can find. Gels are highly concentrated and produce brilliant hues.
- Vinegar: Any type of household vinegar, such as white distilled vinegar or apple cider vinegar, will work perfectly. Vinegar acts as a mordant, helping the dye to adhere better to the eggshell and resulting in richer, more lasting colors.
- Cooked Eggs: Hard-boiled eggs are essential for this method.
- Cups or Bowls: One for each color you plan to use.
Method for Food Coloring Dyeing:
Prepare your dye baths: For each cup of color, add a drop or two of food coloring gel and a tablespoon of vinegar. Then, carefully top up each cup with boiling water. Gently drop a cooked egg into each cup and let it sit for approximately 5 minutes. The longer the egg remains in the dye, the deeper and more intense the color will become. You can experiment with different soaking times to achieve varying shades.
I highly recommend using gel colors over their liquid counterparts. Gel food colorings produce significantly more vivid and saturated hues, making for truly stunning Easter eggs. If you are using liquid food dye, you might need to increase the amount to 1-2 tablespoons per cup to achieve comparable bright and brilliant colors. Don’t be afraid to mix colors to create your own unique shades!
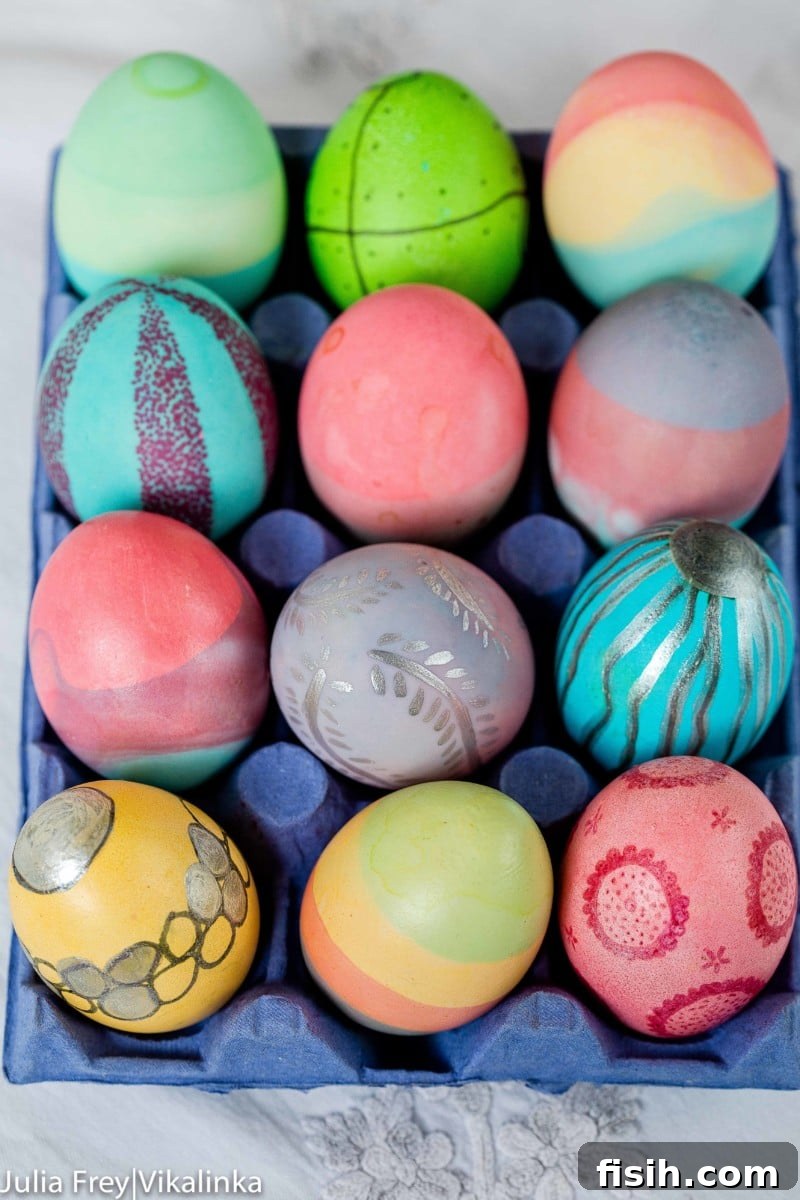
Once your Easter eggs are beautifully dyed and dry, the fun doesn’t have to stop! This is the perfect opportunity to unleash your little ones’ creativity. Provide them with food-safe markers, crayons, or even edible glitter and encourage them to go absolutely CRAZY with their designs! They can draw faces, patterns, or write messages, adding their unique personal touch to each egg. This turns the eggs into true works of art, reflecting their individual personalities and imaginations.
The Easter eggs shown below are a delightful collaborative effort from my children, myself, and our dear friend. The process of creating them together was genuinely one of the most enjoyable things I’ve done in a long while, filled with laughter, teamwork, and a beautiful sense of shared accomplishment. It’s a reminder that the simplest activities can often yield the greatest joy and connection.
I sincerely hope that I’ve inspired you to get creative in the kitchen this Easter season, whether you choose the traditional natural dyeing method or the vibrant food coloring technique. Both offer wonderful opportunities for family bonding and festive fun.
And don’t worry if you get a little carried away and end up coloring too many eggs – it happens to the best of us! The good news is, there are plenty of delicious ways to enjoy your bounty. You can always transform them into my irresistible Double-Decker Devilled Eggs, a perfect treat for any gathering or a delightful snack.
Naturally Coloured Easter Eggs
Julia Frey of Vikalinka
20
20
40
12
Ingredients
- Onion peels, red or yellow from about 10 onions
- 10-12 White Eggs
- Any leaves you like e.g. rose leaves, parsley, dill
- 1 tsp Salt
- 1 Pantyhose
- Thread
Instructions
-
Take the onion peels and put them in a pot with water and salt. Simmer for 20-30 minutes to create the dye bath.
-
Place a leaf of your choice on each egg and slide it inside a pantyhose segment. Tie a thread on each side of the egg to prevent the leaf from sliding. Repeat until all eggs are prepared. (Thick and stiff leaves don’t work as well as they don’t cling to the egg enough to produce a clear print.)
-
Place the prepared eggs into the pot with the onion peel dye bath. Bring to a gentle boil, then simmer for 15-20 minutes. Ensure the heat is not too high to prevent cracking.
-
Cool the eggs, remove the pantyhose and the leaves, and wipe any leaf remnants with a cloth.
-
Rub each egg with a little bit of vegetable oil for an attractive shiny finish.
Notes
- beetroot for pink and red hues
- red cabbage for blue and purple shades
- turmeric for vibrant yellows
- coffee or black tea for various browns
Nutrition information is automatically calculated, so should only be used as an approximation.