
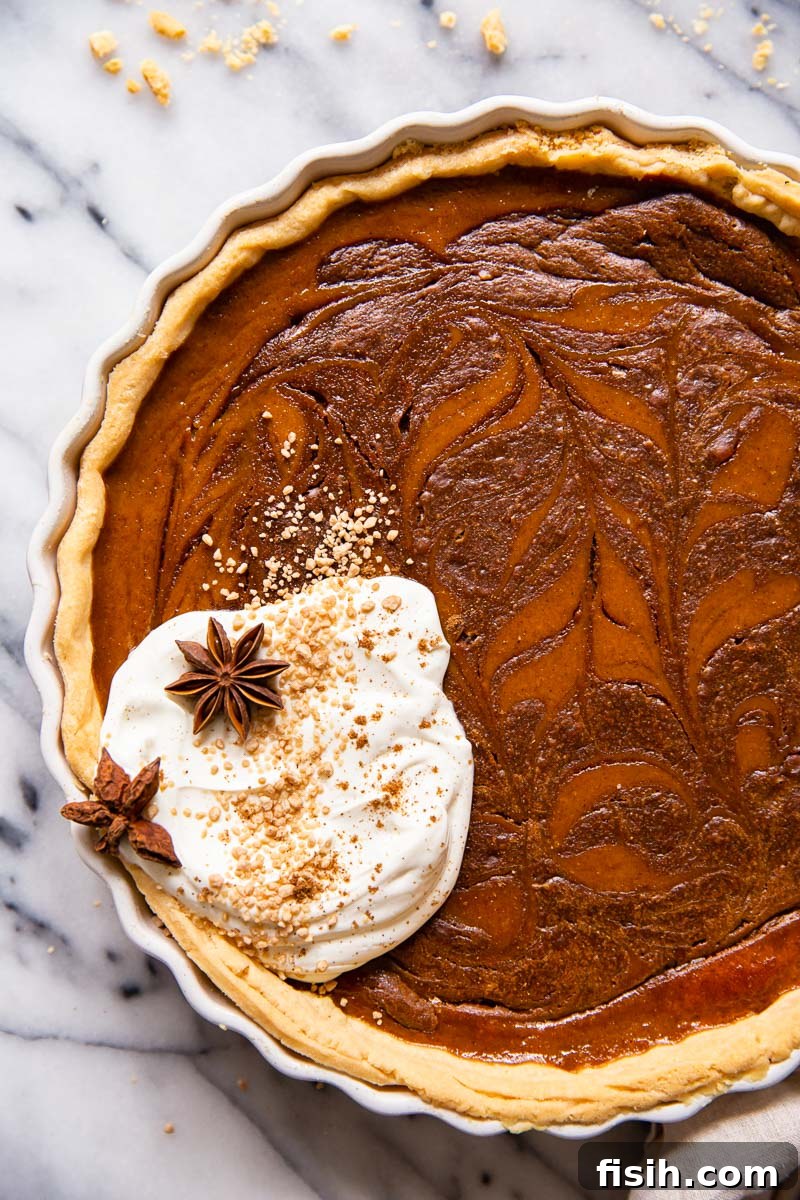
Unleash a wave of delightful flavor this autumn with a pumpkin pie that transcends the ordinary. Imagine the classic, comforting notes of spiced pumpkin elevated by a luscious chocolate swirl, specifically crafted with the distinctive crunch and creamy texture of melted Toblerone. This isn’t just a dessert; it’s an experience waiting to happen, a new favorite pumpkin pie recipe that promises to enchant your taste buds and impress your guests. Get ready to transform your holiday table!
If you adore the rich flavors of pumpkin pie but prefer to bypass the pastry-making process, don’t miss out on my Pumpkin Mousse Trifle, a delightful no-bake alternative perfect for any occasion.
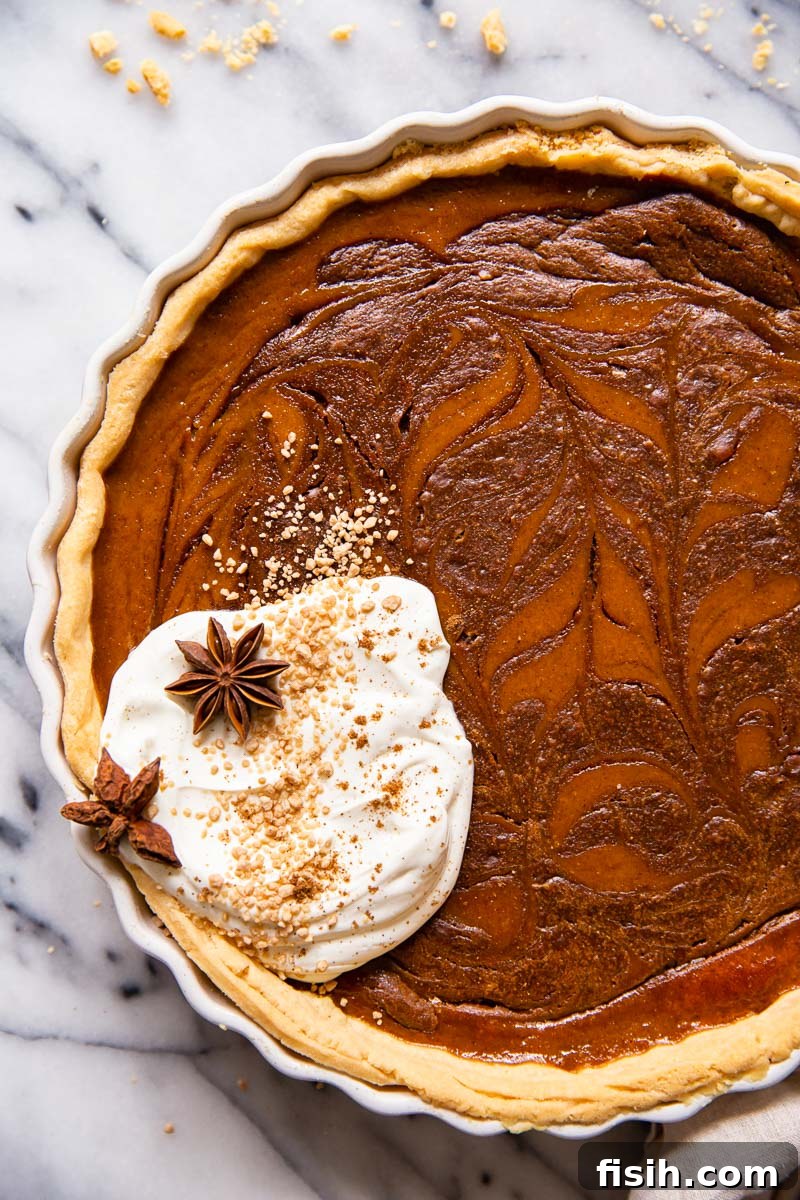
Elevate Your Autumn Dessert: Decadent Chocolate Swirl Pumpkin Pie
For years, I was a purist, firmly believing that the classic pumpkin pie recipe was an untouchable masterpiece. Why tamper with perfection, right? While I still hold that traditional pumpkin pie is a genius creation, there comes a time when a playful twist on an old favorite can lead to unexpected and extraordinary results. And that time, my friends, is now.
Introducing a harmonious marriage of two beloved treats: pumpkin pie meets Toblerone. This Swiss chocolate, renowned for its unique triangular prisms and delicious honey-almond nougat, brings an unparalleled dimension to the smooth, creamy pumpkin filling. The subtle crunch of the nougat bits intertwined with rich, melting chocolate creates a textural and flavor contrast that is simply divine. It’s a winning combination that takes this autumnal staple from comforting to captivating, ensuring every bite is a delightful surprise.
But before we dive into the indulgent chocolate swirl, let’s establish the bedrock of any truly outstanding pie: the crust. And I happen to possess the secret to a consistently perfect pastry.
The Foundation of Flavor: Crafting the Perfect Flaky Pie Crust
We can all agree that the hallmark of an exceptional pie is a wonderfully flaky crust. The recipe I cherish and use most frequently was lovingly passed down to me by my mother-in-law. Her pies are legendary within our family – so good, in fact, that my father-in-law would often forgo a birthday cake in favor of one of her incredible pies. This legacy of deliciousness is built upon a few key principles.
What sets this particular pastry recipe apart and makes it so consistently flaky is the thoughtful inclusion of vinegar. This might sound unconventional, but a small amount of vinegar helps tenderize the dough and inhibits gluten development, resulting in a lighter, more delicate crumb. Equally crucial is the use of lard. While I often use butter in baking, for this specific pie crust, I insist on lard. Lard has larger fat crystals than butter, which, when properly incorporated, create distinct layers and pockets of steam during baking, leading to an incredibly flaky texture that simply cannot be replicated with butter alone.
Another vital aspect of achieving that coveted flakiness is minimal handling of the dough. Overworking the pastry develops gluten, making it tough, and causes the fat to melt, which is detrimental to the texture. We want those tiny bits of cold fat to remain intact within the dough to create those wonderful layers. Therefore, work quickly and gently. Furthermore, chilling the pastry thoroughly is just as significant to its success. Never rush this step. After assembling the dough, allow it to rest and firm up in the refrigerator. This not only makes it easier to roll but also ensures the fat remains cold and distinct, setting the stage for the flakiest crust imaginable.
Preventing a Soggy Bottom: The Essential Step of Blind Baking
When it comes to pumpkin pie, blind baking the pastry is not merely recommended; it’s absolutely essential. If you want to avoid the dreaded soggy bottom that can ruin an otherwise perfect pie, pre-baking your crust is a non-negotiable step. While “blind baking” might sound like a technical culinary term, the process itself is remarkably straightforward and simple to execute.
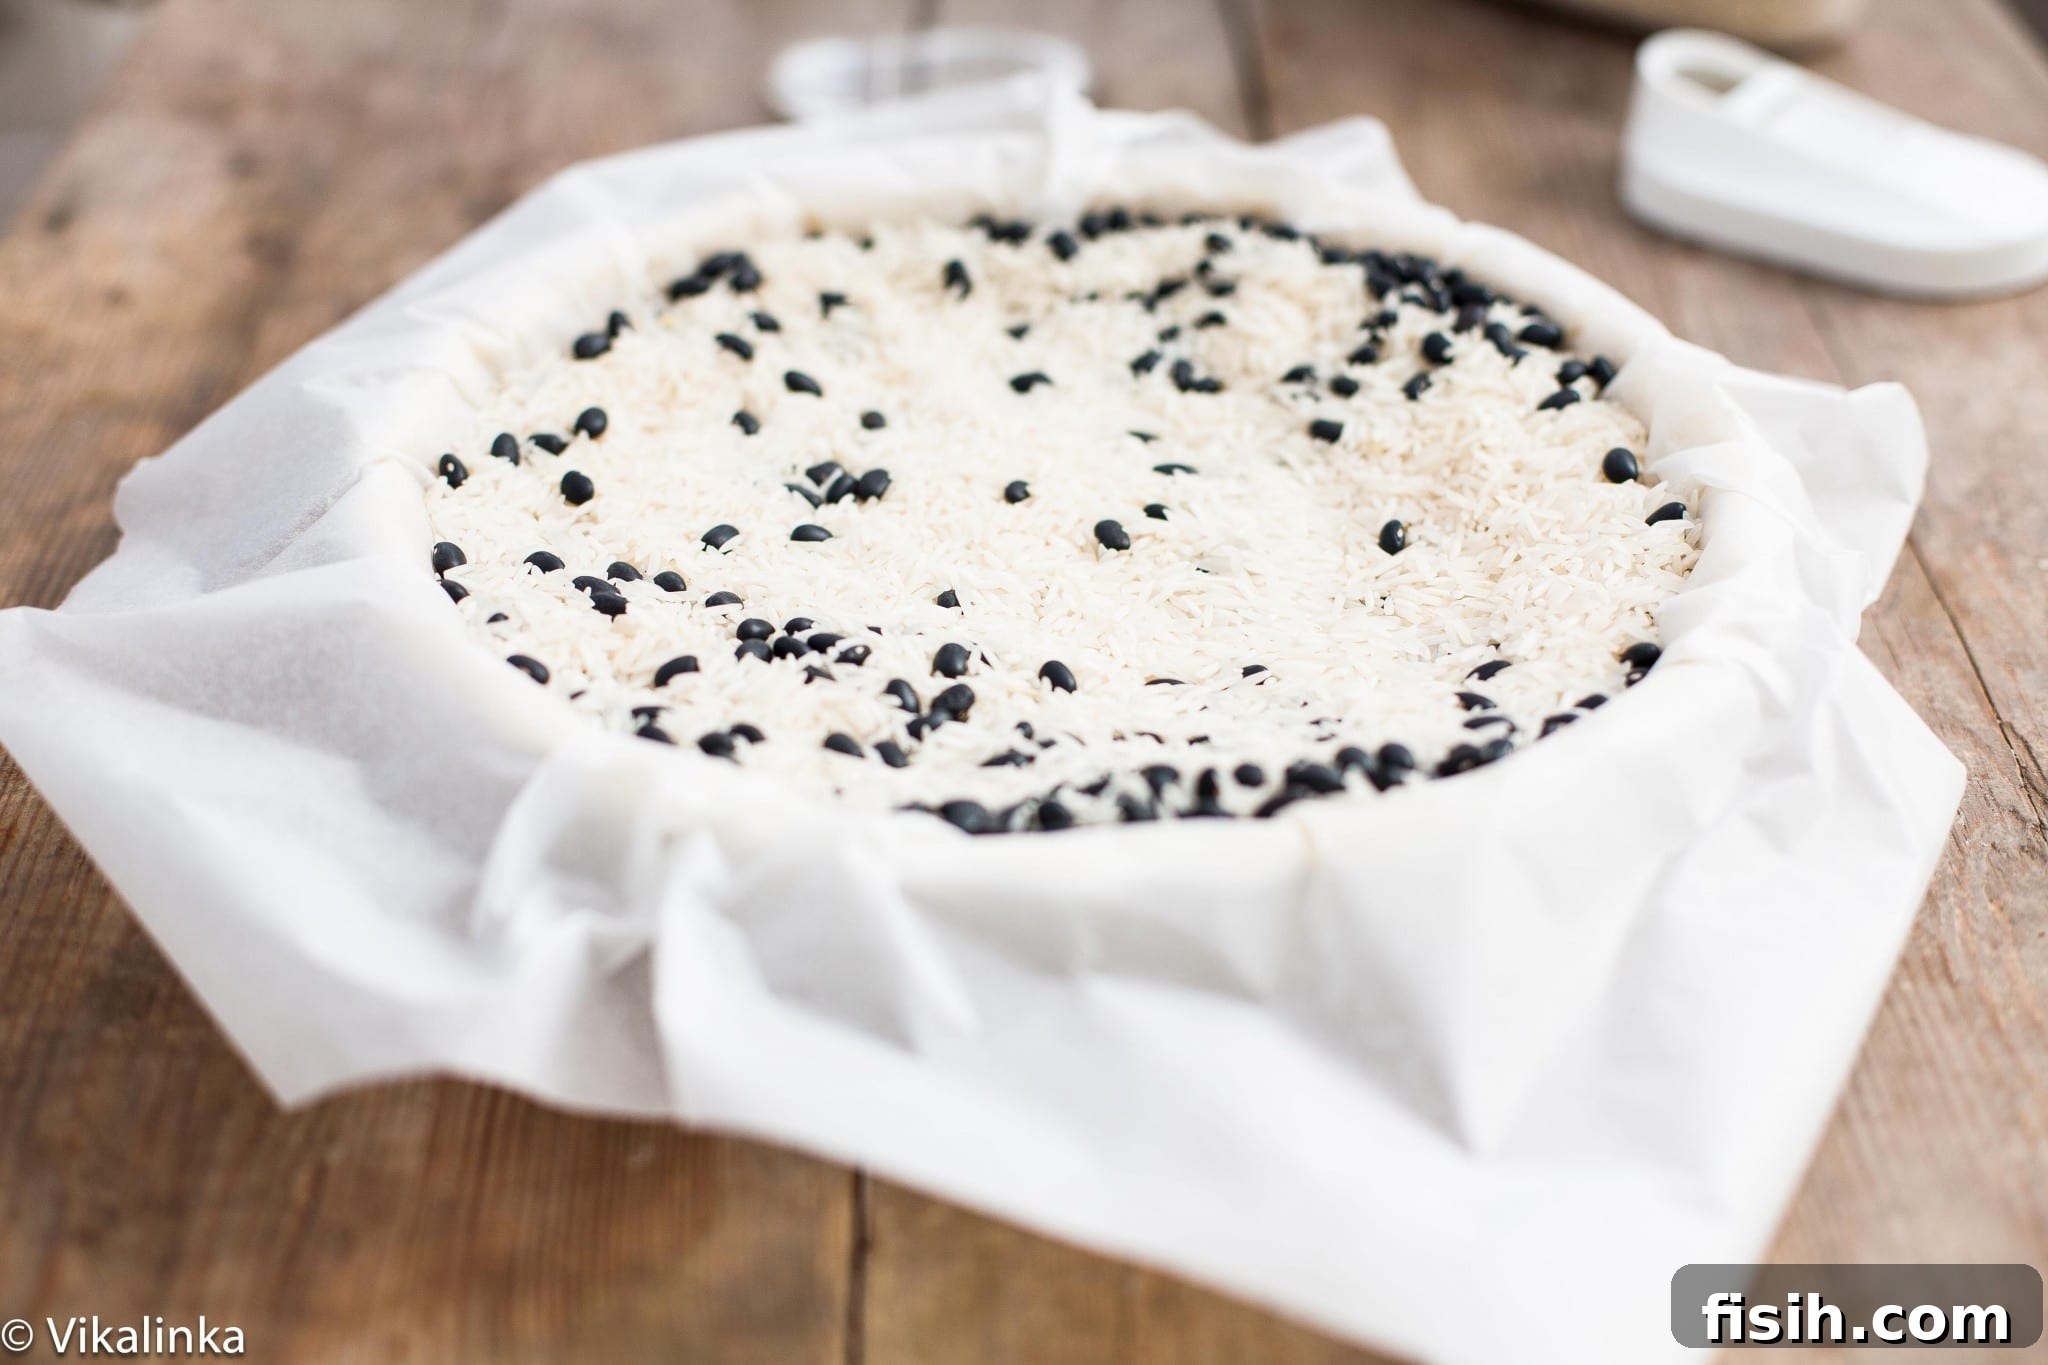
In essence, blind baking means partially baking your pie crust before adding the wet filling. You prepare your pie shell, line it with parchment paper, and then fill it with weights. These weights, such as ceramic baking beans, dried beans, or even rice, serve a crucial purpose: they prevent the pastry from shrinking down the sides of the pie dish and developing large air bubbles during baking. For a pumpkin pie, which has a moist filling that will continue to cook the crust, you only need to half-bake the crust. This creates a protective barrier, ensuring the bottom of your pie remains crisp and firm once filled with the creamy pumpkin mixture and baked to completion.
The Signature Swirl: Infusing Chocolate into Your Pumpkin Pie
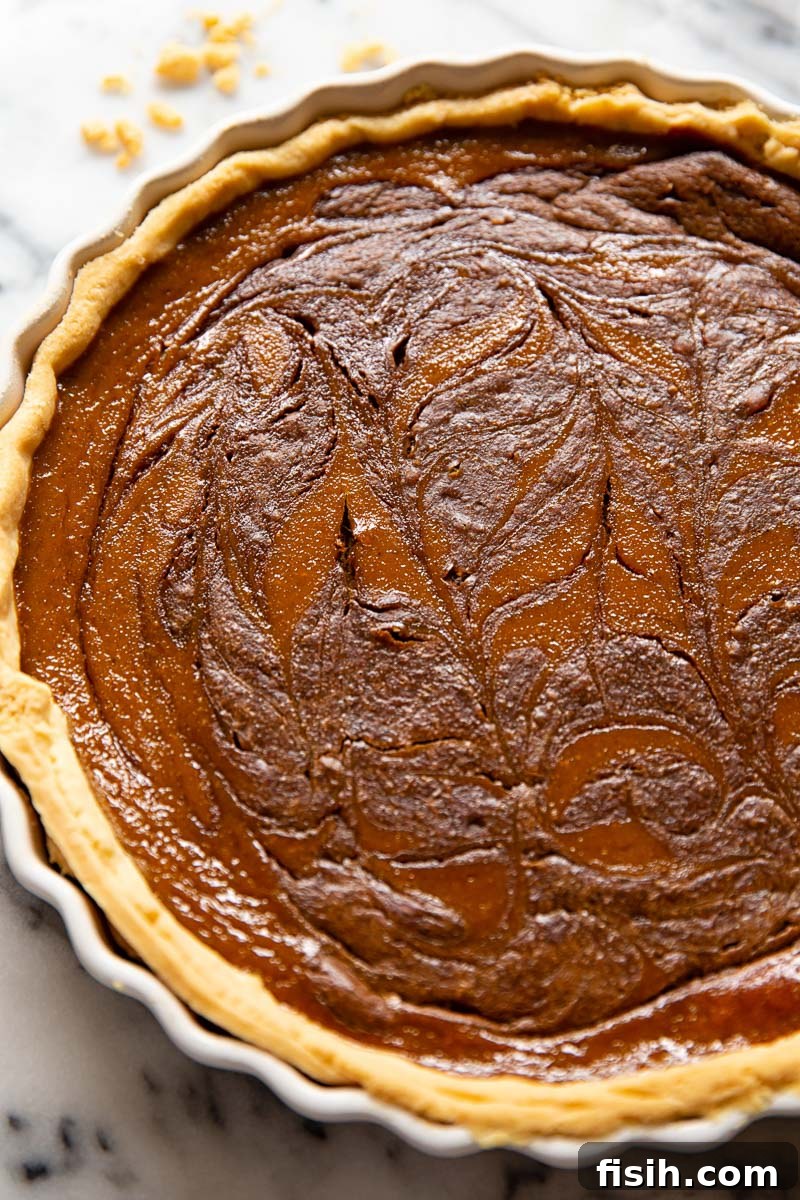
Now for the exciting part: creating that stunning chocolate swirl that elevates this pumpkin pie from delicious to truly extraordinary. The key to achieving a beautiful, distinct swirl without compromising the pie’s integrity lies in a clever technique.
First, you’ll need to melt your chosen chocolate. While any good quality chocolate can work, Toblerone adds a fantastic texture with its nougat inclusions. Once melted, the crucial next step is to combine a small portion of your prepared pumpkin pie filling with this melted chocolate. Specifically, stirring about half a cup of the pumpkin filling into the melted chocolate is vital. This step helps to equalize the texture and density of the two filling mixtures (the plain pumpkin and the chocolate-pumpkin blend). If you skip this, the difference in consistency can cause the chocolate portion to bake differently, often leading to unsightly cracks on the surface of your pie as it cools. This is a lesson I learned through less successful attempts, and it’s a game-changer for a perfectly smooth finish.
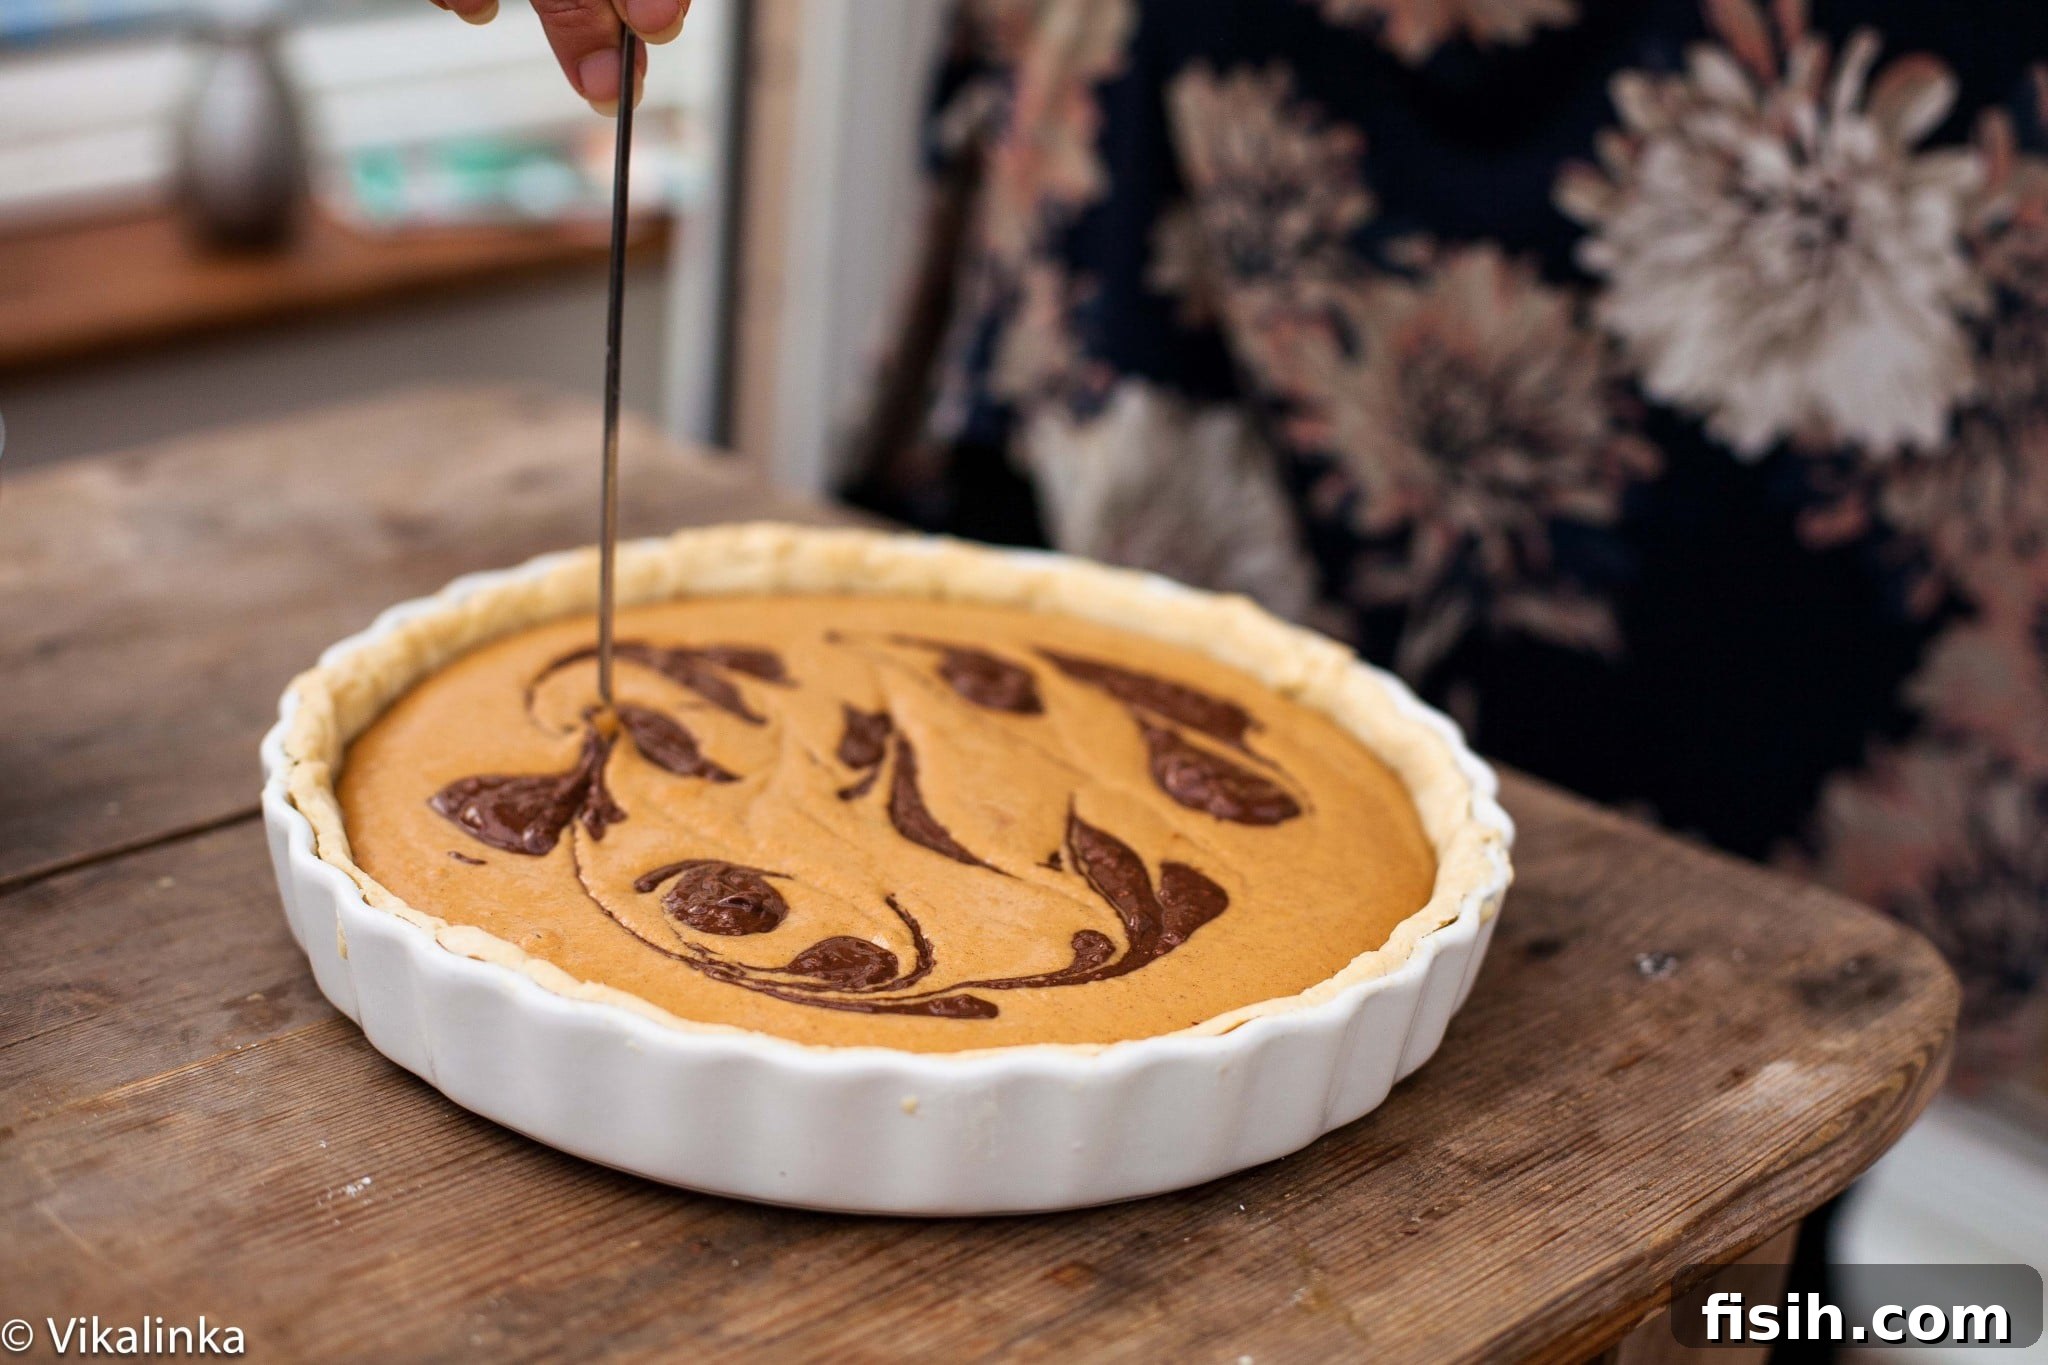
Once you have your two harmonious fillings, pour the main pumpkin mixture into your partially baked pie crust. Then, using a spoon or a small measuring cup, randomly drop dollops of the chocolate-pumpkin mixture over the surface of the plain pumpkin filling. Finally, take a knife or a skewer and gently swirl through the dropped chocolate, creating elegant patterns. Don’t overmix; just a few graceful strokes are enough to create a visually appealing marble effect. The result will be a pie that’s as beautiful to look at as it is delicious to eat.
Serving Your Masterpiece: Presentation and Pairing
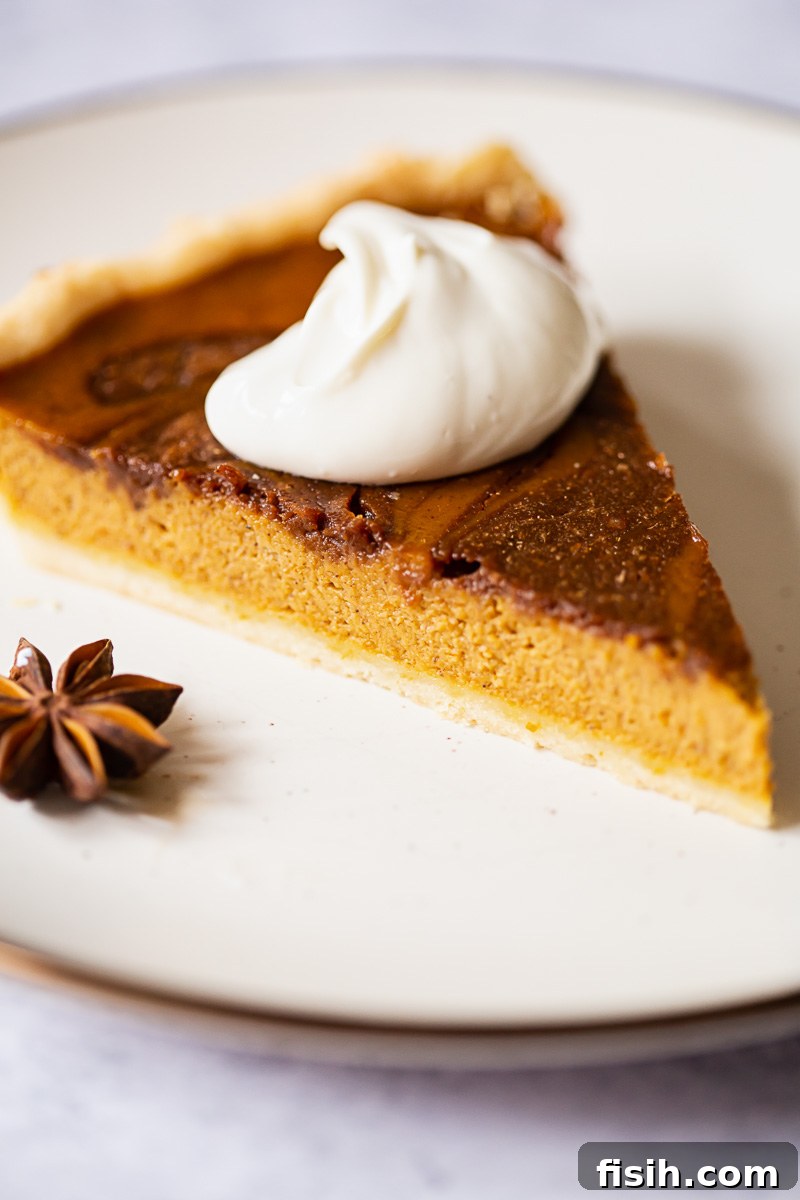
To truly appreciate the complex flavors of this Chocolate Swirl Pumpkin Pie, it is best served at room temperature. Serving it chilled tends to mute the subtle spices and rich notes, making the experience less vibrant. Allowing it to come to room temperature lets the aromas bloom and the flavors shine, offering a more satisfying culinary experience.
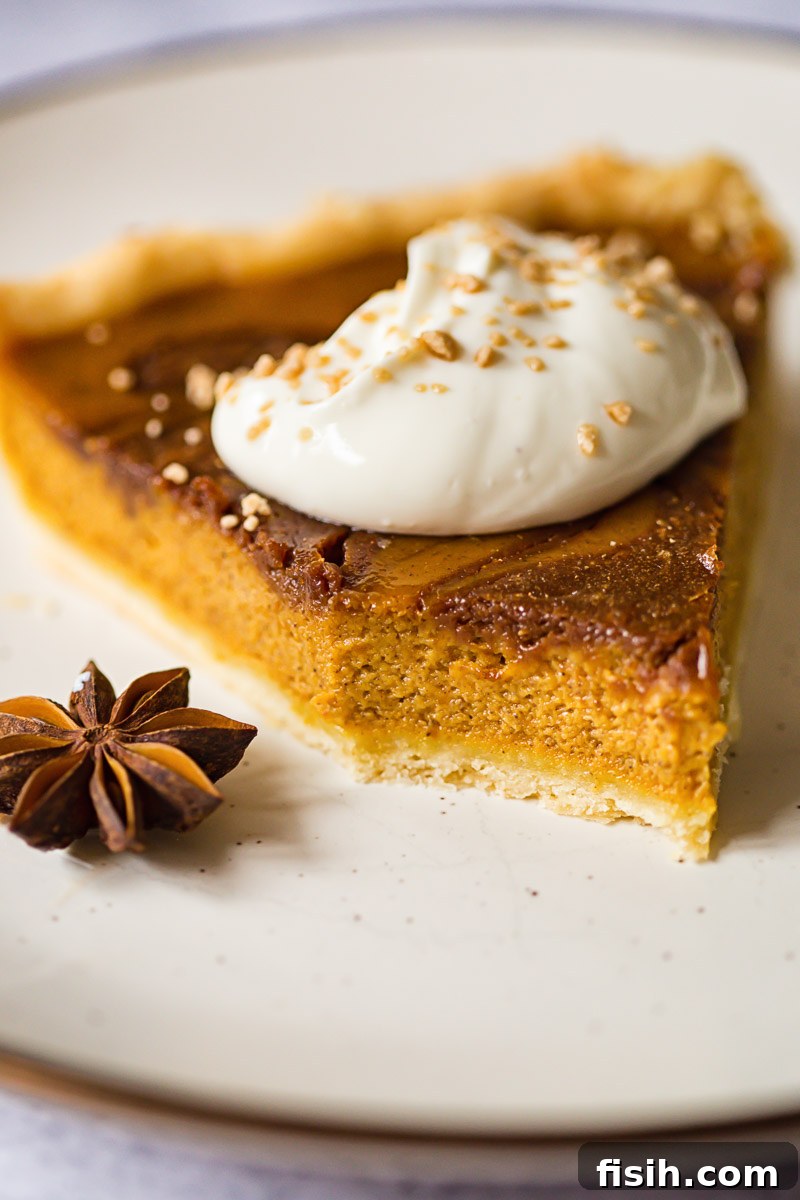
For an extra touch of decadence, this pie is absolutely delicious when served with a generous dollop of freshly whipped cream. The light, airy cream provides a beautiful contrast to the dense, rich filling. If you’re not a fan of “sweet on sweet” combinations, consider pairing it with slightly sweetened crème fraîche. Its tangy, sophisticated profile offers a lovely counterpoint to the pie’s richness, balancing the sweetness without overpowering it.
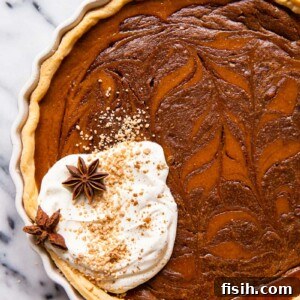
When it comes to presentation, I love to adorn my autumn desserts with star anise. Its distinct star shape and warm, liquorice-like scent make it a beautiful and entirely natural garnish, adding an elegant touch. On this particular pie, I also added a sprinkle of maple sugar – a wonderful gift from Canada that lends an extra layer of caramelized sweetness and a hint of rustic charm.
Consider garnishing with a light dusting of cinnamon or freshly grated nutmeg for an added aromatic flourish. For a more festive look, you can also sprinkle a few mini chocolate chips or finely chopped Toblerone pieces over the whipped cream just before serving. This pie is perfect for holiday gatherings, a comforting weeknight treat, or any occasion that calls for a truly special dessert. Store any leftovers loosely covered in the refrigerator for up to 3-4 days, though it’s unlikely to last that long!
More Delightful Pumpkin Recipes
- Toffee Honeycomb Pumpkin Muffins
- DIY Pumpkin Spice Syrup
- Spiced Pumpkin and Chocolate Cake
- Pumpkin Bread with Butterscotch Streusel Topping
Pumpkin Pie with Chocolate Swirl
Equipment
-
Rolling Pin
-
Pie dish
-
Mixing bowls
Ingredients
- 9 inch pie crust, or store bought pie crust
- 400g/15oz canned pumpkin puree, or your own
- 3 eggs, large
- 125ml/1/2 cup double cream/whipping cream
- 100g/1/2cup brown sugar
- 1 1/2 tsp cinnamon
- 1/4 tsp cloves
- 1/4 tsp ginger
- 1/4 tsp nutmeg
- 1 tsp vanilla
- 1/2 tsp salt
- 80g/1/3cup chopped toblerone or regular chocolate bar
Instructions
For the pie crust
- Preheat the oven to 400F/200C. Prepare 1/3 of the pie crust recipe. Roll out the pastry on a lightly floured surface. Carefully drape the pastry over your rolling pin and transfer it to a 9-inch pie or tart plate. Ensure the edges are neatly trimmed and extend to the top of the pie plate. Chill the prepared crust in the fridge for 20 minutes.
- Line your chilled, unbaked pie crust with parchment paper, ensuring it covers the bottom and sides. Fill the pie plate with baking beans or dried rice to weigh down the pastry and prevent shrinkage. Bake at 400F/200C for 15 minutes. Remove the pie from the oven, reduce the oven temperature to 350F/180C. Let the crust cool for 5 minutes, then carefully lift the parchment paper and weights out of the pie shell.
For the pumpkin pie
- While your crust is blind baking, prepare the pumpkin filling. In a large mixing bowl, beat the eggs with brown sugar until well combined. Add the canned pumpkin puree, double cream (or whipping cream), cinnamon, nutmeg, cloves, ginger, vanilla extract, and salt. Mix until the filling is smooth and fully incorporated. Set aside for a moment.
- Next, finely chop the Toblerone bar (or your chosen regular chocolate bar). Melt the chopped chocolate using a double boiler method, or carefully melt it in a microwave in short 30-second bursts, stirring well after each interval until smooth. Take 125ml (about 1/2 cup) of the prepared pumpkin filling and stir it into the melted chocolate. This crucial step helps to harmonize the textures of the chocolate and pumpkin mixtures. Pour the main pumpkin filling into your partially baked pie crust. Then, randomly drop spoonfuls of the chocolate-pumpkin mixture over the surface. Take a skewer or a toothpick and gently swirl the chocolate into the pumpkin filling to create an attractive marbled design.
- Carefully transfer the pie to the preheated oven (now at 350F/180C). Bake for approximately 40 minutes, or until the filling is set and the center jiggles only slightly when gently shaken. The edges might puff up slightly. Remove the pie from the oven and allow it to cool completely on a wire rack before slicing and serving. Serve at room temperature with whipped cream or slightly sweetened crème fraîche.
Nutrition
Nutrition information is automatically calculated, so should only be used as an approximation.