
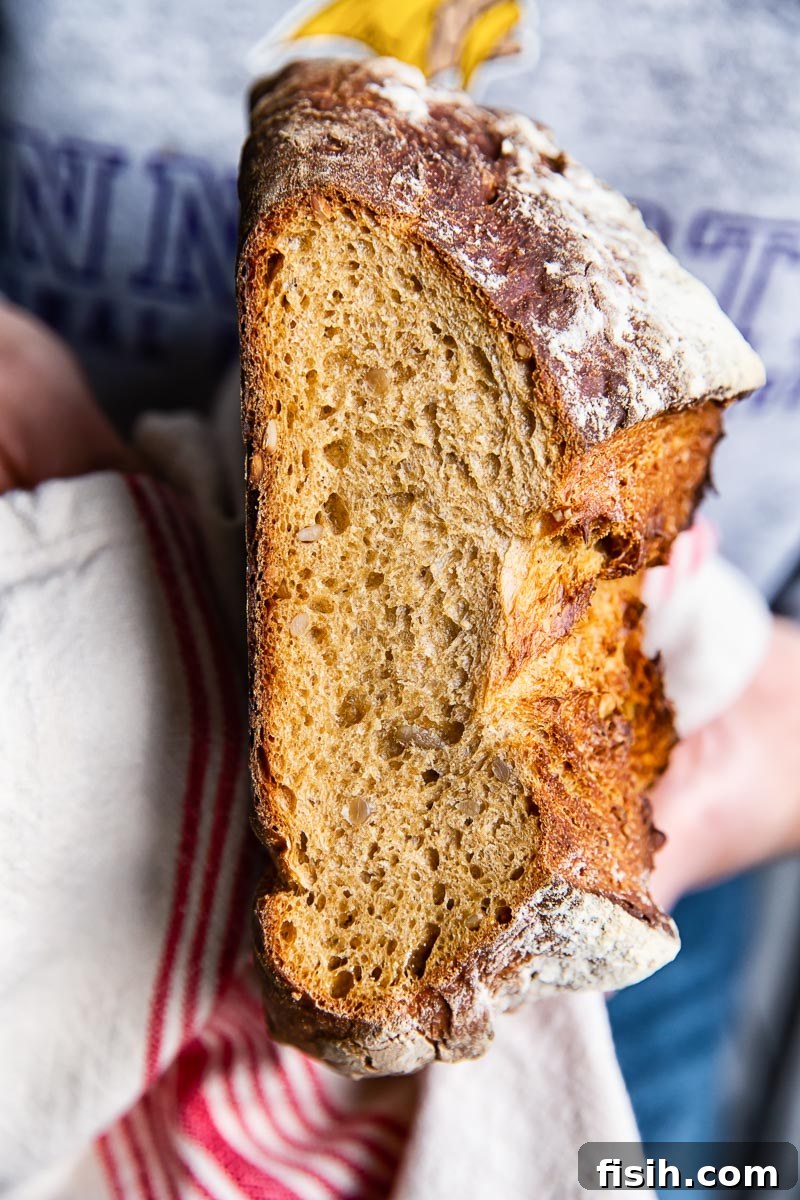
Mastering Homemade Rye Bread: A Simple Guide to Baking with Rye Flour
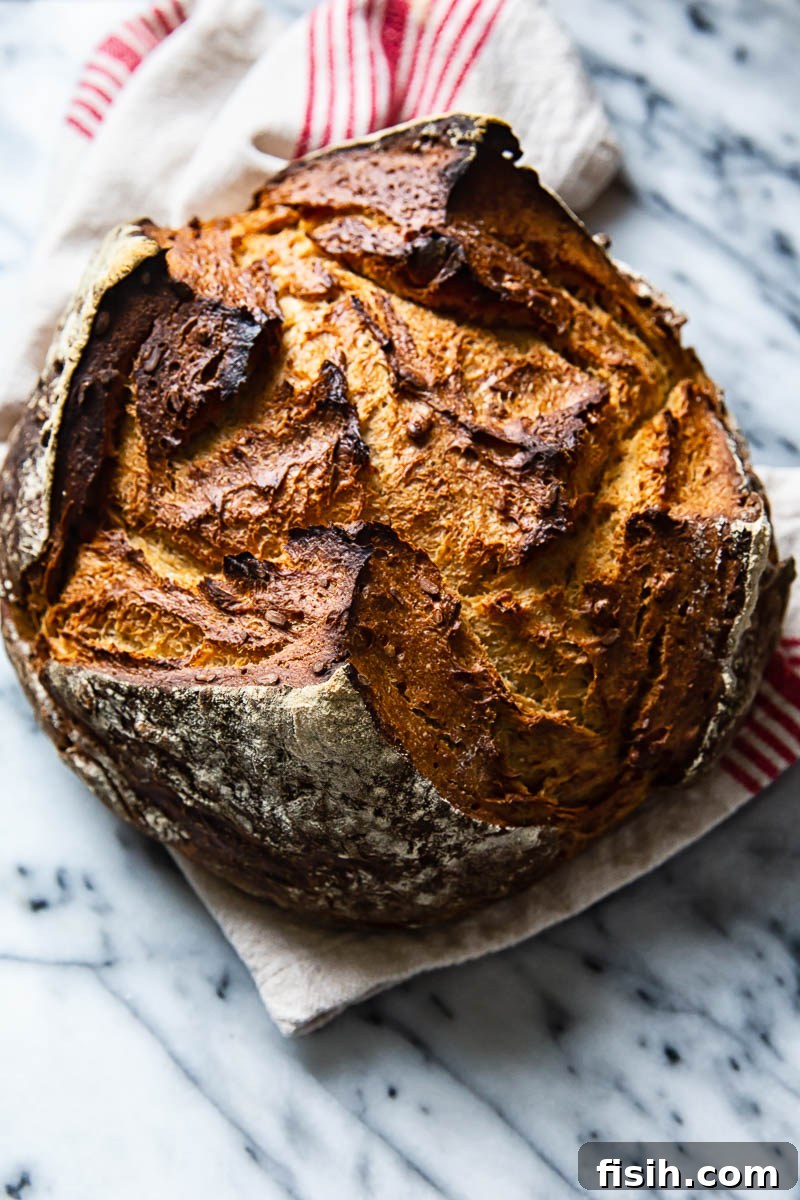
Embark on a delightful baking journey and discover the rich rewards of homemade rye bread. This clear, step-by-step recipe is designed to demystify baking with rye flour, opening up a whole new world of flavour and texture in your kitchen. We’ve meticulously tested and perfected this recipe, ensuring your success from your very first loaf.
For those eager to expand their bread-making repertoire, explore our popular No Knead Farmhouse Bread, another effortlessly delicious recipe to enjoy at home.
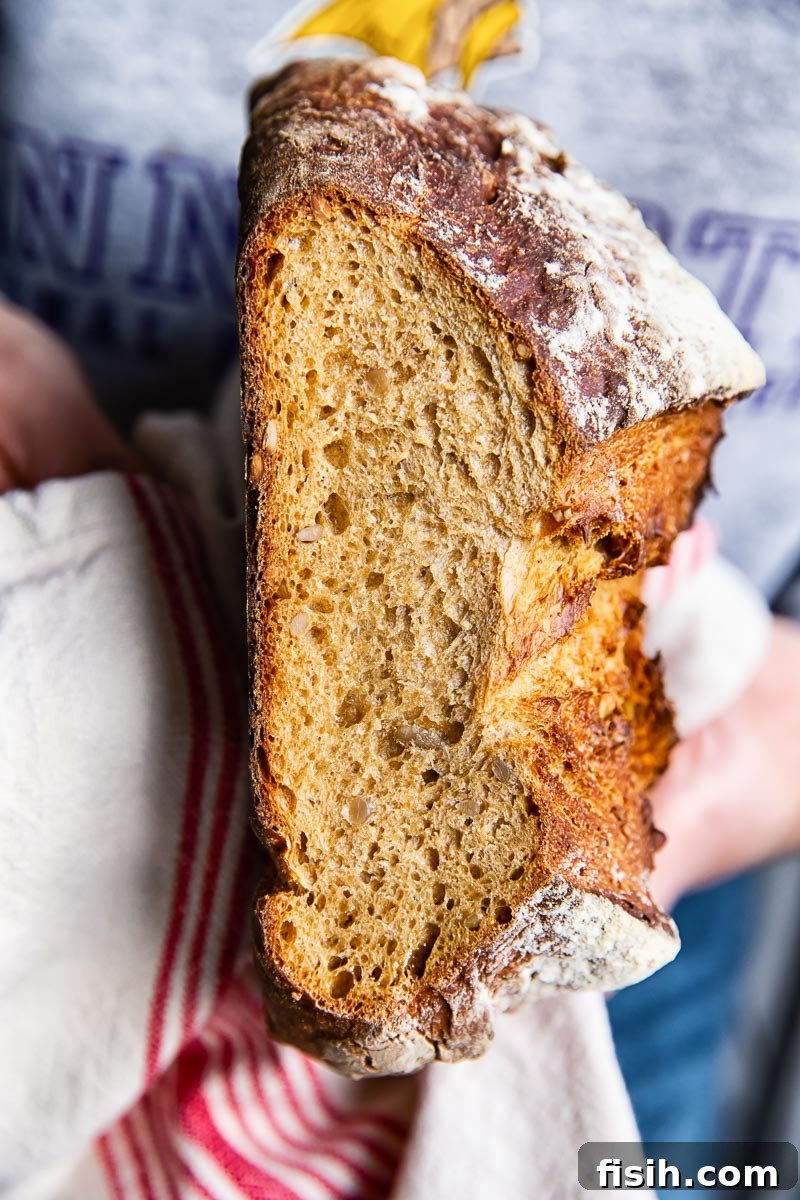
It feels like a lifetime ago that we ventured into the world of bread making, yet it has only been five years since we shared our very first bread recipe. In this relatively short period, we’ve transformed from novice bakers into enthusiastic weekly bread producers, constantly experimenting with an array of different flours. Our journey has taken us through the nutty notes of spelt flour and the earthy sweetness of buckwheat flour, culminating today with a much-anticipated recipe for a truly exceptional rye loaf.
Developing a recipe for a genuinely good dark rye bread has been a passion project of ours for quite some time. This deep-seated desire is no surprise, especially considering Julia’s upbringing in Russia, where dark rye bread is not just a staple but a cherished part of the culinary heritage. For many, the idea of baking with rye flour can be daunting. We, too, were initially intimidated, having heard whispers of its notoriously difficult nature. However, we’re thrilled to share our findings and put those rumors to the test. What we discovered might just change your perspective on baking with rye forever.
Exploring the Rich World of Rye: What Makes Dark Rye Bread Unique?
Before diving into our specific recipe, it’s important to acknowledge the vast and diverse world of rye bread. Rye baking traditions flourish across many regions, most notably in Scandinavia, Germany, Russia, and numerous other Eastern European countries. While there’s a comforting familiarity in the flavor profiles across these cultures, the recipes themselves are wonderfully varied. Differences arise in flour proportions, specific baking methods, and the unique combination of ingredients added to enhance the bread’s distinctive taste and aroma.
Furthermore, rye flour itself comes in various types, with light and dark rye being the most common. Our extensive testing revealed a preference for light rye flour in this particular recipe, primarily for its ability to produce a softer, less dense crumb without compromising on that characteristic rye flavour. Interestingly, many assume that the dark colour of rye bread comes solely from the flour. Our baking experiments showed this isn’t entirely true.
Beyond the Flour: The Secrets to Dark Rye’s Flavor and Color
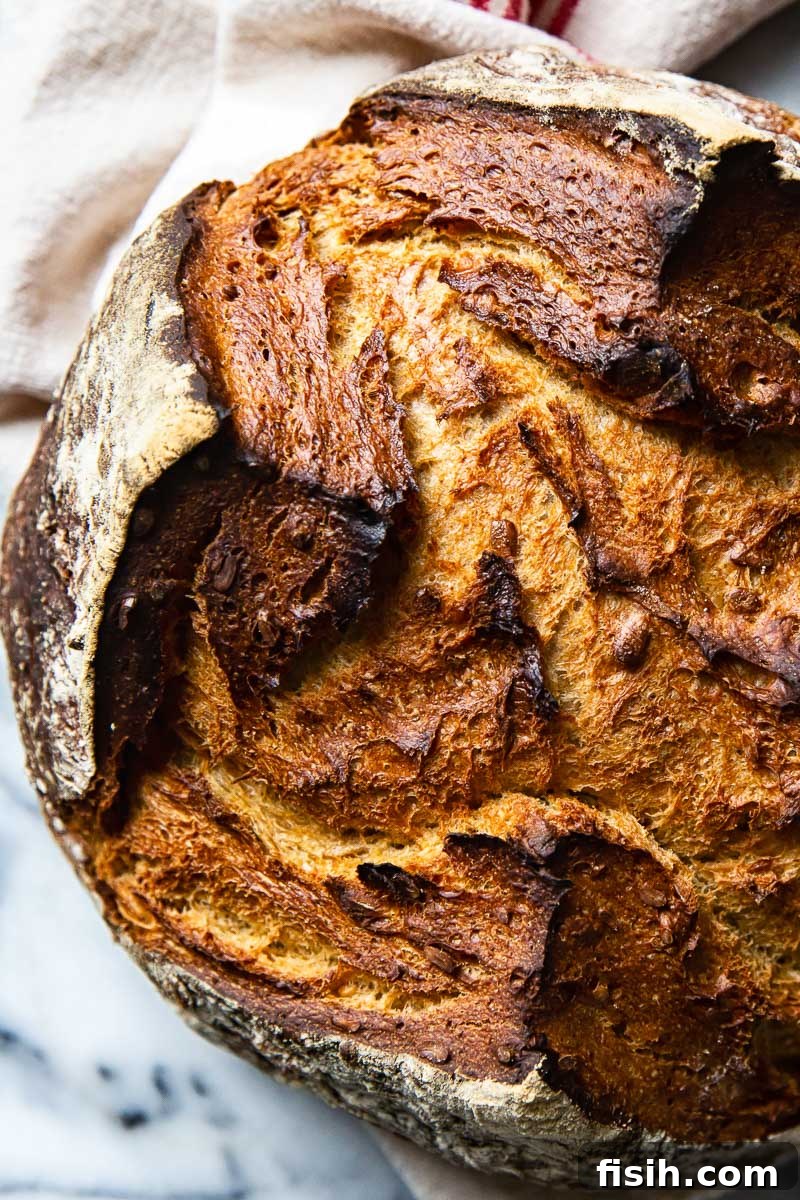
While rye flour contributes a subtle darkening to the bread, the truly rich, deep colour, along with much of its complex taste, comes from additional components. Ingredients like barley malt extract and molasses (known as black treacle in the UK) are the true heroes behind this bread’s special character. These rich, dark syrups not only impart a beautiful hue but also contribute a distinctive depth and slight sweetness that elevates the overall flavour profile.
To further enhance our recipe, we’ve included a touch of ground coriander. This aromatic spice evokes the unmistakable flavour of the famous Russian Borodinsky bread, a beloved staple known for its fragrant, slightly sweet, and distinctively sour notes. The combination of these ingredients creates an exceptionally delicious bread that is both robust and incredibly satisfying, offering a complex flavour journey with every bite.
Crafting the Perfect Loaf: Our Blended Rye Bread Recipe
The rye bread recipe we’re excited to share today features a balanced mix of light rye flour and white wheat flour, used in equal parts. While it’s certainly possible to bake a loaf consisting entirely of rye flour, the resulting texture and the overall recipe would be quite different. A bread made with 100% rye flour tends to be significantly denser, gummier, and stickier than what most people are accustomed to. It also won’t rise as much as bread that includes wheat flour, primarily because rye flour naturally contains much lower levels of gluten—the protein network responsible for giving bread its structure and elasticity.
Our goal with this recipe was to create a delightful hybrid: a bread that captures the authentic taste of the rye loaves Julia grew up with in Russia, combined with the approachable and satisfying texture of hearty European breads. This is precisely why we’ve opted for a blend of two flours and carefully selected flavour enhancers. To further enrich the texture and add another layer of flavour, we often incorporate either sunflower seeds or chopped walnuts into our dough. While this addition is entirely optional, we highly recommend it for an extra textural dimension.
Essential Tips for a Successful Rye Bake
The baking method for this rye bread shares similarities with our popular Dutch Oven Wheat Bread. The initial steps involve simply mixing all ingredients together and allowing the dough to rise in a warm, consistent environment. Ensuring the dough proofs in a warm, draught-free place is paramount. We’ve observed a noticeable difference in the final product when house temperatures fluctuate, often resulting in a denser loaf. Consistency in temperature is key to achieving a beautifully risen, airy crumb.
This particular rye bread recipe does require a small amount of kneading to develop some structure. If you own a stand mixer, it can effortlessly handle this task. We also advocate for baking this bread in a Dutch oven. This method creates a self-steaming environment, which is crucial for developing a superior crust texture and significantly aiding the bread’s rise, producing a more impressive and delicious loaf.
The Nutritional Edge: Why Choose Rye Bread?
Rye flour stands out not just for its distinctive flavour but also for its impressive nutritional profile. It is exceptionally rich in essential vitamins and minerals, offering a similar bounty to other wholegrain flours. However, a key advantage of rye flour is its naturally higher fibre content—a benefit we absolutely love! Furthermore, for those monitoring their gluten intake, rye flour is notably lower in gluten compared to traditional wheat flour, making it a valuable addition to a balanced diet.
Serving Suggestions: Enjoying Your Homemade Rye Bread
Your freshly baked rye bread is incredibly versatile and makes a superb addition to almost any meal. It’s an excellent choice for a bread basket at an elegant dinner party or a festive holiday gathering, bringing a rustic charm and sophisticated flavour. Its robust profile also makes it an ideal base for sandwiches, transforming everyday fillings into something extraordinary with its unique taste.
Beyond that, rye bread pairs wonderfully with hearty soups and stews, soaking up their rich broths beautifully. For a simple yet utterly satisfying treat, try it smeared with a generous pat of good quality butter, or topped with a slice of sharp cheddar or creamy goat cheese. Don’t be afraid to experiment! Consider pairing it with smoked salmon and dill, thinly sliced cured meats, or even a dollop of a tangy fruit compote for a delightful sweet and savory contrast. Its firm texture and distinctive flavour hold up well to a variety of toppings, making it a perfect canvas for culinary creativity.
More delightful bread recipes to explore from our kitchen:
- Rhubarb Jam Swirled Bread
- Savoury Onion and Poppyseed Buns Bialy
- Russian Easter Bread Kulich
Rye Bread Recipe
By Julia Frey of Vikalinka
Prep Time: 15 mins | Cook Time: 35 mins | Total Time: 3 hrs 20 mins | Servings: 10
This step-by-step recipe takes the mystery out of baking delicious homemade rye bread.
Ingredients
- 100ml / 1/2 cup boiling water
- 3 tbsp black treacle / molasses
- 2 tbsp barley malt extract
- 1 tsp ground coriander
- 240g / 2 cups light rye flour
- 240g / 2 cups white bread wheat flour
- 7g / 2 tsp dry active yeast
- 2 tsp salt
- 50g / 1/2 cup sunflower seeds or chopped walnuts (optional)
- 2 tbsp vegetable oil or rapeseed oil
- 250ml / 1 cup tepid water
Instructions
- In a cup, combine the boiling water, black treacle or molasses, and barley malt extract. Stir until dissolved and set aside to cool slightly.
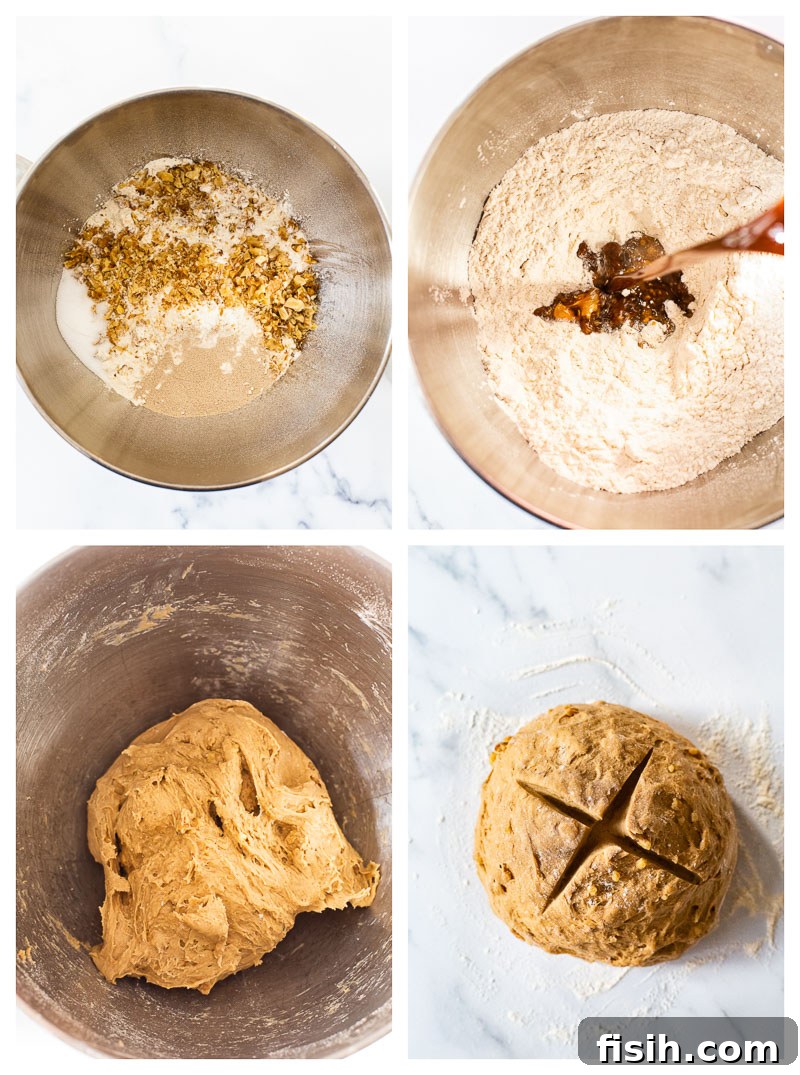
- In a large mixing bowl, combine both light rye flour and white wheat flour, dry active yeast, salt, and ground coriander. If using, add the sunflower seeds or chopped walnuts to the dry ingredients.
- Create a well in the center of the dry ingredients. Pour in the liquid mixture (water, treacle, malt extract) along with the vegetable oil and two-thirds of the tepid water.
- Mix all ingredients thoroughly. Add more of the remaining tepid water gradually if the mixture appears too dry, until a cohesive dough forms. The exact amount of water can vary depending on your kitchen’s humidity and flour absorption.
- Let the dough rest in the bowl for 5 minutes. Then, briefly knead the dough in the bowl for 1 minute to bring it together.
- Transfer the dough to a lightly floured surface and knead it for at least 5 minutes until it feels smoother and more elastic.
- Place the kneaded dough back into the mixing bowl, cover it with a clean cloth, and let it rise in a warm, draught-free place for 1.5 hours, or until visibly expanded.
- Gently punch down the risen dough to release the air. Shape the dough into a round loaf (a boule) using a simple stretch and fold method: lightly stretch each side of the dough and tuck it under itself until you form a tight ball.
- Place the shaped dough on a lightly floured surface, seam-side down. Sprinkle the top with a little more flour, cover it again with a cloth, and let it rise for a second time for another hour.
- While the dough is undergoing its second rise, preheat your oven to its maximum temperature (260°C / 500°F) with your Dutch oven placed inside to heat up thoroughly.
- Once the oven and Dutch oven are fully preheated, carefully remove the hot Dutch oven. Before transferring the dough, use a sharp knife or baker’s lame to slash a cross on top of the dough. This allows for controlled expansion during baking.
- Carefully drop the dough into the preheated Dutch oven, cover it with the lid, and bake for 20 minutes.
- After 20 minutes, remove the lid from the Dutch oven and continue baking for another 15-20 minutes, or until the bread is dark golden brown and has a crispy crust.
- Once baked, carefully remove the bread from the Dutch oven and transfer it to a wire rack to cool completely before slicing. This cooling process is crucial for the bread’s texture and flavour.
Nutrition
Approximate nutritional values per serving (based on 10 servings): Calories: 245kcal | Carbohydrates: 42g | Protein: 7g | Fat: 6g | Saturated Fat: 3g | Sodium: 467mg | Potassium: 244mg | Fiber: 4g | Sugar: 4g | Calcium: 45mg | Iron: 3mg
Nutrition information is automatically calculated, so should only be used as an approximation.