
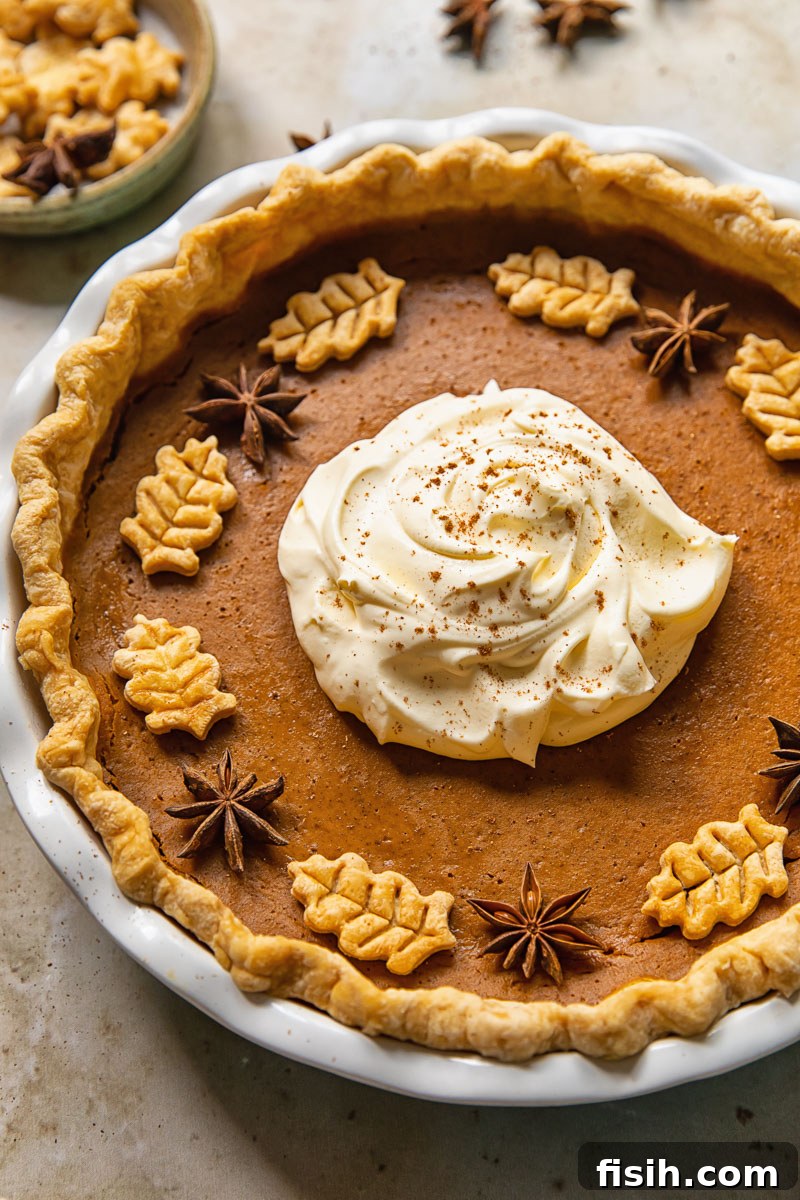
Discover the ultimate classic pumpkin pie recipe that’s anything but ordinary. This guide ensures a delightful flaky pastry and a velvety smooth pumpkin custard filling, easy to master with our expert tips. Elevate your pie’s presentation with charming, fall-themed pastry cutouts for a truly autumnal masterpiece!
For those who adore a chocolatey twist, don’t miss our tempting Pumpkin Pie with Chocolate Swirl.
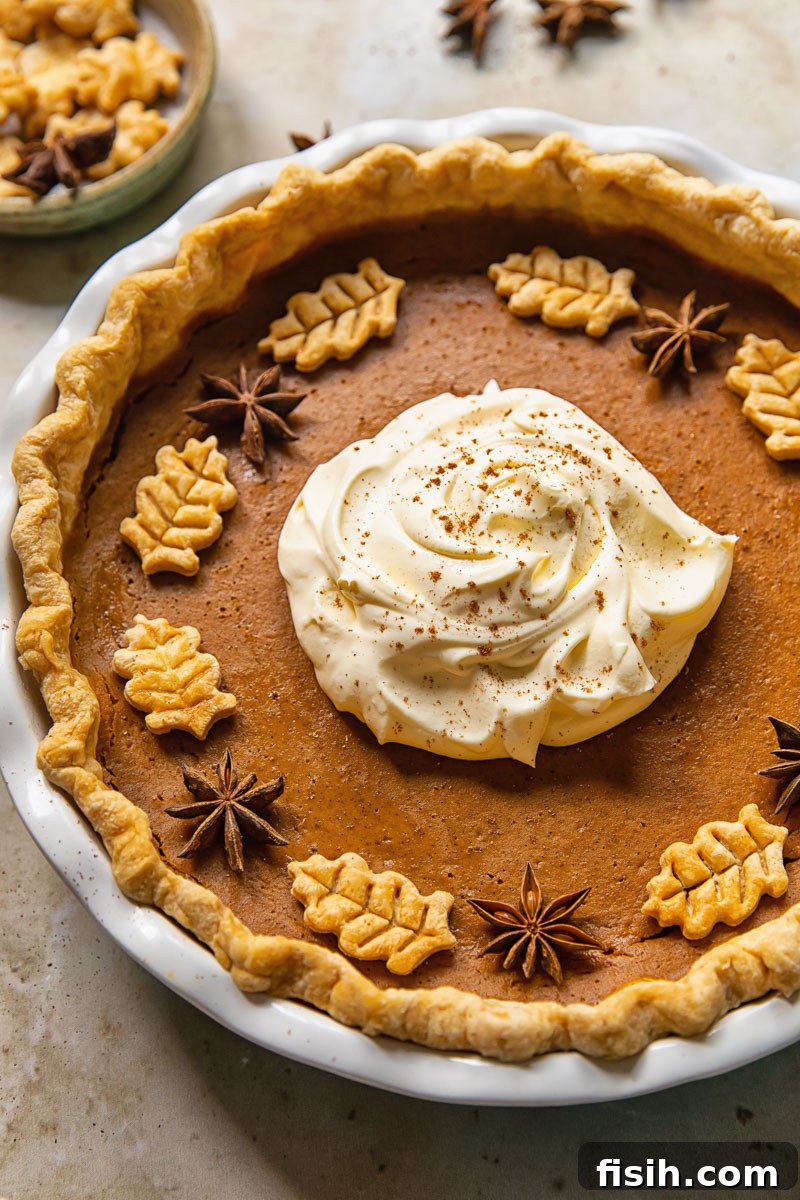
Pumpkin pie holds a revered spot in American culinary traditions, particularly during the autumn and Thanksgiving season. Its unique blend of sweet pumpkin and warm spices, encased in a buttery, tender crust, often surprises those unfamiliar with its charm, quickly turning skeptics into devoted fans. The comforting aroma and rich flavor make it an indispensable part of holiday celebrations, a true symbol of gratitude and togetherness.
In our home, pumpkin pie is more than just a dessert; it’s a cherished ritual. It’s a non-negotiable centerpiece on our Thanksgiving table, and my children, especially my son, would happily enjoy it year-round. This beloved treat bridges generations, bringing warmth and joy to every gathering. Over the years, I’ve refined our family’s recipe, incorporating several clever tricks that guarantee a consistently perfect pie. Join me as I reveal the secrets to achieving an impossibly smooth, crack-free custard and a wonderfully flaky pastry that will make your homemade pumpkin pie legendary.
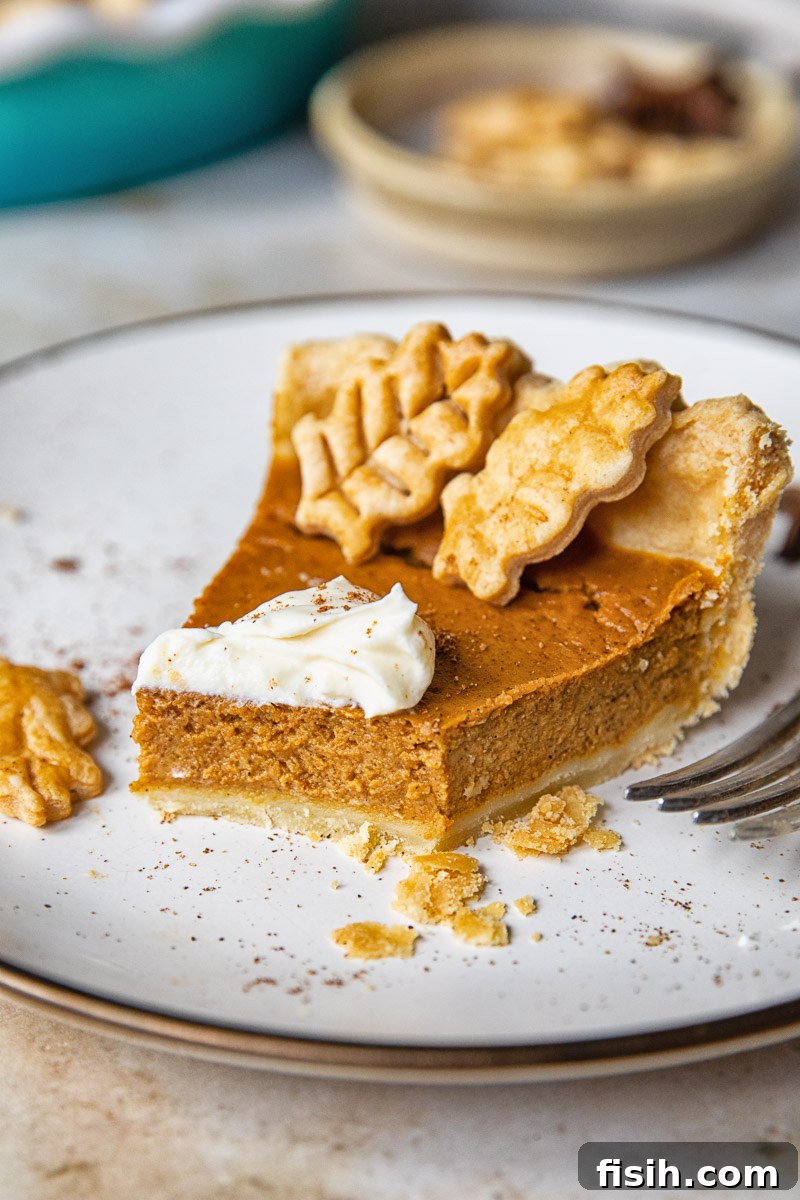
Mastering the Flaky Pie Crust
I know what you’re thinking – “the best pie crust?” Everyone claims their recipe is the best. I tend to be skeptical too, especially when it comes to classic dishes that evoke deep personal nostalgia. A recipe’s “best” status is often rooted in childhood memories and familial love, making it hard for any new creation to compete with Grandma’s or Mom’s. However, I am confident in sharing what we consider our best recipe, one that marries exceptional flavor with an irresistible texture.
The foundation of any outstanding pie is its crust, and for us, that means butter. The rich, nuanced flavor of real butter is simply unparalleled. But true perfection in a pie crust isn’t just about taste; it’s about that delicate, light, and flaky texture – the kind that shatters into dozens of crisp, tiny shards with every bite. To achieve this ethereal quality, I’ve found that a touch of lard is absolutely essential. While butter delivers on flavor, lard (or shortening as an alternative) provides an unparalleled flakiness that elevates the entire pie experience.
Crafting this ideal crust took considerable experimentation and many, many pies. My goal was to create a pastry that boasts the deep flavor of butter alongside the superior flaky texture only lard can provide. And I believe I’ve succeeded. While lard can be challenging to source in some regions, This is an affiliate link.shortening makes a decent substitute, offering a similar tenderizing effect if lard isn’t an option.
This recipe calls for a generous amount of butter, more than you might find in many other recipes, but I promise, the rich, buttery taste is worth every gram. Additionally, I incorporate an egg into the dough. This might seem unconventional, but it significantly enhances the dough’s pliability, making it much easier to handle and roll out without tearing. To ensure the fats remain as cold as possible – a critical factor for flakiness – I prefer to prepare my pastry in a This is an affiliate link.food processor. This method minimizes contact with warm hands, preserving the integrity of the cold butter and lard, and ultimately contributing to that coveted light, flaky consistency.
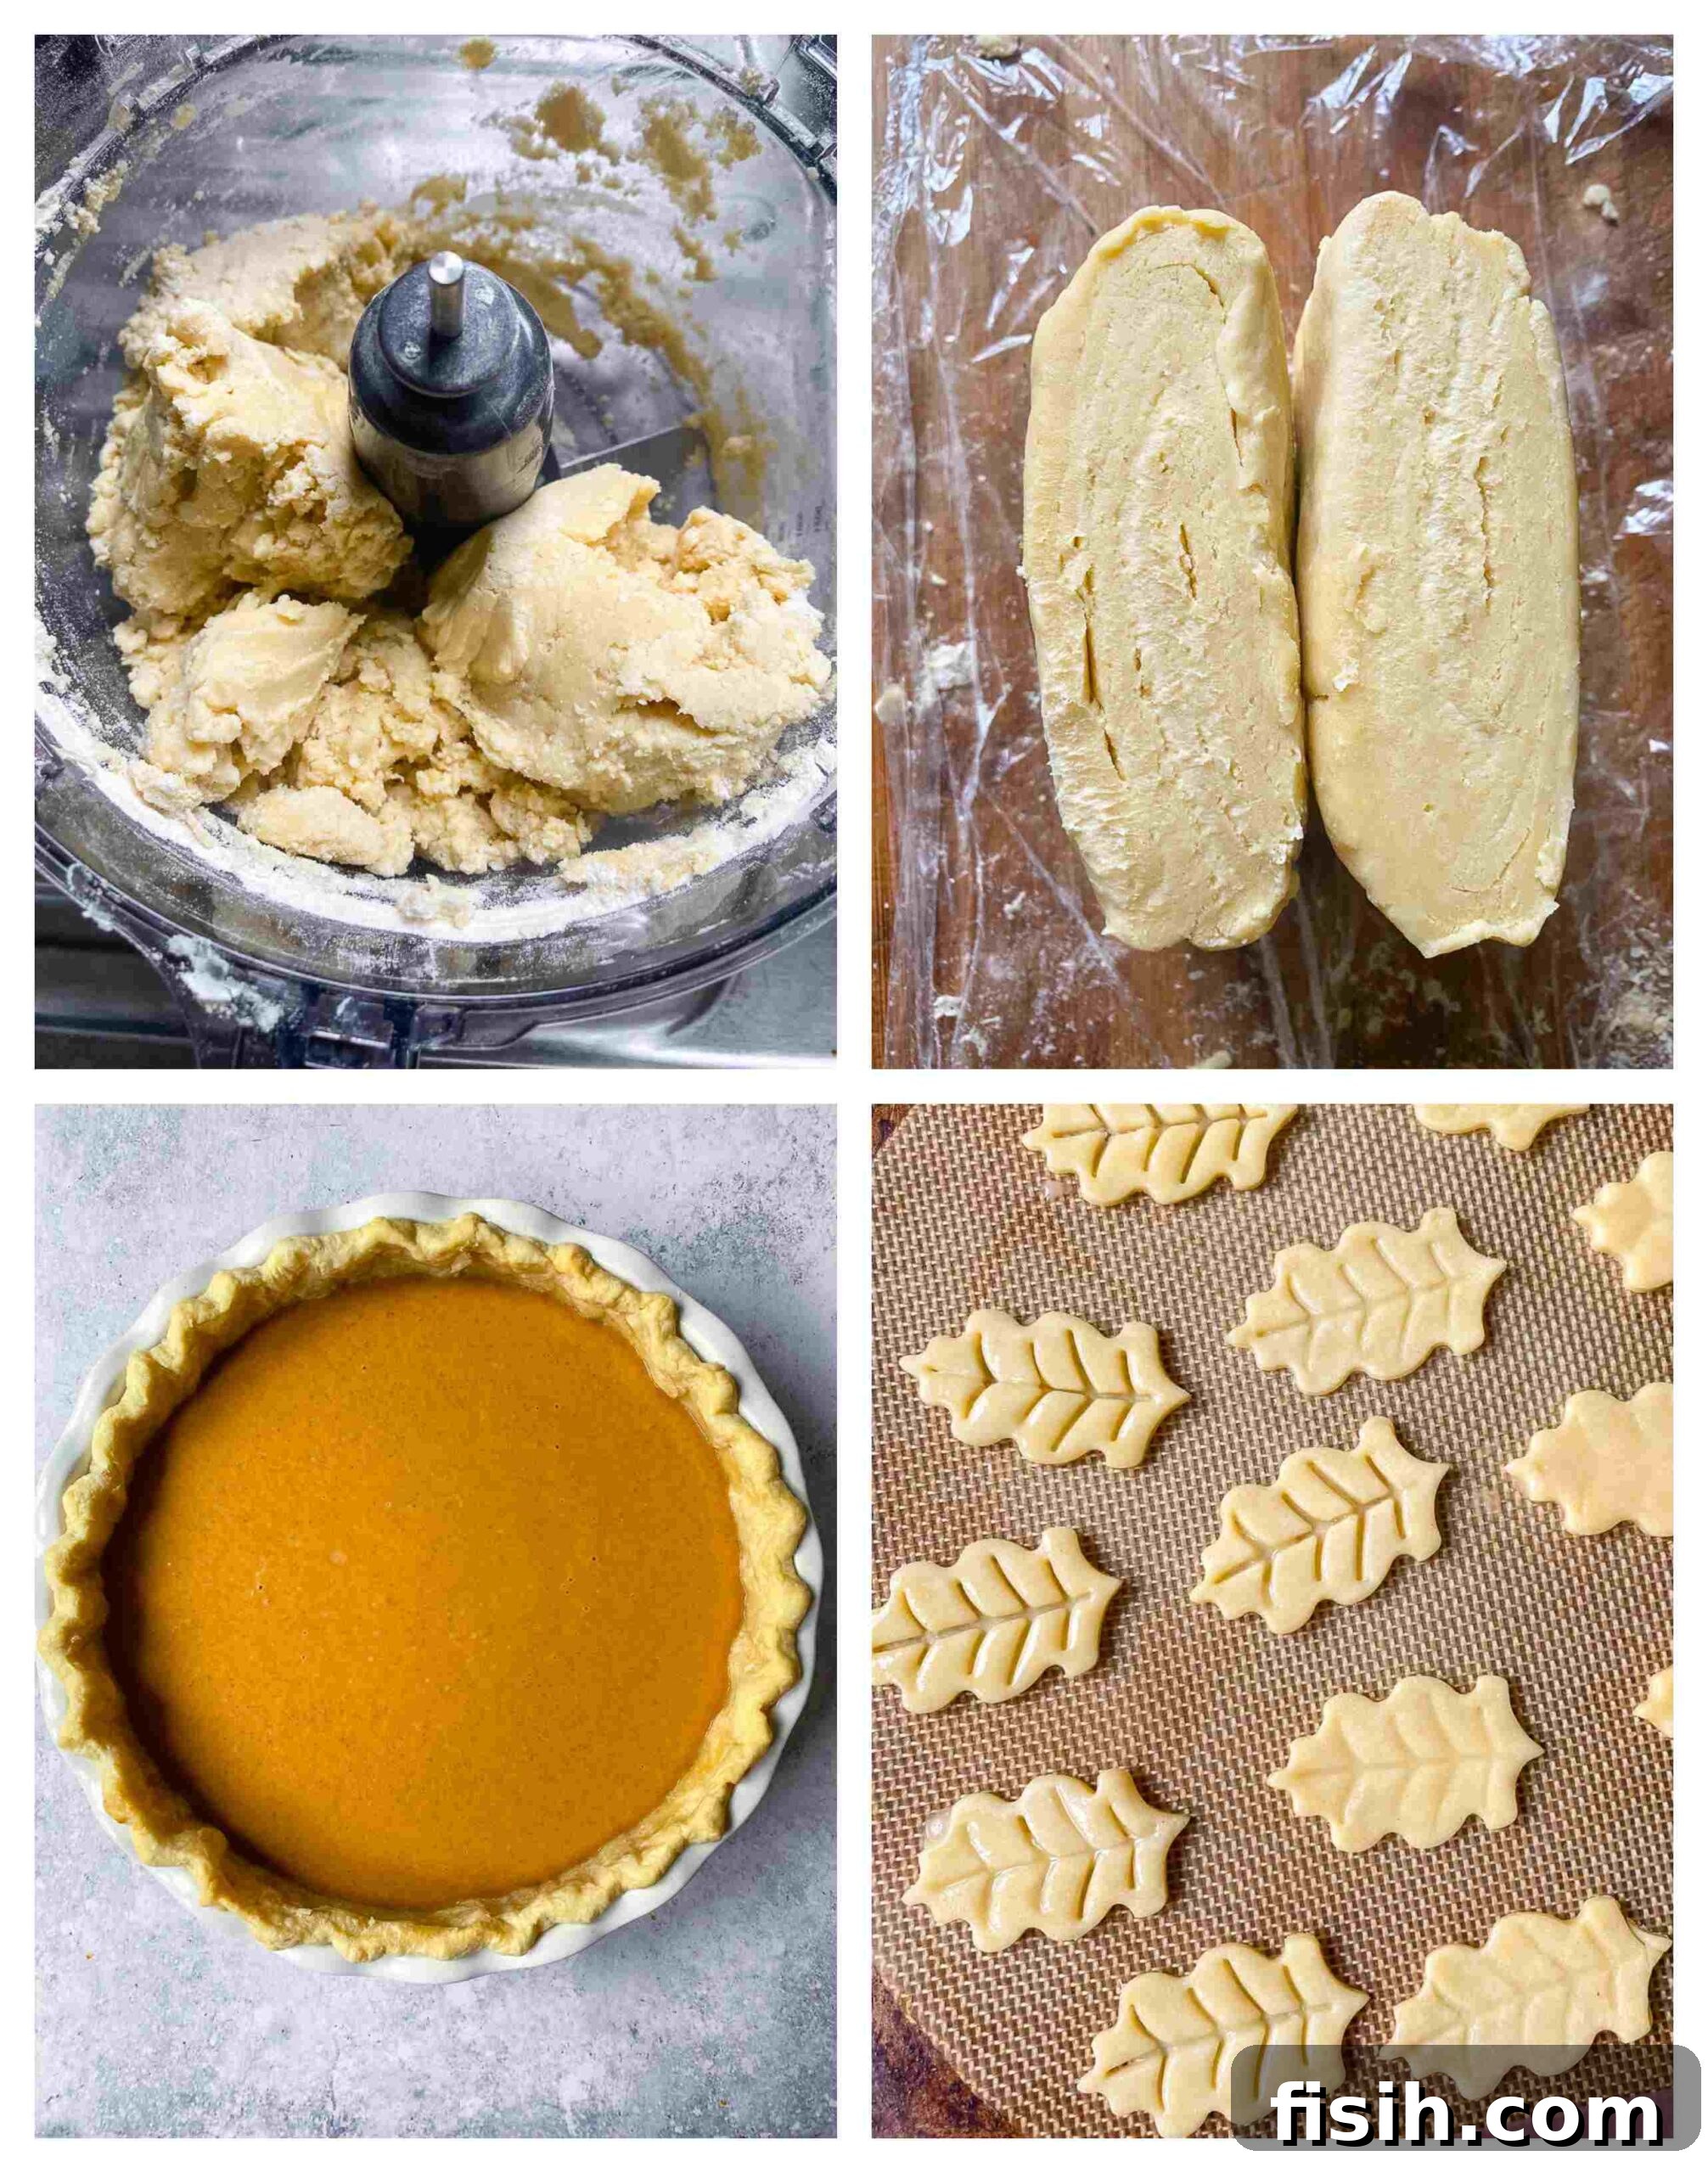
Achieving a Silky Smooth Pumpkin Filling
The heart of any pumpkin pie is its filling – a delicate pumpkin custard. The goal here is a custard that is nothing short of silky smooth, utterly luxurious, and, crucially, free of any unsightly cracks. While this might sound like a quest for high cuisine, achieving such perfection is surprisingly straightforward when you understand the underlying principles of custard making.
The key to preventing a grainy texture and those frustrating cracks lies almost entirely in temperature control. I bake my pumpkin pie at a moderate 350°F (180°C). Exceeding this temperature risks curdling the eggs in the custard, leading to a granular, unappealing texture. The gentle heat allows the custard to set slowly and evenly, ensuring a consistently smooth result. The initial high temperature for blind baking the crust ensures a crisp base, while the reduced temperature for the filling protects its delicate structure.
To further prevent cracks, a common issue in custard-based pies and cheesecakes, it’s vital to allow the pie to cool gradually. Once baking is complete, resist the urge to immediately pull the pie from the oven. Instead, turn off the oven and prop the door slightly ajar, letting the pie cool gradually within the diminishing warmth. This slow transition prevents thermal shock, which is the primary cause of cracks forming on the surface of the custard. This simple step makes all the difference, ensuring your beautiful pie remains pristine.
Essential Baking Tips for Pumpkin Pie Perfection
- **Prepare Ahead:** My top recommendation is to break down the task and prepare your pie pastry a day or even several days in advance. Chilling significantly benefits the pastry’s texture, making it easier to work with and resulting in a flakier crust. Plus, it frees up valuable time on baking day, allowing you to enjoy the process without feeling rushed.
- **Double the Pastry, Double the Joy:** This pastry recipe yields enough for one double-crust pie or two single-crust pies. When making a pumpkin pie, I often prepare a double batch and freeze half for future use, perhaps for a Christmas pie. Simply wrap the extra pastry disk tightly in plastic wrap, then place it in a ziplock bag. It will keep beautifully in the freezer for up to two months.
- **The Art of Blind Baking:** For pies with wet fillings, like pumpkin pie, blind baking (or pre-baking) the crust is absolutely crucial. This step creates a barrier, preventing a soggy bottom. Without it, the moisture from the filling can penetrate the raw dough, leaving you with a soft, unappealing base. If, after blind baking, your crust still seems a bit doughy, it likely wasn’t pre-baked long enough. Don’t rush this step!
- **Blind Baking Technique Explained:** To blind bake effectively, line your pie plate with the rolled-out pastry, trim the edges, and crimp them decoratively. Then, chill the crust in the refrigerator for at least 20 minutes. This chilling period helps the butter solidify and prevents shrinkage during baking. After chilling, line the bottom of the crust with This is an affiliate link.parchment paper and fill it with baking beans, dried beans, or pie weights. These weights prevent the crust from puffing up and shrinking. You can learn more about this technique here.
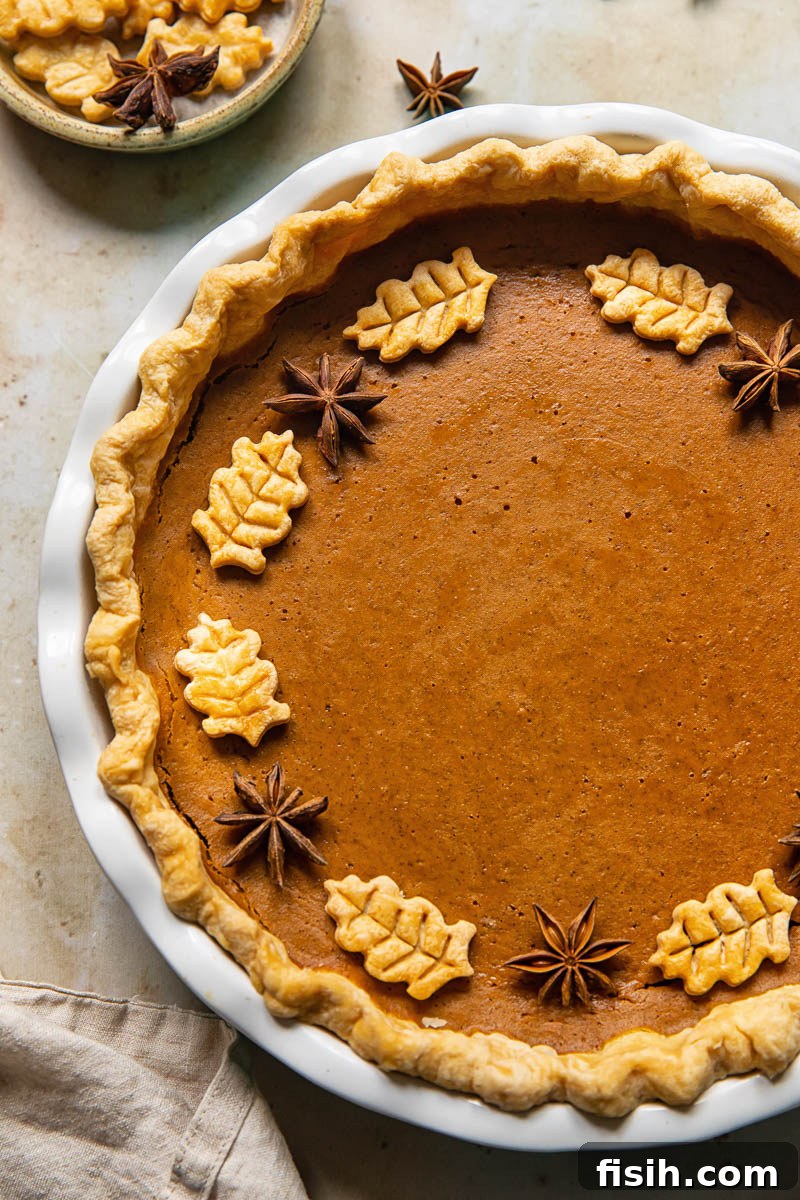
- **Decorative Flourishes:** You’ll likely have some leftover pastry scraps after fitting your pie plate. Don’t discard them! These scraps are perfect for creating beautiful autumnal decorations. Use small cookie cutters to fashion leaves, acorns, or other fall shapes. If you’re feeling artistic, you can freehand cut designs. Arrange these delicate pastry cutouts on a baking sheet and bake them alongside or after the pie until golden brown. They add a lovely, rustic touch to your finished pie.
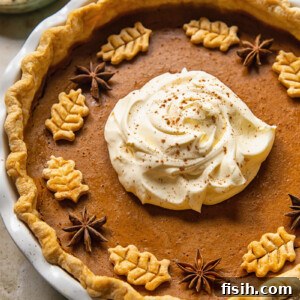
- **Simple Elegance with Star Anise:** If intricate pastry decorations aren’t your style, consider a minimalist yet stunning approach with This is an affiliate link.star anise. These beautifully shaped, fragrant spices add a sophisticated touch and a hint of exotic aroma. Simply arrange them on top of the cooled pie before serving. And remember, no pumpkin pie is truly complete without a generous dollop of freshly whipped cream!
Serving Your Perfect Pumpkin Pie
Patience is a virtue when it comes to pumpkin pie. While the warm aroma fresh from the oven is undeniably tempting, the rich pumpkin filling needs time to fully set and develop its ideal texture. This is not a pie best served piping hot. Allow it to cool completely to room temperature, or even chill it further in the refrigerator. This makes it an ideal make-ahead dessert, perfect for the busy holiday season.
When you’re ready to bring this culinary masterpiece to the table, I wholeheartedly recommend pairing each slice with a generous serving of freshly whipped cream or a scoop of creamy vanilla ice cream. These toppings aren’t just for adornment; their cool, dairy richness perfectly balances the warm, spicy notes of the pumpkin, creating a harmonious and utterly delightful taste experience.
Storage and Leftovers Guide
Due to its creamy, egg-rich filling, pumpkin pie must be refrigerated after baking. Once completely cooled, cover the pie securely with aluminum foil or plastic wrap. It will maintain its delicious flavor and texture in the refrigerator for up to four days. This extended shelf life makes it a fantastic option for preparing in advance of a holiday meal or for enjoying as a treat throughout the week.
One of the best qualities of pumpkin pie is its versatility when served. Since it’s traditionally enjoyed chilled or at room temperature, there’s absolutely no need to worry about reheating leftovers. Simply take it straight from the fridge, slice, and serve for an effortless second (or third!) helping. It tastes just as magnificent the next day, if not better, as the flavors have more time to meld and deepen.
Favourite Thanksgiving Pie Recipes
- Grandma’s Apple Pie
- Maple Bourbon Pecan Pie
- Wild Blackberry Pie
- Dulce de Leche Apple Pie
Classic Pumpkin Pie
Equipment
-
This is an affiliate link.Food processor
-
This is an affiliate link.Parchment paper
Ingredients
For the crust
- 420g / 3 cups plain flour, all purpose
- 1/2 tsp salt
- 250g / 1 cup chilled unsalted butter, cubed
- 65g / 5 tbsp chilled lard, cubed, or shortening
- 1 egg
- 85ml / 1/3 cup ice cold water
For the filling
- 400g / 15 oz This is an affiliate link.canned pumpkin puree, not canned pumpkin pie filling
- 3 eggs, large
- 250ml / 1 cup double/heavy whipping cream
- 100g / 1/2 cup brown sugar
- 1½ tsp cinnamon
- 1/4 tsp cloves
- 1/4 tsp dried ginger
- 1/4 tsp This is an affiliate link.nutmeg
- 1 tsp This is an affiliate link.vanilla
- 1/2 tsp salt
For decoration
- 8 This is an affiliate link.star anise
Instructions
-
In a food processor or a large bowl, combine the flour and salt. Add the chilled, cubed butter and lard. Process in a food processor or cut in with a pastry blender until the mixture resembles fine crumbs. Add the beaten egg and ice water, then pulse in the food processor for about 20 seconds until a dough ball forms around the center. Remove the dough, divide it in half, and shape each piece into a flat disk. Wrap one disk in plastic wrap and chill in the refrigerator for at least 20 minutes, or ideally, overnight. (The pastry can be made a day ahead. Freeze the second pastry disk for up to two months for later use.)
-
Once chilled, remove the pastry from the fridge and roll it out on a lightly floured surface. Carefully drape the pastry over your rolling pin and transfer it to a 9-inch pie or tart plate. Trim any excess pastry and crimp the edges to your desired design. Return the pie crust to the refrigerator to chill for another 20 minutes. (Optional: Re-roll any pastry scraps and use cookie cutters or freehand to cut out decorative leaves or shapes. Place them on a cookie sheet and chill them as well.)
-
Preheat your oven to 400°F (200°C). Line the chilled, unbaked pie crust with parchment paper and fill it with baking beans or pie weights, ensuring they reach the top edges. Bake in the preheated oven for 20 minutes.
-
While the crust is blind baking, prepare the pumpkin filling. In a large bowl, whisk together the eggs and brown sugar until well combined. Then, stir in the pumpkin puree, heavy cream, cinnamon, nutmeg, cloves, ginger, vanilla extract, and salt until the mixture is smooth and fully incorporated.
-
Remove the pie crust from the oven. Immediately reduce the oven temperature to 350°F (180°C). Allow the crust to cool for 5 minutes, then carefully lift the parchment paper along with the pie weights out of the crust. (If the crust still looks noticeably doughy after blind baking, prick the bottom all over with a fork and return it to the oven for an additional 5 minutes without the weights.) Pour the prepared pumpkin filling into the pre-baked crust. Return the pie to the oven and bake for 40-55 minutes, or until the filling is set (a slight wobble in the center is okay, but the edges should be firm). Once baked, turn off the oven and prop the door open slightly, allowing the pie to cool in the oven for about 20 minutes. This gradual cooling helps prevent cracks. Finally, remove the pie from the oven and let it cool completely on a wire rack.
-
Optional: Bake the pastry cutouts for 10-13 minutes at 350°F (180°C) until golden brown. Once cooled, use them to decorate the pie along with whole star anise. Serve slices with a generous dollop of whipped cream.
Notes
- For the flakiest crust and an easier baking day, it’s highly recommended to prepare the pie pastry a day or even several days in advance. Chilling the dough thoroughly in the refrigerator significantly improves its texture and workability.
- This pastry recipe yields enough dough for one double-crust pie or two single-crust pies. If you have extra dough, simply wrap it well and freeze it for up to two months for future baking endeavors.
- To prevent a soggy bottom, especially with a wet filling like pumpkin, it is essential to partially bake the pastry case, a process known as blind baking. If the pie crust still appears raw after this step, it indicates insufficient pre-baking time.
- Blind baking involves lining your pie plate with the prepared pastry, trimming the edges, and chilling it for 20 minutes. Afterward, cover the bottom of the crust with This is an affiliate link.parchment paper and fill it with baking beans or regular dried beans. This technique not only prevents a soggy bottom but also helps the pastry maintain its shape and prevents shrinking during baking.
- Any leftover pastry scraps can be put to good use for decoration. Employ cookie cutters or freehand techniques to create beautiful autumnal shapes like leaves, adding an elegant and personal touch to your finished pie.
Nutrition
Nutrition information is automatically calculated, so should only be used as an approximation.
Tried this recipe?Let us know how it was!