
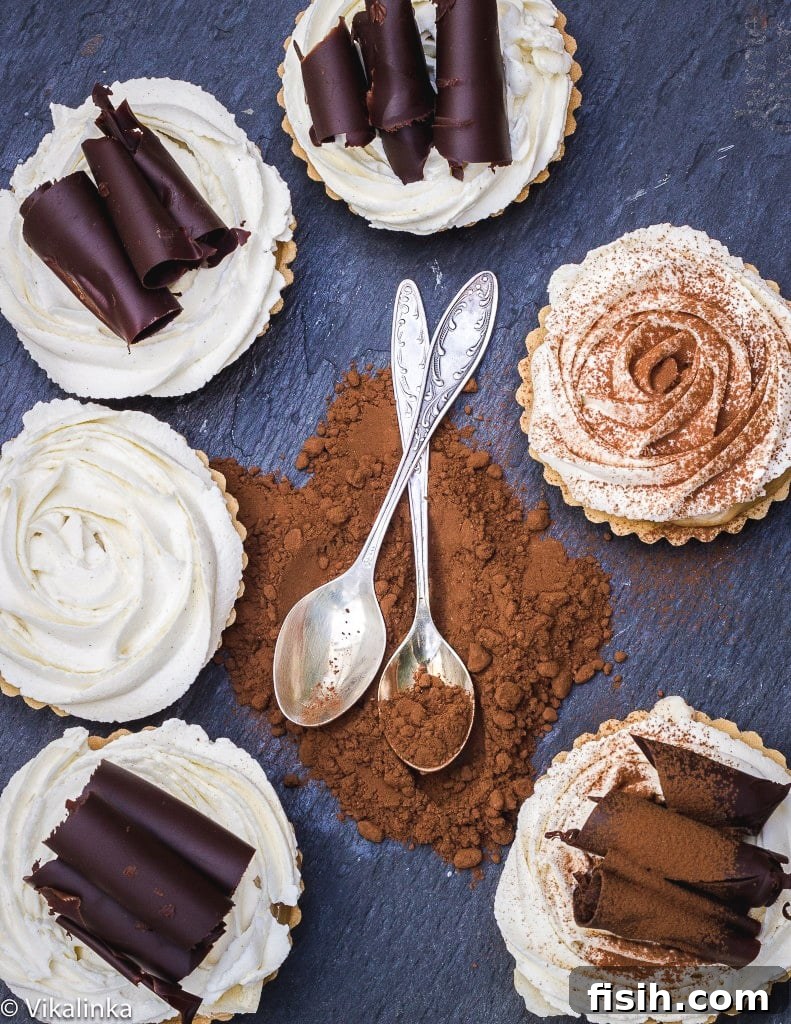
Welcome to the delightful world of Banoffee Tartlets, the miniature, irresistible version of the beloved British classic, Banoffee Pie! Imagine a perfectly crumbly tart base, generously filled with a layer of rich, sweet toffee, topped with fresh, creamy banana slices, and crowned with a luxurious cloud of whipped cream, often adorned with elegant chocolate curls or a dusting of cocoa. These individual servings are not only charmingly presented but also incredibly easy to make, especially when utilizing prepared tart shells, making them the ultimate last-minute dessert for any occasion.
For those who prefer the grand original, explore my detailed recipe for the Easy Banoffee Pie, a truly indulgent experience that inspired these smaller treats.
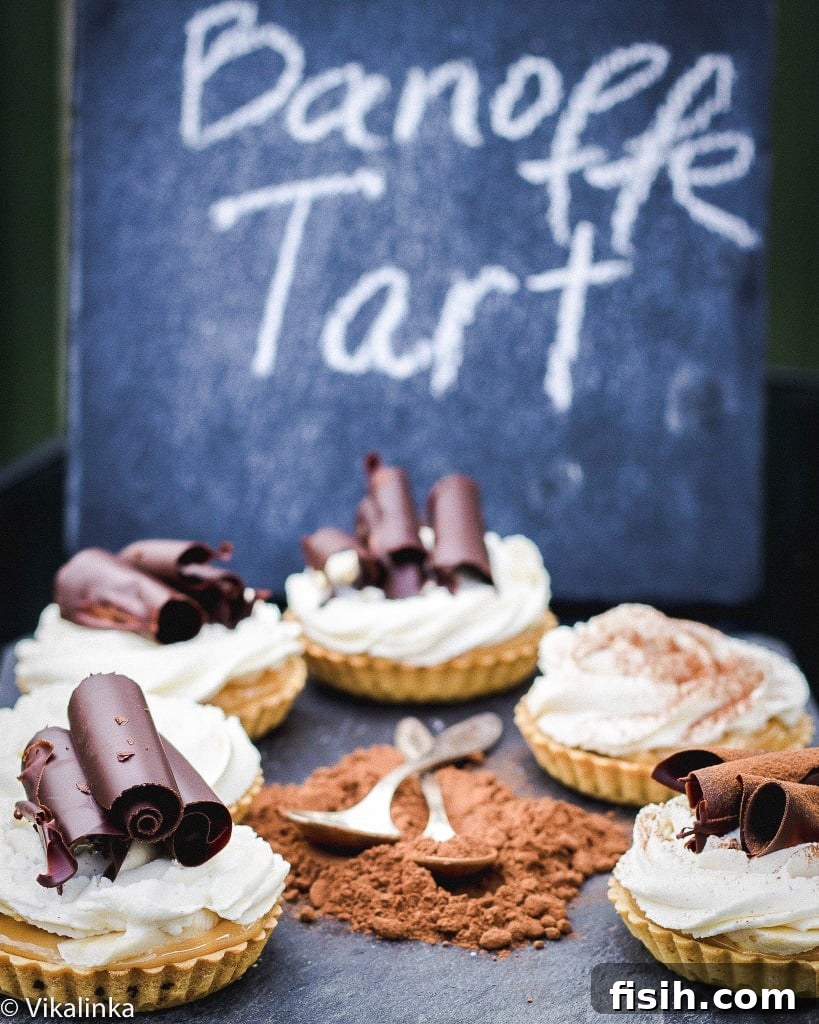
A Quintessential British Delight: The Story of Banoffee
If you’re new to the wonders of Banoffee Pie, particularly if you hail from outside the United Kingdom, you’re in for a magnificent treat. This iconic dessert, a proud culinary invention of England, stands as a testament to simple ingredients coming together to create something truly extraordinary. While perhaps not on par with industrialization or the discovery of DNA, the creation of Banoffee Pie undeniably holds a special place in the hearts of many, a sweet revelation that has captivated taste buds worldwide.
The name itself, “Banoffee,” is a charming portmanteau, effortlessly blending the core components: the sweet and silky **Ban**ana with the rich and indulgent T**offee**. This magical combination, often enhanced with a hint of chocolate, paints a picture of pure, unadulterated bliss, a harmonious symphony of flavors and textures that is both comforting and sophisticated.
Why Mini Tartlets Are a Masterstroke
There’s an undeniable charm and convenience to transforming a classic pie into individual tartlets. These mini versions are incredibly easy to prepare and even easier to savor, making them a fantastic choice for any gathering, from intimate dinner parties to larger celebrations. When faced with the task of cooking a significant meal, the last thing anyone wants is to be burdened with an overly complicated dessert. Banoffee tartlets shine in this regard, offering an elegant solution.
Serving individual tartlets streamlines the entire dessert course, eliminating the need for slicing and struggling with a large pie. As a cold treat, they can be prepared well in advance and kept chilled in the refrigerator until the perfect moment for dessert arrives. This not only reduces last-minute stress but also ensures a wonderfully refreshing finish to any meal. Despite their straightforward preparation, these banoffee tartlets consistently impress, looking every bit as stunning as they taste.
Refining the Classic for Individual Servings
To craft these delightful tartlets, I largely adhered to the essence of the original Banoffee Pie recipe, while implementing a few strategic modifications to optimize for the smaller format and enhance convenience without compromising flavor. One key adjustment involved using rich dulce de leche instead of traditional toffee, offering a slightly different depth of caramel flavor that pairs beautifully with the bananas. Furthermore, mascarpone cheese was introduced into the whipped cream topping. This addition creates a more stable, richer frosting that holds its shape beautifully, allowing for elegant piping and a more luxurious mouthfeel.
A significant time-saver, and a secret to their ease, is the use of prepared tart shells. This shortcut drastically reduces preparation time, making this impressive dessert astonishingly quick and stress-free. Freed from the task of baking crusts from scratch, I could dedicate more creative energy to the aesthetic appeal, decorating each tartlet with a gorgeous piped cream rosette, transforming a simple dessert into a visually captivating masterpiece.
The Heart of Banoffee: Crafting the Perfect Toffee Layer
The luscious toffee layer is undeniably the soul of any Banoffee creation. While convenience often calls for store-bought options, such as canned caramel sauce or authentic dulce de leche, crafting your own homemade toffee from sweetened condensed milk is a surprisingly simple and rewarding endeavor. The depth of flavor and silky texture achieved through this method is truly unparalleled and adds a personal touch to your tartlets.
To embark on this culinary magic, begin by carefully removing the label from a can of sweetened condensed milk. Place the unopened can in a large pot, ensuring it is completely submerged in water. Bring the water to a boil, then reduce the heat to a gentle simmer, allowing the can to cook for 1.5 to 2 hours. Throughout this cooking process, it is absolutely crucial to ensure the can remains fully covered by water to prevent it from overheating and potentially rupturing. Once the cooking time is complete, carefully remove the can from the hot water and allow it to cool completely before opening. Upon opening, you will discover that your humble can of sweetened condensed milk has miraculously transformed into glamorous, rich, and incredibly silky toffee. This step can be conveniently done well in advance, as the sealed toffee can be stored for several weeks until you are ready to assemble your delicious banoffee tartlets.
The Elegant Finish: Crafting Chocolate Curls
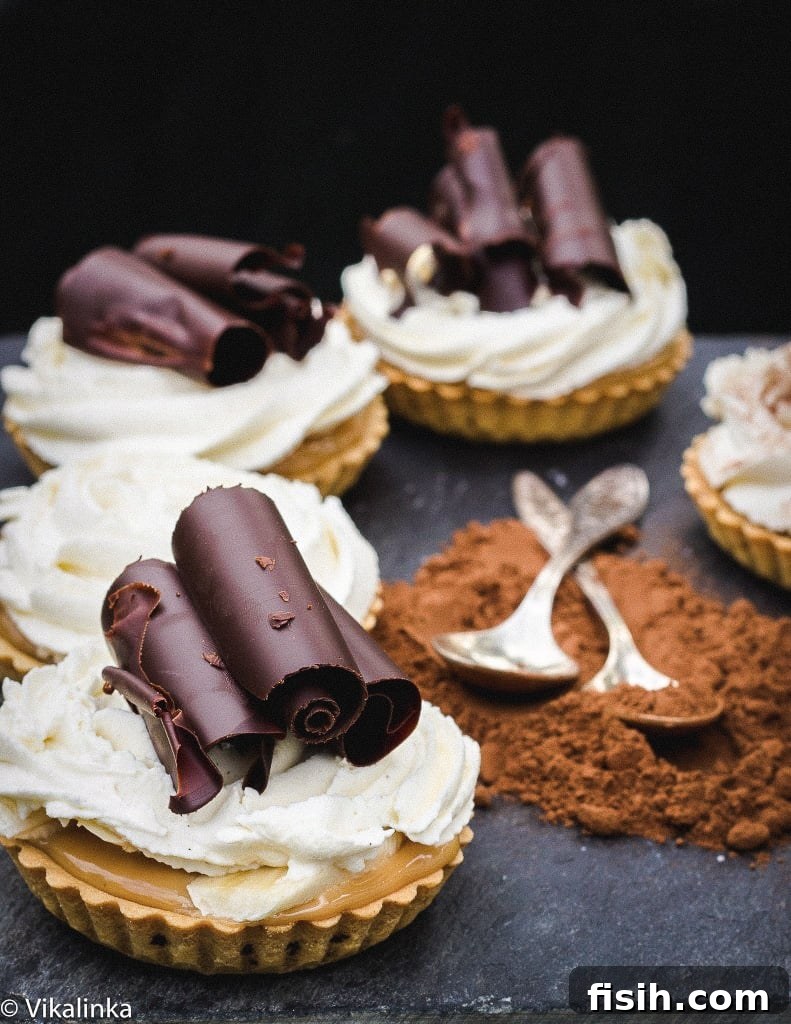
A touch of chocolate adds a sophisticated flourish to these banoffee tartlets. While a simple dusting of cocoa powder is always a lovely option, delicate chocolate curls elevate the presentation to another level. Creating these elegant garnishes at home is surprisingly straightforward and adds a professional touch to your dessert.
Begin by gently melting your preferred chocolate in a microwave-safe bowl, heating it in short bursts and stirring until smooth. Once melted, spread the chocolate very thinly and evenly onto a clean baking tray. Place the tray in the refrigerator for approximately 3 minutes, just long enough for the chocolate to set but not become too hard. Remove the tray from the fridge and allow it to sit at room temperature for a couple of minutes to soften ever so slightly. Now, with a cheese slicer or even a sharp knife held at a slight angle, gently drag the edge along the surface of the chocolate. As you drag, beautiful, delicate curls will form. Continue this process until you have gathered a sufficient amount of curls to adorn all your tartlets. Once you have your desired quantity, pop the chocolate curls back into the refrigerator for a few minutes to firm up completely before carefully placing them atop your whipped cream.
Perfecting the Presentation: Serving Suggestions
Banoffee tartlets, much like their larger pie counterpart, are best enjoyed when they have been properly chilled for several hours. This crucial chilling period allows all the distinct flavors to meld together harmoniously, deepening the taste and ensuring the toffee sets to a perfect consistency. Since it’s a cold dessert, it’s always best served refreshingly cool. Keep your assembled tartlets in the refrigerator until just before serving to maintain their optimal temperature and texture.
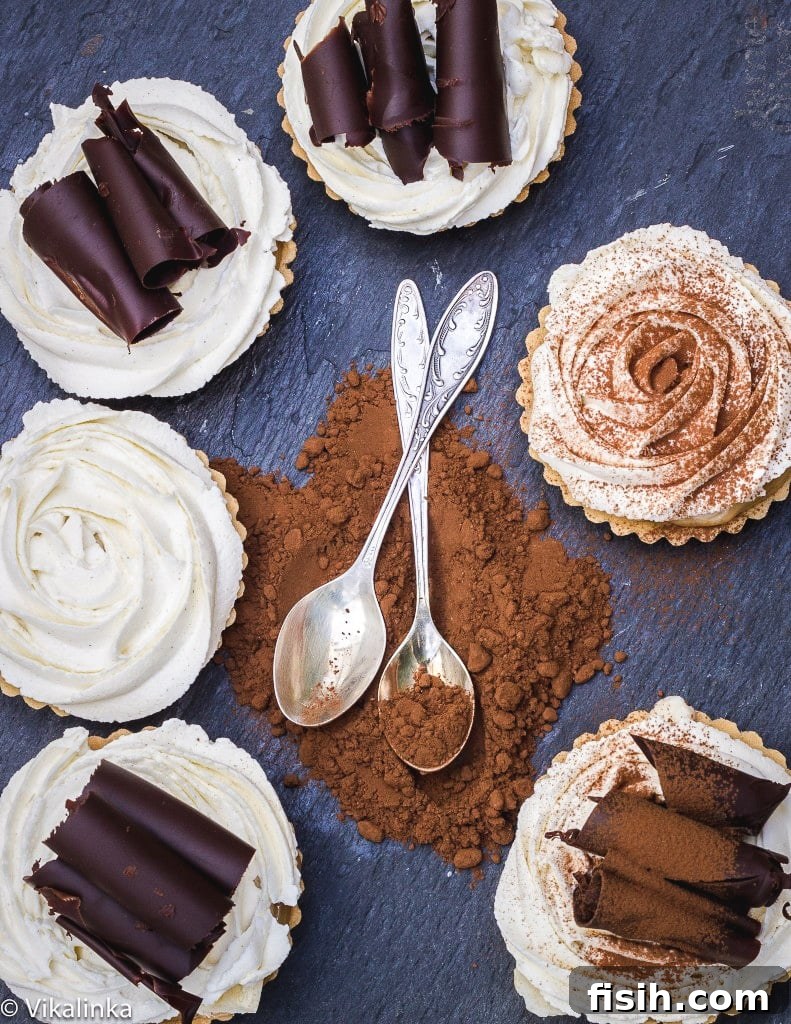
When it comes to garnishing, you have the creative freedom to choose. While chocolate curls add a touch of sophistication, I often opt to leave one or two tartlets without curls, instead giving them a delicate dusting of cocoa powder. This subtle variation allows the gorgeous piped cream rosettes to truly stand out, showcasing the artistry of the dessert and offering a slightly different visual appeal.
Storage and Enjoying Leftovers Responsibly
For the absolute best experience, these Banoffee Tartlets are ideally consumed within 24 to 30 hours of assembly. During this timeframe, the flavors have fully developed and integrated, yet the tart shells retain their delightful crispness. Beyond this window, while still delicious, the tart shells may begin to soften slightly from the moisture of the filling and cream. However, if properly stored, they can certainly be kept for 2-3 days.
To maximize their shelf life, ensure the tartlets are covered in an airtight container or tightly wrapped with plastic wrap before being placed back in the refrigerator. A common concern with banana-based desserts is the fruit turning brown. Fortunately, with Banoffee Tartlets, there’s no need to worry! The sliced bananas are safely nestled beneath a generous, fluffy layer of whipped cream, which acts as a protective barrier, preventing exposure to air and thus inhibiting oxidation and discoloration. This means your tartlets will look and taste fresh even a day or two later.
More Tart Recipes to Inspire Your Baking Adventures
If you’ve fallen in love with the elegance and convenience of tartlets, here are some other fantastic tart recipes from my collection to broaden your baking horizons and delight your palate:
- Salted Caramel Pear Tarts
- Summer Berry Tart
- Plum Tarte Tatin
- Roasted Rhubarb Bakewell Tart
Banoffee Tartlets
By Julia Frey of Vikalinka
Total: 30 mins
Servings: 8
These delightful tarts are filled with layers of rich toffee, fresh sliced bananas, and a fluffy whipped cream topping.

Ingredients
- 8 all-butter pre-made tartlet cases (feel free to make your own from scratch if desired!)
- 1 tin (397g / 14oz) caramel sauce or dulce de leche
- 2 bananas, ripe but firm, thinly sliced
- 100g / 1/2 cup mascarpone cheese
- 250ml / 1 cup whipping cream or double cream
- 50g / 1/4 cup icing sugar (confectioners’ sugar)
- 1 tsp vanilla extract
- 1 tbsp rum (optional, for added flavor)
- 50g / 2oz dark chocolate for chocolate curls, or 1 tbsp cocoa powder for dusting
Instructions
- In a large bowl, whip together the mascarpone cheese, whipping cream, icing sugar, vanilla extract, and optional rum until the mixture is thick and forms stiff peaks, suitable for piping.
- Divide the caramel sauce or dulce de leche evenly among the 8 tartlet cases, spreading it to form an even layer.
- Arrange the sliced bananas neatly over the toffee layer in each tartlet.
- Transfer the mascarpone cream frosting to a piping bag fitted with your preferred nozzle. Pipe elegant rosettes or swirls of cream on top of the banana layer in each tartlet.
- Dust lightly with cocoa powder or decorate with homemade chocolate curls (instructions below).
For Chocolate Curls:
- Melt the chocolate in a microwave-safe bowl in short intervals, stirring until smooth.
- Spread the melted chocolate very thinly and evenly onto a baking tray. Place it in the refrigerator for about 3 minutes to set slightly.
- Remove the tray from the fridge and let it sit at room temperature for a couple of minutes to soften just enough.
- Using a sharp knife or a cheese slicer, gently drag the blade along the surface of the chocolate to create delicate curls.
- Once you have enough curls, return them to the refrigerator for a few minutes to harden before using them as garnish.
Notes
These tartlets achieve their peak flavor and texture after being chilled in the refrigerator for a few hours, allowing all the components to set and meld together beautifully.
Nutrition
Nutrition information is an approximation per serving:
- Calories: 322 kcal
- Carbohydrates: 24g
- Protein: 4g
- Fat: 24g
- Saturated Fat: 14g
- Polyunsaturated Fat: 1g
- Monounsaturated Fat: 4g
- Trans Fat: 0.01g
- Cholesterol: 52mg
- Sodium: 56mg
- Potassium: 171mg
- Fiber: 2g
- Sugar: 14g
- Vitamin A: 659 IU
- Vitamin C: 3mg
- Calcium: 44mg
- Iron: 2mg