
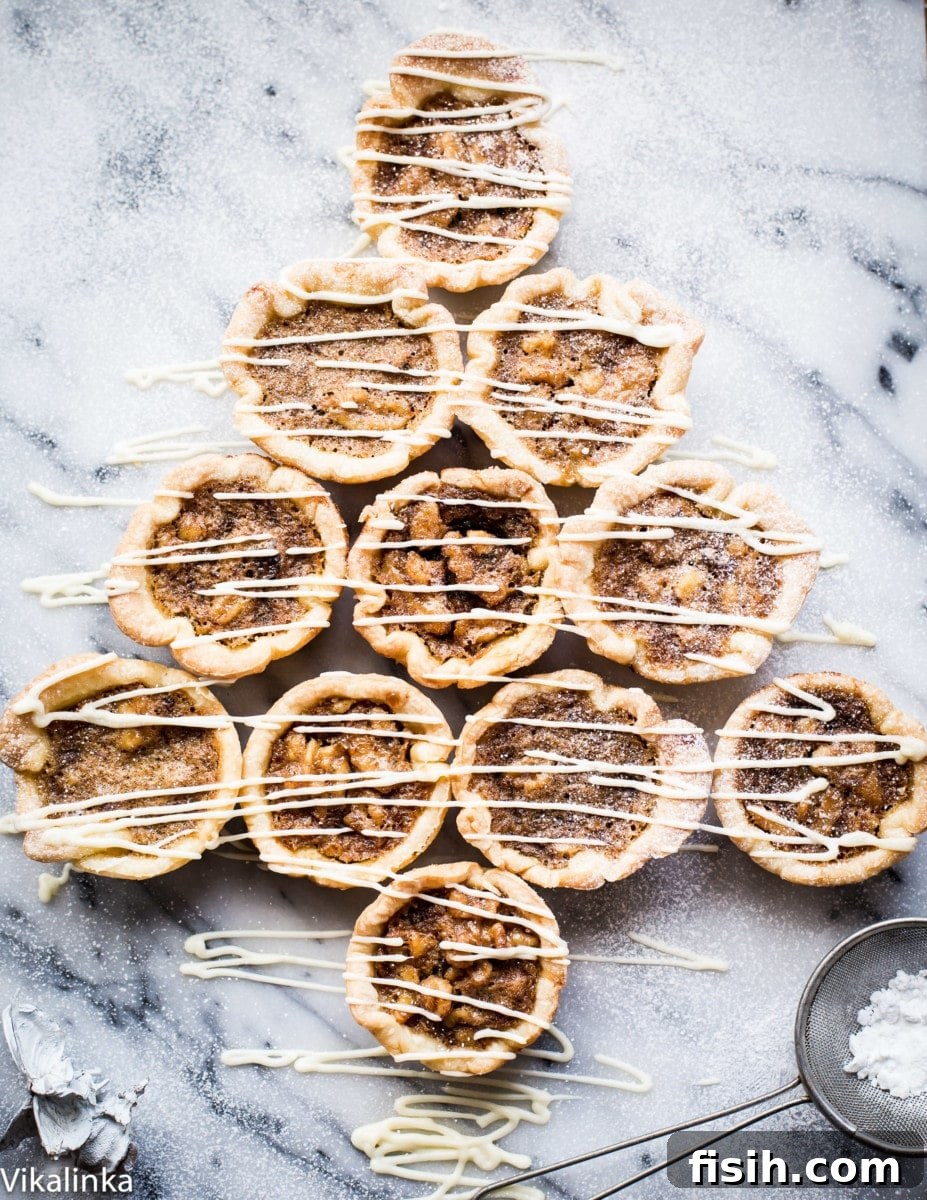
Classic Canadian Butter Tarts: A Holiday Tradition Made Easy
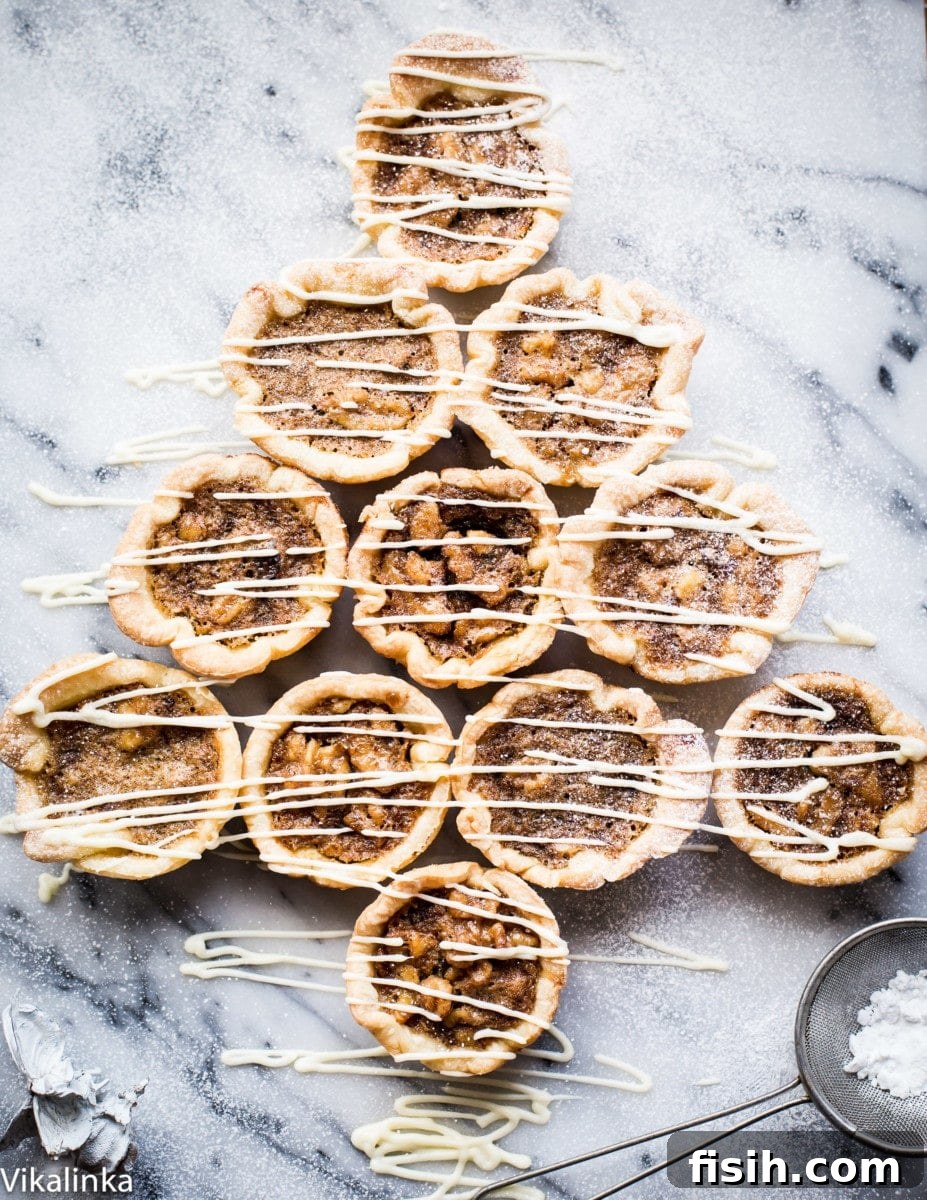
The scent of warm spices and sweet pastry is perhaps one of the most comforting indicators that the holiday season has truly arrived. For me, these two weeks are a glorious break from the everyday, a chance to fully immerse myself in the festive spirit. And what better way to do that than by indulging in some truly delightful baking?
While I love to get my hands sticky in the kitchen, these particular butter tarts, with their irresistible flaky pastry and gooey golden custard, weren’t actually my creation. Much to my pleasant surprise, they were lovingly baked by my wonderful husband, Brad! You see, I was under the impression that baking was a realm he hadn’t quite conquered yet, though his cooking skills have blossomed over the past few years. However, he proved me delightfully wrong. As for my own baking endeavors, I proudly contributed this White Christmas Truffle Cake to our festive spread.
Brad had been dropping hints about making butter tarts for a while, but I confess, I was skeptical. I’d think, “Sure, Brad, I’ll believe it when I see it!” Then, one ordinary day at work, my phone buzzed with a photo – a glorious sight of freshly baked, glistening tartlets. Underneath, a simple message read: “You like?”
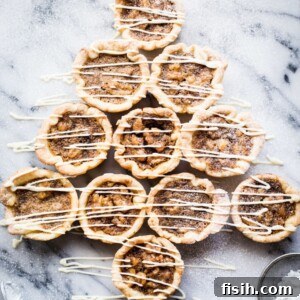
My response? A resounding “Yes, I DOUBLE like!” Who wouldn’t want to be greeted by a thoughtful husband and a tray of these magnificent flaky pastry tartlets, bursting with a delectable golden custard, plump raisins, and crunchy walnuts? It was, without a doubt, a perfect moment. Every bite was a testament to his newfound baking prowess, and I couldn’t have been prouder.
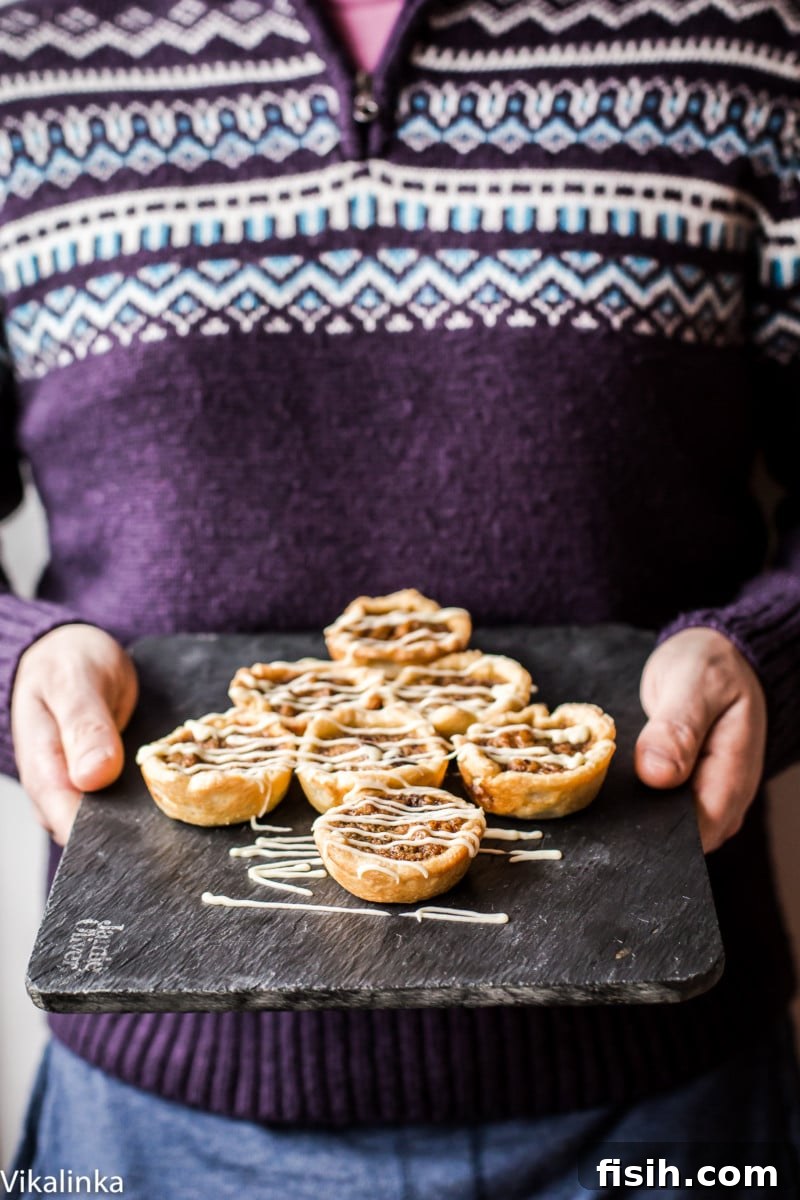
The Quintessential Canadian Treat: Butter Tarts
Brad’s enthusiasm for baking butter tarts stems from his true Canadian roots. For anyone from the Great White North, the festive season simply isn’t complete without a butter tart or two… or perhaps even a dozen! These sweet, unassuming pastries hold a special place in the hearts and homes of Canadians, especially during Christmas.
Butter tarts are as fundamentally Canadian as the iconic maple syrup, the exhilarating sport of hockey, or the industrious beaver. They embody a simple, wholesome sweetness that perfectly reflects the Canadian spirit. Just like the vast and welcoming country itself, butter tarts are wonderfully “moreish” – once you have one, you’ll invariably find yourself craving another. Their unique blend of a tender, flaky crust and a rich, sweet, gooey filling distinguishes them from other tarts and makes them an absolute must-try for anyone seeking an authentic taste of Canada.
A Brief History of This Beloved Dessert
The exact origin of the butter tart is somewhat debated, but it’s widely accepted to be a truly Canadian creation. Historical records suggest that similar tarts were baked by early Canadian settlers in the late 19th and early 20th centuries, often using ingredients readily available on farms: butter, sugar, eggs, and dried fruit. The earliest known published recipe for a butter tart appeared in 1900 in the “Women’s Auxiliary of the Royal Victoria Hospital Cookbook” from Barrie, Ontario. Since then, they have evolved slightly, with variations in ingredients and the specific “runniness” of the filling becoming a topic of friendly debate among enthusiasts. Regardless of the subtle differences, the core elements remain – a delightful shortcrust pastry and a sweet, buttery filling.
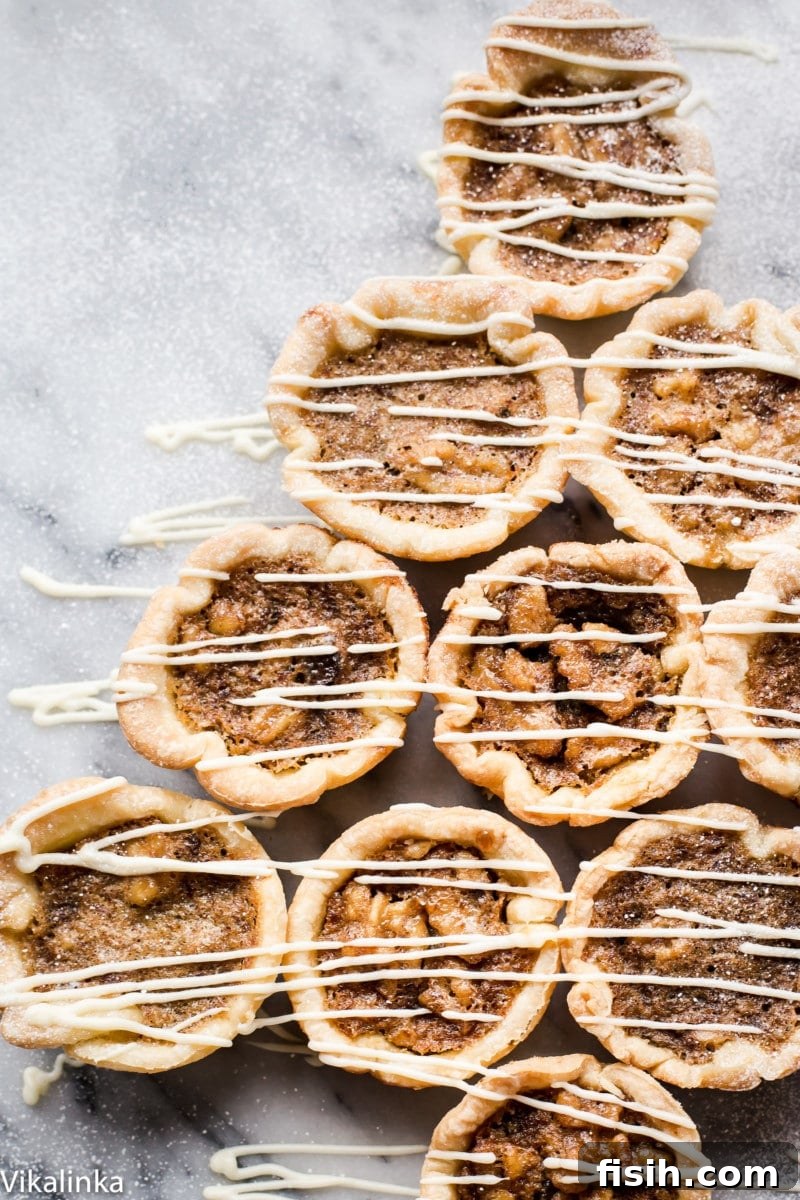
From Novice Baker to Butter Tart Master: Brad’s Story
As I mentioned, Brad has developed into quite a proficient cook over the last three years, which I celebrate wholeheartedly. However, baking always seemed to be a bit outside his comfort zone. So, when he announced his intention to tackle butter tarts, I was intrigued but perhaps a little skeptical of the outcome. Yet, after tasting his creations, I – along with all my colleagues who eagerly sampled them – had to agree: he absolutely aced them! And his secret? The recipe is incredibly straightforward and surprisingly easy!
How Do You Make Classic Canadian Butter Tarts?
Despite their elegant appearance, butter tarts are far from fiddly. In fact, they make for a fantastic and fun baking project to undertake with children. If you opt for a pre-made crust, as Brad did, the process becomes even faster, cutting down significantly on preparation time. This makes them accessible even for those new to baking or looking for a quick yet impressive dessert.
The process is quite simple: you just need to roll out your pre-made pastry to about 1/8-inch thickness. Then, using a 4-inch round cutter or even a standard drinking glass, cut out circles to line your muffin tins. These pastry shells are then ready to be filled with the rich, sweet maple and nut mixture.
One crucial tip to ensure perfect butter tarts: be mindful of spills around the edges of your muffin cups. You want to keep the pastry and the tin relatively clean. If the filling spills and caramelizes around the edges during baking, it can become incredibly difficult to remove the tarts from the tin without breaking them or leaving a sticky residue. A little care here will save you a lot of effort and ensure beautifully presented tarts.
Easy Butter Tarts Recipe: Your Guide to Canadian Delight
Rating: 5 out of 5 stars (based on 6 votes)
Butter Tarts
Julia Frey of Vikalinka
20
35
24
Print Recipe
Ingredients
- 500 g / 18 oz Pie Crust, pre-made
- 3/4 cup Brown Sugar, packed
- 1/2 cup Maple syrup or golden syrup
- 1/3 cup Butter, melted
- 2 Eggs
- 1 tbsp Cider Vinegar
- 1 tsp Vanilla extract
- 1/2 tsp Salt
- 1/2 cup Raisins
- 1/2 cup Walnuts, chopped (optional)
- 50 g White Chocolate, melted (for garnish, optional)
Instructions
- Preheat your oven to 350°F (180°C).
- In a medium bowl, combine the melted butter, brown sugar, maple syrup, eggs, cider vinegar, vanilla extract, and salt. Whisk everything together until thoroughly combined and smooth.
- Stir in the raisins and chopped walnuts (if using). This forms your delicious filling.
- Roll out your pre-made pastry to a thickness of approximately ⅛-inch. Use a 4-inch pastry cutter or a regular glass (a 3.5-inch diameter glass works well too) to cut out even rounds.
- Carefully line the cups of your muffin tin with the pastry rounds, gently pressing them into shape.
- Fill each pastry-lined muffin cup with the maple/nut mixture. Aim to fill them about two-thirds full to allow for expansion and to prevent overflow.
- Bake for 20-25 minutes, or until the custard filling is set (it might still have a slight jiggle in the center, but shouldn’t be liquid) and the pastry edges are golden brown.
- As soon as you remove the tarts from the oven, run a thin knife around the edges of each tart. This step is crucial for easily releasing them from the tin once cooled. Let them cool in the muffin tin for about 15 minutes before carefully removing them to a wire rack to cool completely.
- For a festive and elegant touch, melt the white chocolate and drizzle it decoratively over the cooled butter tarts.
Nutrition Information
Calories: 204 kcal | Carbohydrates: 25g | Protein: 2g | Fat: 11g | Saturated Fat: 4g | Cholesterol: 21mg | Sodium: 167mg | Potassium: 91mg | Fiber: 1g | Sugar: 12g | Vitamin A: 99 IU | Vitamin C: 1mg | Calcium: 27mg | Iron: 1mg
Nutrition information is automatically calculated, so should only be used as an approximation.
Tips for Perfect Butter Tarts Every Time
- Pastry Perfection: While pre-made crusts are a time-saver, ensure they are cold when working with them to maintain flakiness. If making your own pastry, keep all ingredients and tools cold.
- Don’t Overfill: Filling the tart shells more than two-thirds full can lead to spills and sticky, hard-to-remove tarts. A little empty space at the top is ideal.
- Temperature Control: Overbaking can result in a firm, less gooey filling. Keep an eye on them; the filling should be set but still have a slight give in the center.
- Cooling is Key: Allowing the tarts to cool partially in the muffin tin helps the filling set further and makes them much easier to extract without breaking. The knife trick immediately after baking is a lifesaver!
- Storage: Butter tarts keep well at room temperature in an airtight container for 2-3 days, or in the refrigerator for up to a week. They can also be frozen for longer storage.
Variations to Explore
While the classic raisin and walnut combination is undeniably delicious, butter tarts offer a versatile canvas for other additions:
- Pecan Butter Tarts: Replace walnuts with pecans for a nutty, caramel-like flavor.
- Plain Butter Tarts: For purists, omit the raisins and walnuts entirely to let the rich, gooey custard shine on its own.
- Currant Butter Tarts: A traditional choice, currants add a subtle tartness that balances the sweetness beautifully.
- Chocolate Chip: For a modern twist, a sprinkle of mini chocolate chips can be a delightful addition.
Making butter tarts isn’t just about baking a dessert; it’s about embracing a piece of Canadian culinary heritage and creating joyful memories, especially during the holidays. Brad’s success is proof that with a simple recipe and a little love, anyone can create these delightful treats.
I genuinely hope you’ll take a moment to give our butter tarts a try and share your experience with me. Until then, I’m officially signing off to fully embrace the holiday cheer!
~Merry Christmas and Happy Baking!!!~