
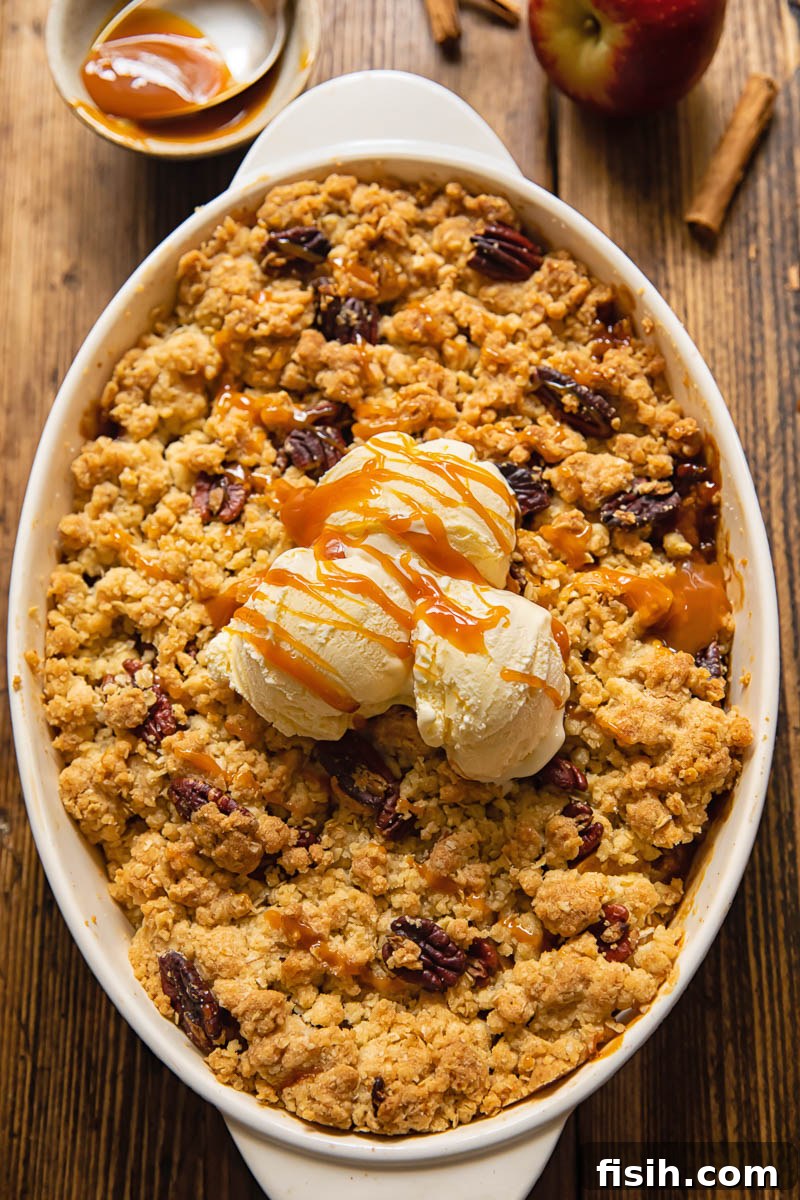
There’s an undeniable magic to the aroma of warm apples and cinnamon wafting through your kitchen, a clear sign that a truly special dessert is in the making. This irresistibly easy homemade apple crisp is not just my favorite dessert; it’s my ultimate comfort food and a delightful guilty pleasure. Each spoonful offers a perfect harmony: tender, spiced fruit beneath a golden, crunchy oat and pecan topping. Once you taste it, you’ll understand why sharing might be a challenge!
If you lean more towards classic apple pie, our Grandma’s homemade apple pie promises the same comforting embrace, reminiscent of cozy childhood autumns.
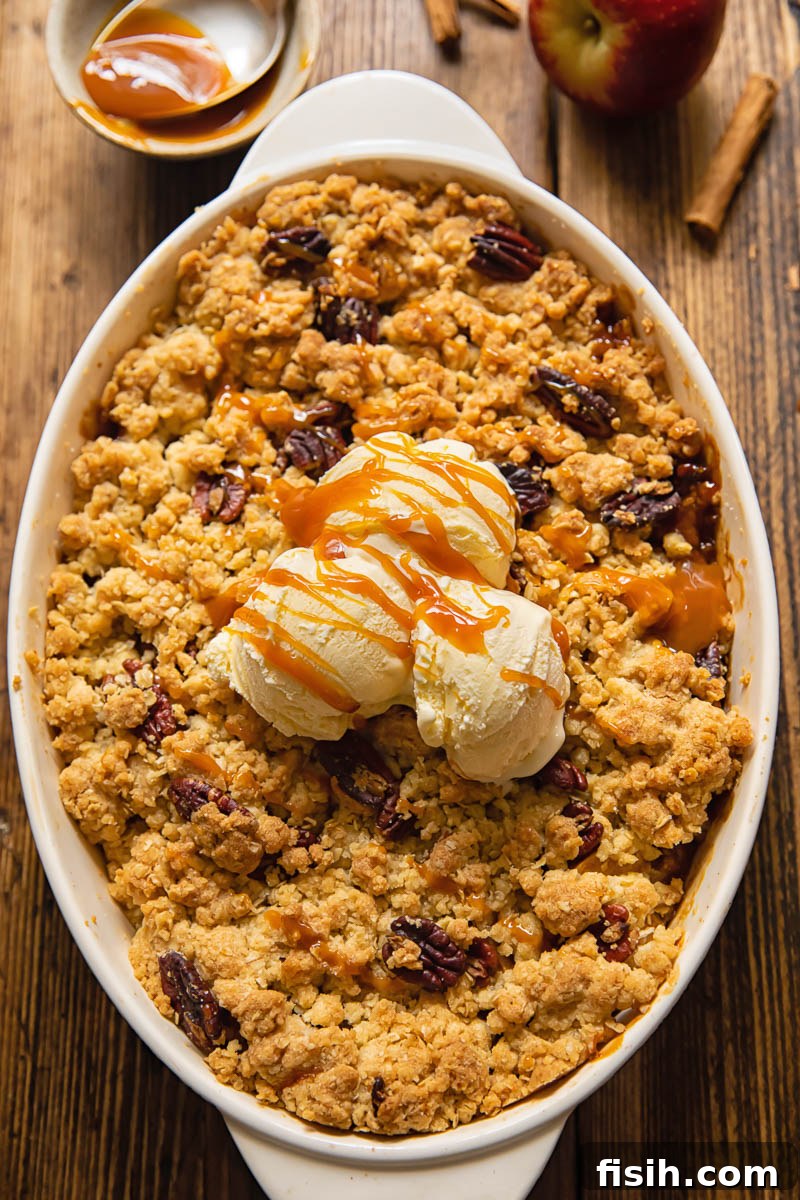
Easy Homemade Apple Crisp: Your Guide to a Perfect Fall Dessert
Few desserts embody the essence of home and comfort quite like a perfectly baked apple crisp. This timeless classic, cherished in kitchens worldwide, marries the sweet-tart goodness of baked apples with a gloriously crunchy, buttery, and oaty topping. It’s a versatile dish, equally at home on a holiday table or as a simple weeknight treat. Our recipe focuses on simplicity without sacrificing that incredible flavor and texture, ensuring even novice bakers can achieve a show-stopping dessert that will have everyone asking for more.
Apple Crisp vs. Apple Crumble: Understanding the Delicious Differences
The terms “apple crisp” and “apple crumble” are often used interchangeably, but there are distinct differences that largely depend on which side of the Atlantic you reside. For over a decade, my palate adapted from enjoying apple crisps with ice cream in North America to savoring apple crumbles with warm custard in Europe. Both are utterly delightful, but knowing their nuances can help you appreciate each unique dessert.
The North American Apple Crisp
Typically found in North American cuisine, an apple crisp is characterized by its topping that almost always includes oats. These oats are essential for delivering its signature “crisp” texture – a delightful golden-brown crunch that stands in stark contrast to the soft, tender fruit underneath. The crisp topping is generally more buttery and sugary, which caramelizes beautifully during baking, creating those highly coveted dark, crispy edges. It’s a dessert celebrated for its textural interplay, often served with a generous scoop of cold vanilla ice cream.
The British Apple Crumble
Across the pond, the British equivalent is the apple crumble. The crumble topping typically boasts a higher ratio of flour to butter and sugar compared to a crisp, resulting in a more uniform, breadcrumb-like texture. While oats can be an optional addition, they are not a defining characteristic. The crumble is designed to absorb the delicious fruit juices more effectively, forming a cohesive, comforting layer. Traditionally, it’s served hot with copious amounts of warm custard, a pairing deeply ingrained in British dessert culture.
What Exactly is Streusel?
While crisps and crumbles are specifically fruit-based desserts, “streusel” refers more broadly to a crumbly topping used for various baked goods. This versatile topping, made from flour, sugar, and butter rubbed together, is commonly found on cakes, muffins, coffee breads, and even pies. In terms of texture, a streusel topping is generally closer to a crumble than a crisp, focusing on a delightful crumbly yet crunchy, golden finish. Understanding these slight variations allows you to tailor your dessert to your desired texture and regional preference, ensuring a perfectly satisfying result every time.
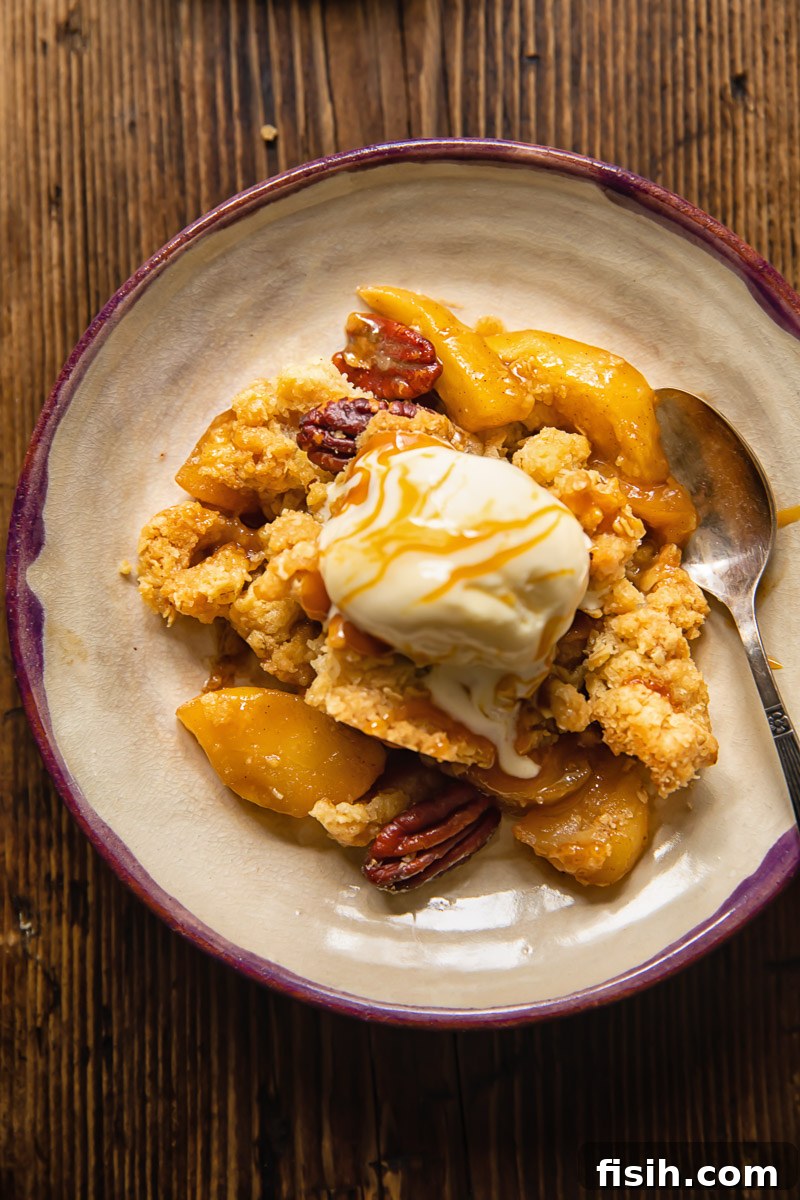
Choosing the Perfect Apples for a Superior Crisp
While it’s tempting to think any apple will suffice for an apple crisp, the truth is, the choice of apple can dramatically impact your dessert’s texture and flavor. With thousands of apple varieties available, selecting the right one is crucial for achieving that ideal balance between tender fruit and a vibrant, sweet-tart taste. For a truly exceptional apple crisp, I prioritize two key characteristics: the apple’s inherent firmness and its tartness.
The Importance of Texture: Firmness and Structure
An apple worthy of your crisp recipe must possess a firm, almost crunchy, raw texture. Why is this so vital? During the baking process, apples naturally soften. Apples that are too soft to begin with, or those with a high water content, tend to disintegrate into a mushy pulp, leading to a soggy and unappetizing crisp. A firm apple will hold its shape better, providing a pleasant bite and ensuring the fruit filling remains distinct and tender, not soupy. This structural integrity is key to a superior eating experience.
Balancing Sweetness: The Essential Tartness
Given the rich, buttery, and sugary nature of the oat streusel topping, a tart apple is absolutely indispensable. Sweet apples, when paired with an equally sweet topping, can result in a cloyingly sugary and one-dimensional dessert. A tart apple provides a crucial “killer contrast,” cutting through the richness and adding a bright, zesty counterpoint that elevates the entire dish. This balance of flavors is what transforms a simple apple crisp into an unforgettable culinary delight.
My Ranked List of Apples for Baking (Sour to Sweet):
- Bramley Apple: Supremely sour and cooks down beautifully, making it a star in traditional British crumbles. Its robust flavor is perfect for balancing sweet toppings.
- Granny Smith: My top recommendation! Exceptionally tart and firm, it retains its texture well during baking and offers the ideal pucker to offset the crisp’s sweetness.
- Braeburn: A fantastic choice, offering a great balance of tartness and firmness. It holds its shape wonderfully and has a complex flavor profile.
- Honeycrisp: While sweeter than Granny Smith, its remarkable crispness and juicy, firm flesh make it a popular option. It bakes well without becoming mushy.
- Empire: A good all-purpose apple, firm and slightly tart. It holds up well in baking and offers a pleasant texture.
- Gala: Borderline sweet, Gala apples can work if mixed with a tarter variety. They soften quite a bit, so consider their texture in your final blend.
- Red Delicious: Best avoided for baking. It tends to become mealy and lose its flavor and texture when cooked, making for a disappointing crisp.
- Golden Delicious: Generally too mild and sweet for apple crisp. It lacks the necessary tartness to cut through the topping and softens excessively.
- Pink Lady: Though delicious for snacking, its high sugar content and moderate firmness mean it can lead to a less dynamic crisp if used alone.
- Fuji: Strictly avoid! Fuji apples are not only too sweet for this dessert but also have a very high water content. This causes them to break down and become watery during cooking, resulting in a soggy, unappealing crisp.
For this specific recipe, I highly recommend using a combination of Granny Smith or Braeburn apples. Their inherent tartness and ability to retain texture ensure a perfectly balanced and delightful filling. Feel free to experiment with mixing varieties – a 50/50 blend of a tart apple with a slightly sweeter, firm variety like Honeycrisp can add wonderful depth and complexity to your homemade apple crisp.
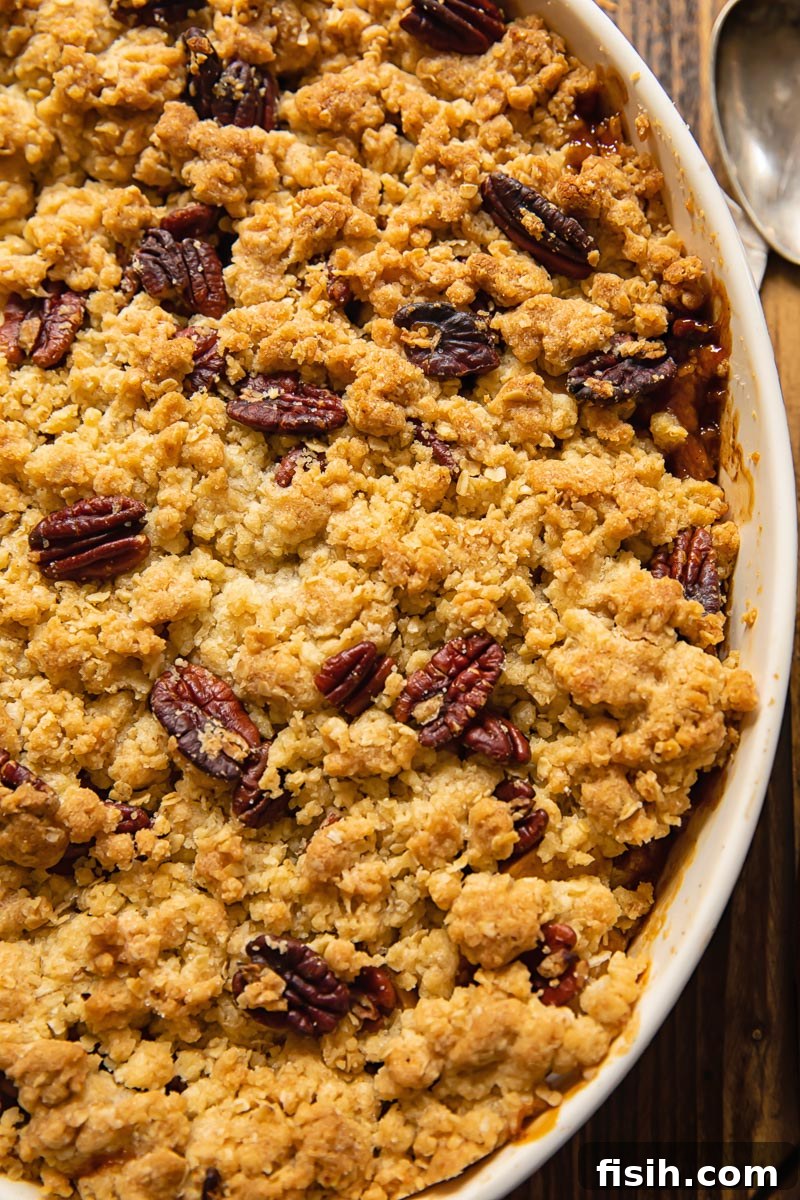
Expert Tips for Crafting the Perfect Apple Crisp
- Embrace Cold Butter for a Flawless Topping: The golden rule for a truly crisp and crumbly topping is to begin with very cold butter. Cold butter, when cut into the dry ingredients, creates tiny pockets that steam during baking, yielding that coveted light and crunchy texture. Avoid softened or room temperature butter, as it will result in a denser, less appealing topping.
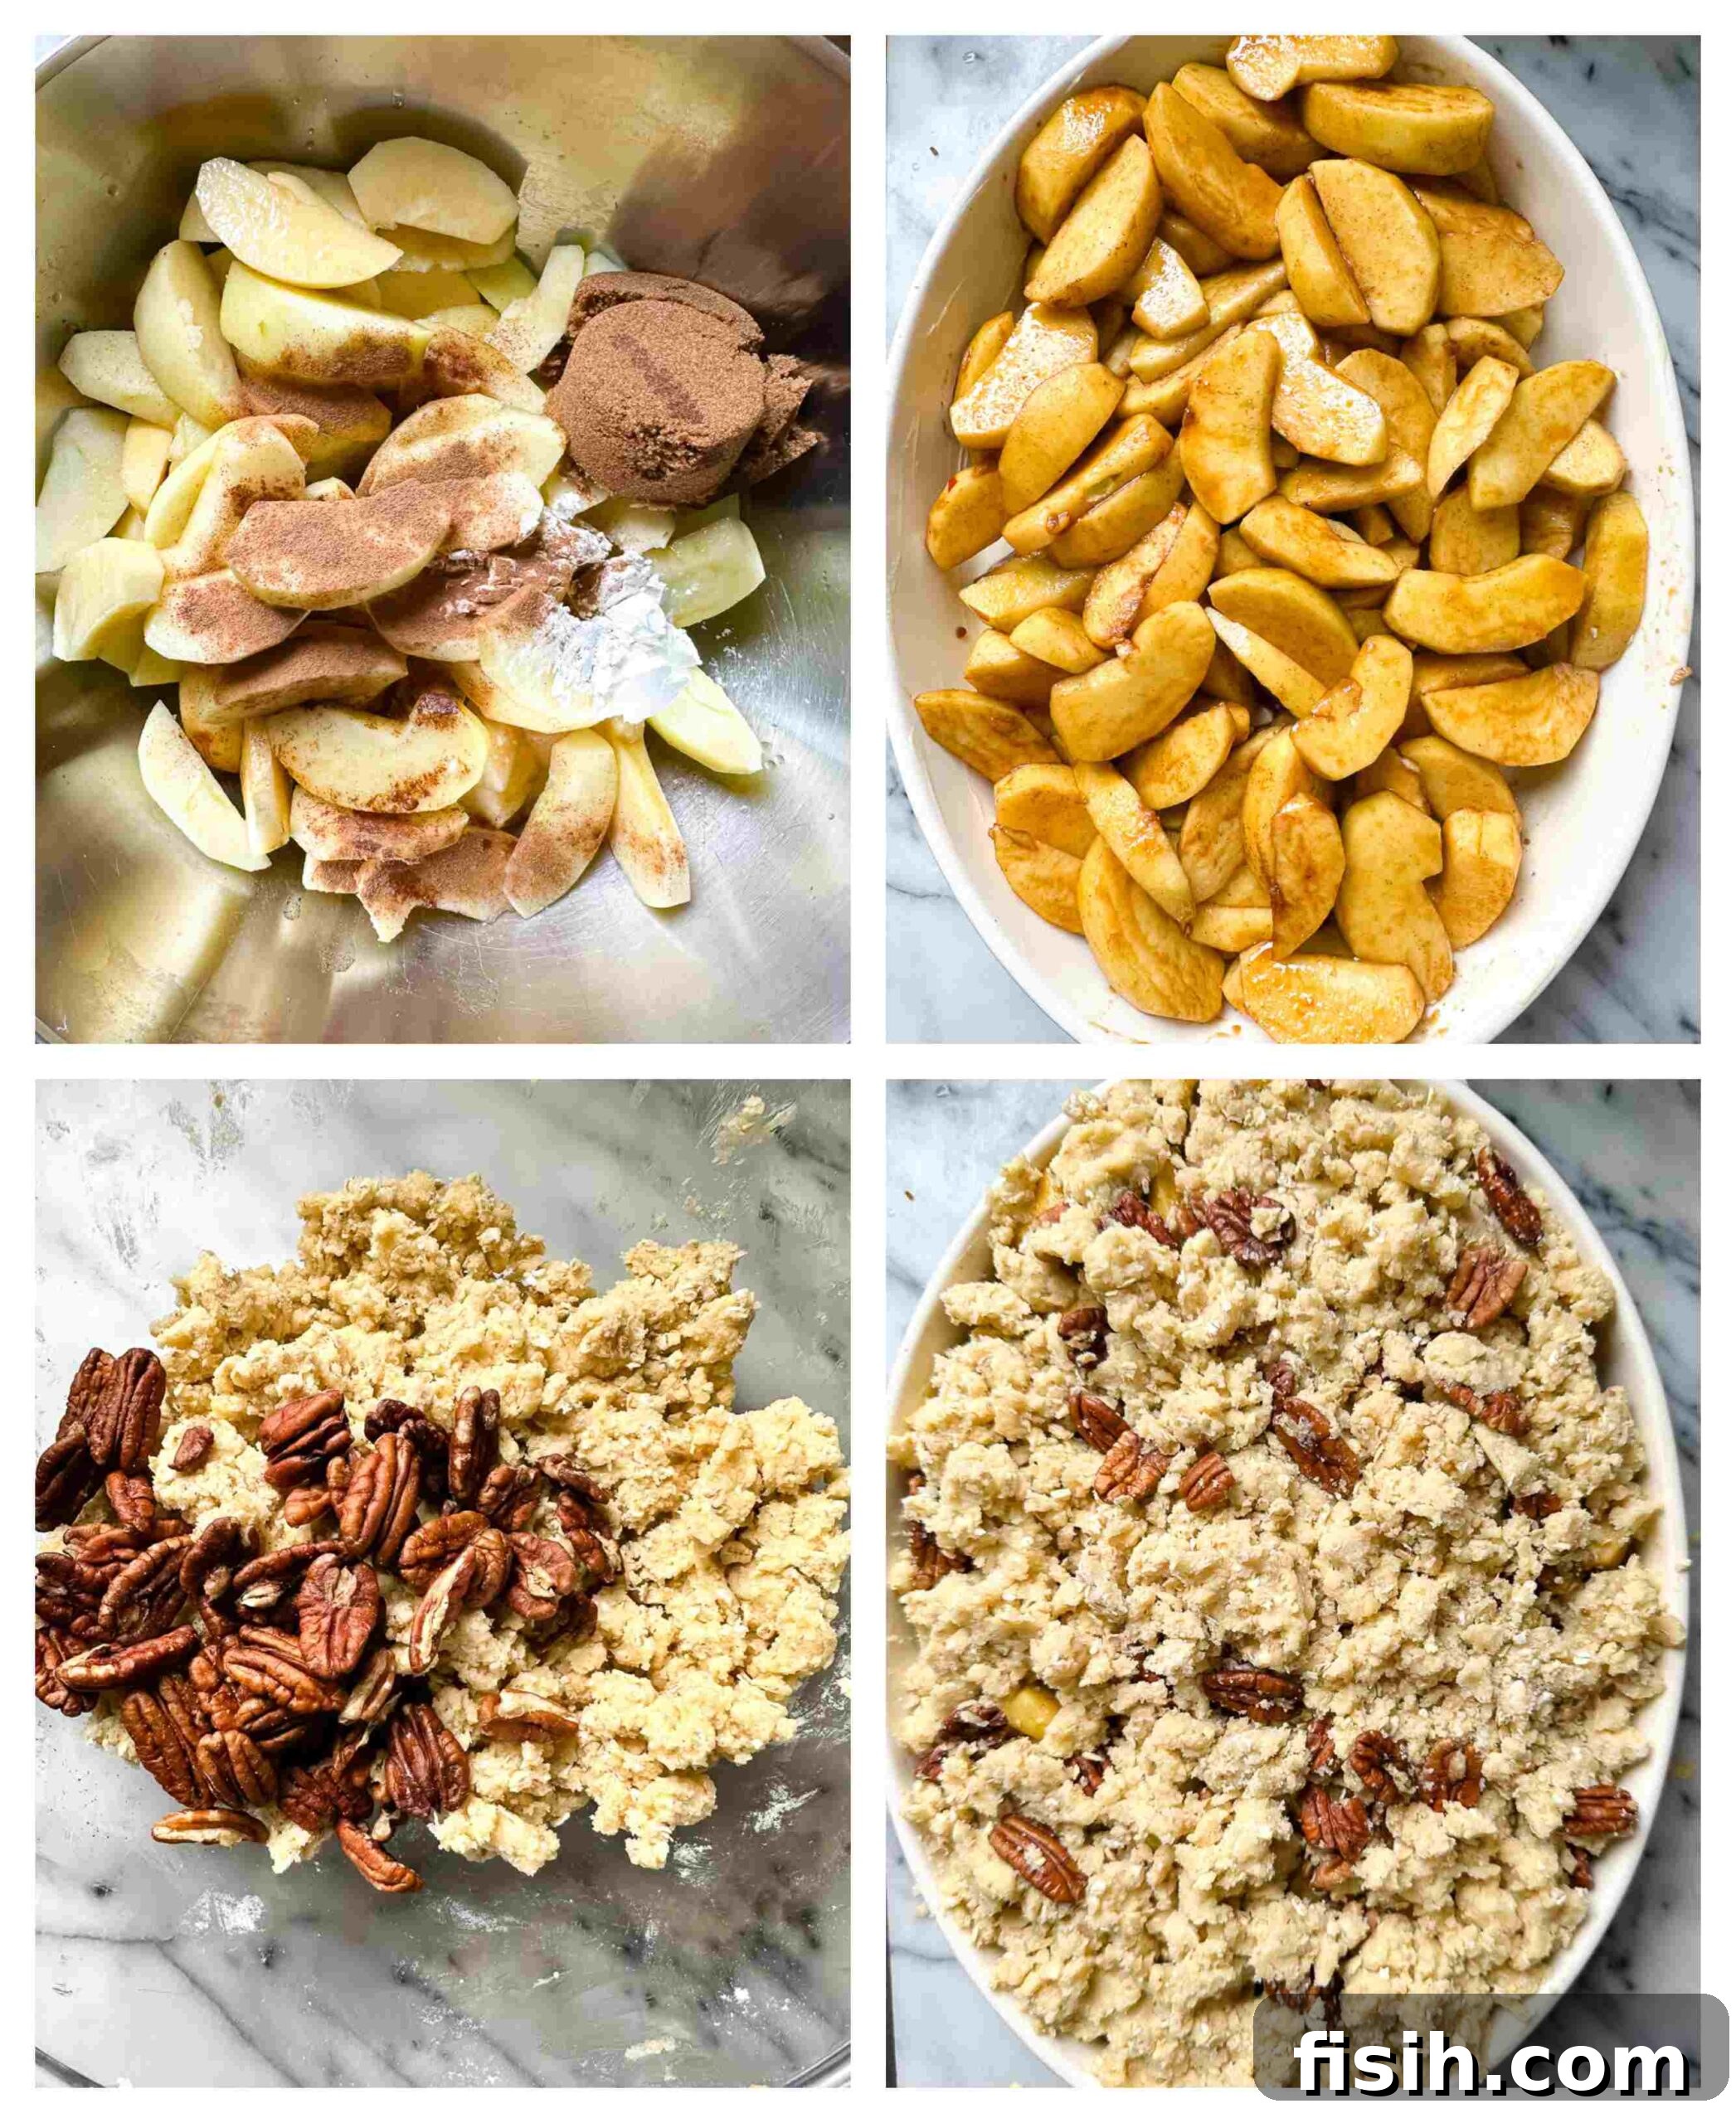
- Mastering the Topping Technique: After cutting your chilled butter into small cubes, combine it with your dry streusel ingredients (flour, sugar, oats). Use a pastry cutter, two knives, or, for the most tactile control, your cool fingertips. The goal is to “rub” or “cut” the butter into the dry mix until it resembles coarse crumbs and small, pea-sized clumps. Resist overworking the mixture; warmth from your hands can melt the butter, leading to a crust rather than a crisp.
- The Ideal Topping Consistency: You’re aiming for a texture similar to wet sand with some larger, irregular clumps. These larger pieces are crucial for creating delicious, extra-crunchy bites. Don’t worry if it looks a bit uneven – that’s part of its charm!
- Slice Apples Thin and Consistently: Apples are dense and require adequate cooking time. To ensure that both your fruit filling and the streusel topping are perfectly cooked within the same timeframe, slice your apples uniformly thin (about 1/4 inch). Consistent slicing promotes even cooking, preventing some apple pieces from being undercooked while others turn to mush.
- Cornstarch: Your Secret to a Non-Watery Filling: I highly recommend adding a tablespoon of cornstarch (also known as cornflour) to your apple filling. This simple addition acts as a thickening agent, absorbing the natural juices released by the apples as they bake. The result is a beautifully saucy, not watery, filling that clings perfectly to the apples, preventing a soggy bottom and concentrating the delicious flavors. If you prefer a thinner, more liquid filling, you can omit it.
- Choose the Right Baking Vessel: A 9×13 inch baking dish or a similarly sized cast-iron pan is ideal. Ensure your dish has sufficient depth to accommodate the generous apple filling and the topping without overflowing as the fruit softens and bubbles.
- Avoid Overcrowding: While it’s tempting to pack in as many apples as possible, leave a little room for air circulation. An overcrowded pan can lead to uneven baking, steaming the topping rather than crisping it.
- Doneness Indicators: Your apple crisp is ready when the topping is gorgeously golden brown and crunchy, and the apple filling is visibly bubbling enthusiastically around the edges of the pan. You can also gently pierce an apple slice with a knife; it should be tender with just a slight resistance.
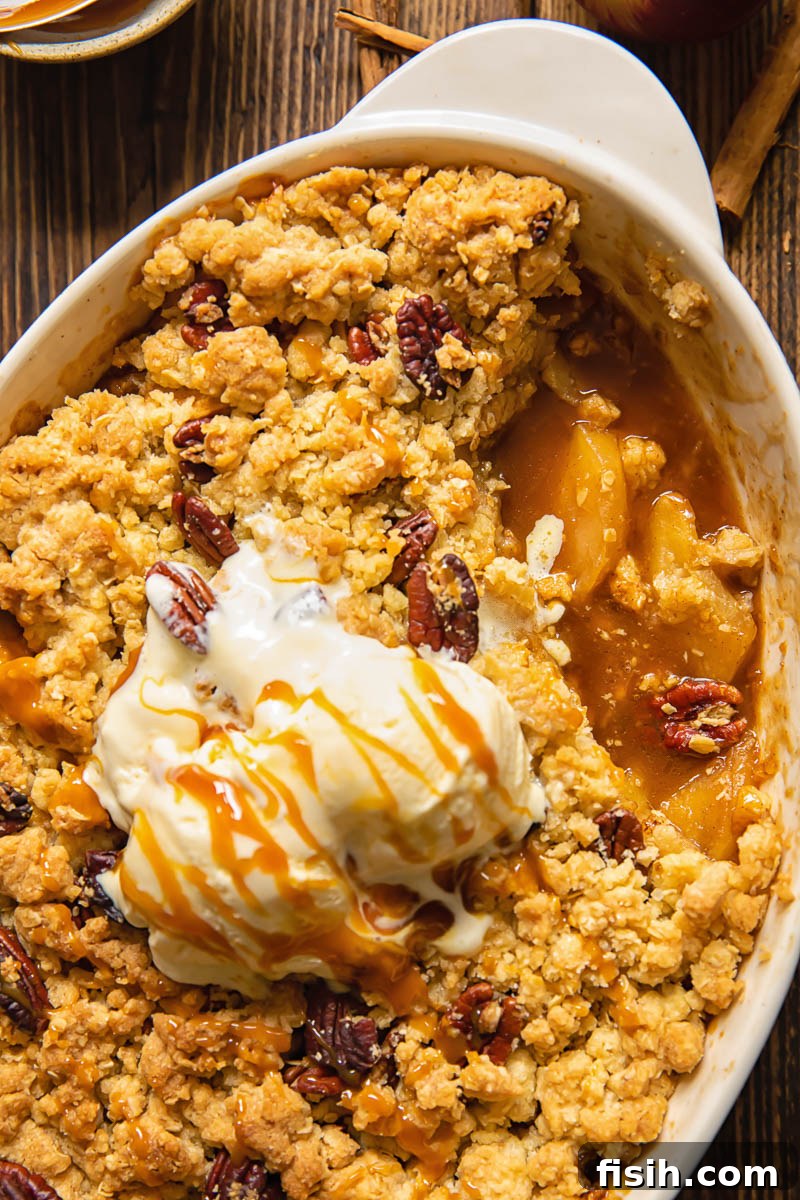
- The Ultimate Serving Experience: For a truly decadent experience, serve your warm apple crisp immediately with a generous scoop of high-quality vanilla ice cream. The cold, creamy ice cream melting into the hot, spiced apples and crunchy topping is a symphony of temperatures and textures. A drizzle of store-bought or homemade salted caramel sauce elevates it further to pure dessert nirvana!
Serving Your Apple Crisp: Perfect Pairings for Every Palate
The beauty of apple crisp isn’t just in its delightful flavor, but also in its incredible versatility when it comes to serving. While undeniably delicious straight from the oven, pairing it with the right accompaniment can transform a simple dessert into an extraordinary culinary experience. As I’ve often declared, I am unequivocally “team ice cream”!
Classic Creamy Accompaniments
- Vanilla Ice Cream: This is, without a doubt, my top recommendation. A scoop of premium vanilla bean ice cream or luxurious clotted cream ice cream provides a refreshing coolness that perfectly contrasts with the warm, spiced apples and crunchy topping. The slow melt creates a rich, creamy sauce that mingles beautifully with the fruit juices.
- Salted Caramel Sauce: For an extra layer of pure indulgence, a generous drizzle of store-bought or homemade salted caramel sauce is an absolute game-changer. The salty-sweet notes amplify the apple and butter flavors, taking your crisp to new heights.
- Warm Custard: My British friends would protest loudly at the thought of “apple crumble” without a lavish pour of warm custard. They often playfully question the logic of pairing a hot pudding with a cold sauce! Yet, a rich, velvety custard offers a comforting, cohesive texture that many find utterly irresistible and is a time-honored pairing for good reason.
- Single (Light) Cream: For a lighter touch of creaminess, many also enjoy pouring single (light) cream generously over the steaming hot crisp. It’s a simple yet elegant way to add moisture and richness without the thickness of custard or the temperature shock of ice cream.
- Whipped Cream: A dollop of freshly whipped cream, perhaps lightly sweetened and infused with a hint of vanilla or cinnamon, is a classic and airy alternative that still provides a luxurious mouthfeel.
Beyond the Basics: Creative Additions and Garnishes
- Greek Yogurt: For a slightly healthier, tangy, and refreshing option, a dollop of plain Greek yogurt can provide a delightful counterpoint to the crisp’s sweetness, especially enjoyable after a rich meal.
- Toasted Nuts: Enhance the crunch and introduce new flavor dimensions with a sprinkle of extra toasted chopped nuts like walnuts, almonds, or hazelnuts.
- Berry Compote: In the warmer months, a side of fresh berry compote (raspberry, blueberry, or a mixed berry blend) can add a vibrant, fruity zest and beautiful color.
- Aromatic Dustings: A simple dusting of extra cinnamon, nutmeg, or even a pinch of cardamom can add a beautiful aromatic finish just before serving.
Whether you crave a hot, creamy embrace or a cool, refreshing contrast, apple crisp is wonderfully adaptable. Don’t hesitate to experiment with these suggestions to discover your absolute favorite way to enjoy this comforting dessert!
Storage & Reheating: Keeping Your Apple Crisp Delicious
One of the many wonderful qualities of homemade apple crisp is that it often tastes even better on the second day! This delightful dessert also holds up exceptionally well to freezing, making it an ideal candidate for meal prepping, entertaining during holidays, or simply ensuring you always have a comforting treat readily available. Here’s a comprehensive guide to storing and reheating your apple crisp, allowing you to savor its goodness for days or even months.
Freezing Apple Crisp (Baked or Unbaked)
Preparing your apple crisp in advance can be a lifesaver for busy schedules. You have the flexibility to freeze it either before or after baking:
- Freezing Baked Apple Crisp:
- Cool Completely: Allow the baked crisp to cool entirely to room temperature. This crucial step prevents condensation from forming and creating ice crystals, which can lead to a soggy texture when reheated.
- Wrap Securely: Once cool, wrap the entire baking dish (crisp and all) tightly in several layers of cling film (plastic wrap), ensuring it is completely airtight.
- Extra Protection: For added protection against freezer burn, you can then add a layer of heavy-duty aluminum foil over the cling film.
- Freeze: Store in the freezer for up to 4 months.
- To Reheat: Your baked and frozen apple crisp can go straight from the freezer into a preheated oven. Bake at 200°C (400°F) for approximately 30-40 minutes, or until it’s heated through and bubbling around the edges. If the topping starts to brown too quickly, you can loosely tent it with aluminum foil.
- Freezing Unbaked Apple Crisp:
- Assemble: Prepare the apple crisp in your baking dish according to the recipe instructions, but do not bake it.
- Cool (if applicable) & Wrap: If your recipe involves pre-cooking the apples, allow them to cool slightly before assembling. Then, wrap the dish tightly with cling film, followed by foil, making it completely airtight.
- Freeze: Store in the freezer for up to 4 months.
- To Bake: For best results, thaw the unbaked crisp overnight in the refrigerator. Once fully thawed, follow the original baking instructions (200°C/400°F for 50-55 minutes). Baking directly from frozen is generally not recommended as the apples may release too much water, but if necessary, significantly increase the baking time (often by an hour or more) and monitor it closely.
Refrigerating Leftovers
Any leftover crisp that has not been previously frozen can be refrigerated for 2-3 days. Ensure it’s covered tightly with cling film or transferred to an airtight container to maintain freshness. It’s a slightly controversial opinion, but many, including myself, find that the flavors of apple crisp meld and deepen over a day or two in the fridge, making it arguably even more delicious! Don’t knock it until you’ve tried it!
You can enjoy refrigerated apple crisp either cold (straight from the fridge) or gently reheated. To reheat individual portions, use a microwave for 30-60 seconds. For larger portions, warm them in an oven at 175°C (350°F) for 15-20 minutes until thoroughly heated through and the topping regains some of its crispness.
More Delicious Baking Recipes to Inspire You
- Italian Plum Cobbler
- Almond Raspberry Cheesecake Bars
- Summer Peach Cake with Red Berries
- Wild Blackberry Pie
Easy Homemade Apple Crisp
This irresistibly easy homemade apple crisp begins with the intoxicating aroma of apples caramelizing in butter and cinnamon, topped with a golden, crunchy oat and pecan crisp.
Ingredients
For the streusel topping
- 200g / 1 cup white granulated sugar
- 140g / 1 cup plain flour (all-purpose)
- 80g / 1 cup old-fashioned oats or quick cooking oats
- 200g / 1 cup butter, chilled
- 1/2 cup pecans, whole or nuts of your choice (like almonds and hazelnuts)
For the apple filling
- 8 medium apples, Braeburn or Granny Smith
- 100g / 1/2 cup packed brown sugar
- 1 tbsp cornflour/cornstarch
- 1/2 tsp cinnamon
- 1 tsp vanilla extract
Instructions
-
Preheat the oven to 200°C (400°F). In a large mixing bowl, combine the granulated sugar, flour, and oats. Cut the chilled butter into small cubes, then incorporate it into the dry mixture using a pastry blender, two knives, or your cool fingertips. Rub the butter into the flour and oat mix until it resembles coarse crumbs with some small pea-sized clumps. Ensure all dry ingredients are moistened with butter. Stir in the pecans (or other chosen nuts) until evenly distributed.
-
Meanwhile, peel, core, and slice the apples into roughly 1/4-inch thick pieces. In a separate bowl, toss the sliced apples with brown sugar, cornstarch, cinnamon, and vanilla extract until they are evenly coated. Transfer the apple mixture to a buttered 9×13 inch baking dish or a large cast-iron pan. Evenly scatter the prepared streusel topping over the apples. Bake in the preheated oven for 50-55 minutes, or until the topping is golden brown and crunchy, and the apple filling is bubbling vigorously.
Nutrition
Calories: 567 kcal | Carbohydrates: 84g | Protein: 4g | Fat: 26g | Saturated Fat: 13g | Polyunsaturated Fat: 3g | Monounsaturated Fat: 8g | Trans Fat: 1g | Cholesterol: 54mg | Sodium: 167mg | Potassium: 301mg | Fiber: 7g | Sugar: 56g | Vitamin A: 727IU | Vitamin C: 8mg | Calcium: 42mg | Iron: 2mg
Nutrition information is automatically calculated and should only be used as an approximation.
Tried this recipe? Let us know how it was!