
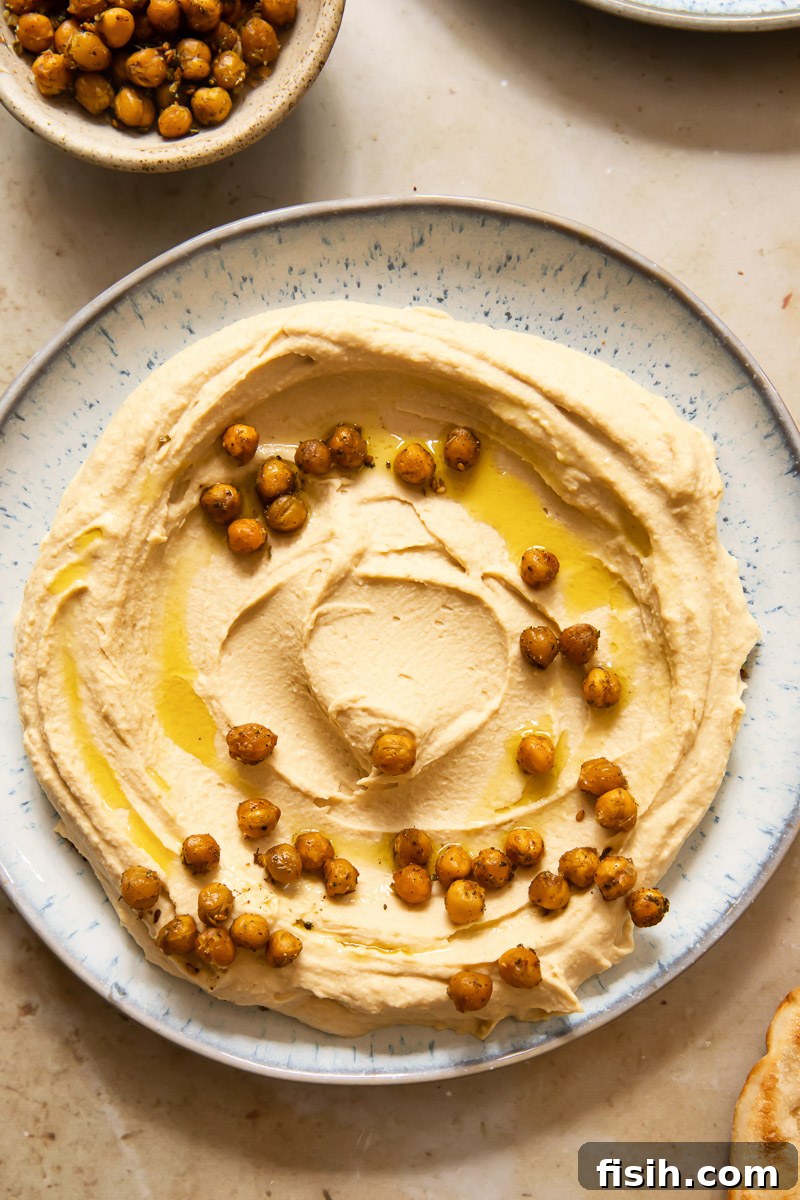
Hummus with Roasted Za’atar Chickpea Topping: Your Ultimate Homemade Recipe
In the realm of dips and spreads, few can rival the universal appeal and wholesome goodness of hummus. For years, I dutifully added store-bought hummus to my weekly shopping list, convinced of its convenience. That was until I discovered the profound satisfaction and superior quality of making it myself. This recipe for homemade hummus, crowned with a vibrant roasted za’atar chickpea topping, isn’t just a dish; it’s a revelation. It’s incredibly simple to prepare, entirely natural, significantly more economical, and delivers a freshness and flavor that store-bought versions simply cannot match. Once you try it, you’ll understand why there’s no turning back!
Homemade hummus is not only delicious on its own but also an incredibly versatile base for countless dishes. You can use this vibrant recipe to create my Mediterranean salad with hummus and fried halloumi, a perfect dish as summer salads make their delightful return. From casual snacking to elegant entertaining, this hummus will quickly become a staple in your kitchen.
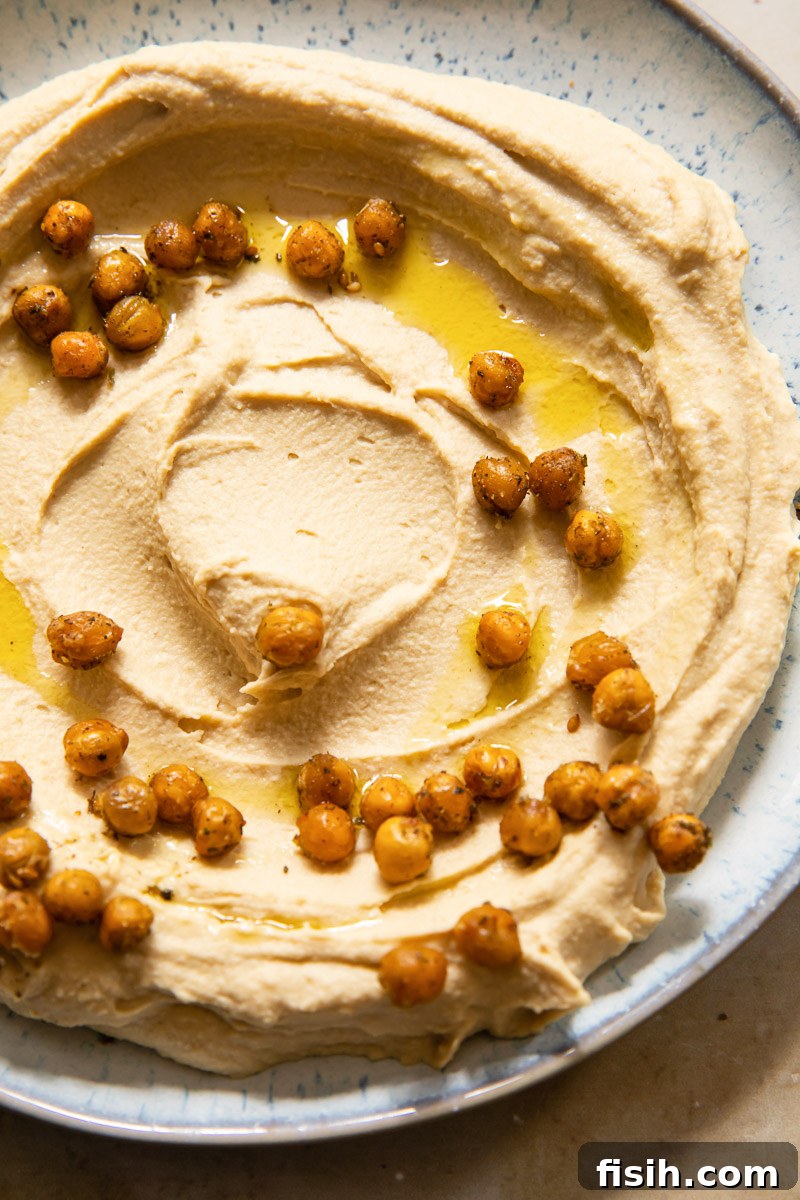
At the heart of every great hummus lies the humble yet mighty chickpea. This ancient legume, cultivated for over 7,500 years, is a nutritional powerhouse, packed with protein, fiber, and essential minerals. Hummus, without a doubt, stands as my favorite chickpea recipe. My deep admiration for this creamy spread was recently rekindled during an unforgettable trip to Israel, the true heartland of hummus culture. Witnessing the passion and tradition surrounding hummus in its native land truly transformed my appreciation for this culinary marvel.
The Enduring Legacy and Mysterious Origins of Hummus
Hummus is more than just a dip; it’s a cultural icon, and understandably, various easterly Mediterranean and Middle Eastern countries proudly lay claim to its invention or the title of producing the world’s best. From vibrant street food stalls in Beirut to bustling markets in Jerusalem, the debate over who truly owns hummus is a friendly rivalry that highlights its profound regional importance. Yet, despite its widespread fame, the precise origin of hummus remains something of a delightful geographical mystery.
The history of hummus is a bit hazy, with no definitive historical evidence pointing to a single point of origin. While chickpeas themselves were first cultivated around 7,500 years ago in what is now modern-day Turkey, making them an incredibly ancient pulse, the first recorded recipe resembling what we now call hummus bi tahini (chickpeas with tahini) didn’t appear until 13th-century Egypt. Before this documented period, it’s fascinating to imagine how chickpeas were consumed for thousands of years. Were people truly living without the creamy delight of hummus? What culinary creations filled the void for those ancient civilizations? It’s a thought that certainly adds a playful twist to hummus’s rich, albeit ambiguous, past.
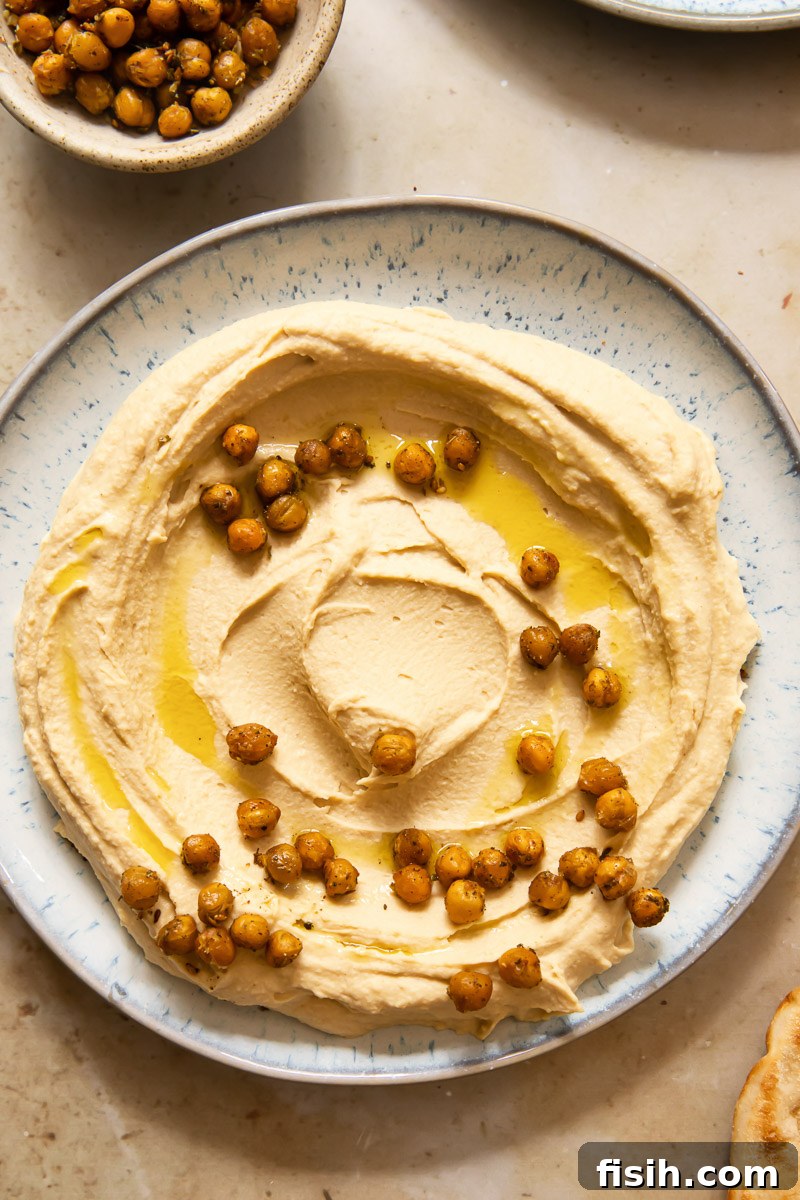
Why Homemade Hummus is a Must: Easier Than You Think!
One of the most common misconceptions about hummus is that it’s difficult or time-consuming to make at home. The truth couldn’t be simpler! The ingredients required are virtually all common store-cupboard staples: canned chickpeas, aromatic ground cumin, fresh garlic, bright lemon juice, rich olive oil, and the essential, creamy tahini (affiliate link). The process involves a minimal amount of cooking to ensure tender chickpeas, followed by a quick blend, and voilà – you have a fresh, flavorful batch of homemade hummus ready to enjoy.
Beyond the ease of preparation, choosing to make hummus at home offers a multitude of benefits. You gain complete control over the quality of ingredients, avoiding any unwanted additives or preservatives often found in commercial brands. The freshness is unparalleled; homemade hummus tastes vibrant and alive compared to the often bland, mass-produced alternatives. Plus, it’s significantly more cost-effective, allowing you to enjoy this healthy, protein-packed spread more frequently without breaking the bank.
Once your healthy homemade hummus is ready, the “hardest part” is often deciding how to savor it! It makes for a perfect quick snack, whether paired with crunchy pita chips, a medley of fresh crudités like carrots, cucumbers, and bell peppers, or as a flavorful dip for your favorite vegetables. For a more substantial meal, integrate it into a vibrant falafel salad bowl, serve alongside succulent chicken souvlaki, or spread generously into warm flatbreads for a delightful sandwich. The possibilities are truly endless!
Mastering the Magic of Tahini: A Guide to Choosing the Best
Tahini, a smooth paste made from ground sesame seeds, is the secret weapon in any truly great hummus recipe. Its distinct nutty, slightly bitter flavor provides the essential depth and creaminess that defines authentic Middle Eastern hummus. But tahini is far more versatile than just hummus; it can elevate everything from a savory salad dressing to rich sauces, refreshing yogurt dips, and even sweet treats like cookies, or simply spread straight onto toast. Given its wide range of uses and critical role in hummus, investing in a good quality jar is highly recommended. Here are a few tips for selecting the best tahini:
- Source Locally, If Possible: If you have access to a Middle Eastern grocery store nearby, prioritize purchasing your tahini there. These stores often import directly from regions renowned for their superior tahini production, such as Israel, Lebanon, or Palestine, ensuring you get an authentic, high-quality product.
- Scrutinize the Label: Always check the ingredient list for “100% sesame seeds.” The best tahini contains no added salt, sugar, additives, or preservatives. Be wary of products labeled “tahini sauce,” as these are typically pre-mixed with other ingredients and won’t deliver the pure flavor and texture you need for homemade hummus.
- Observe the Consistency and Color: A high-quality tahini should ideally be pale, ranging from an off-white to a light cream color, which indicates that a sweeter, nuttier seed type has been used. Crucially, it should have a runny, pourable consistency. It’s completely normal to see a layer of oil on top; this is the natural separation of the sesame seed oil. However, there shouldn’t be an excessive amount of oil, and the paste underneath should not be overly dense or hardened. If the tahini is thick and clumpy, it might be older or of lower quality.
While the above tips are a great starting point, other factors also influence tahini’s quality and flavor. These include the specific type of sesame seed used (white humera seeds are often considered premium), whether the seeds are ground hulled or unhulled (hulled seeds produce a smoother, less bitter product), the duration and temperature of the roasting process, and how finely the seeds are ground. Unfortunately, much of this detailed information isn’t readily available from a simple jar inspection at your local supermarket. However, if you’re comfortable with online shopping, you’ll often find more comprehensive product descriptions and a wider selection, allowing you to choose with greater intelligence and precision.
Ultimately, all research aside, finding your favorite tahini often comes down to personal taste. Don’t be afraid to experiment with different brands through a bit of trial and error. That, after all, is part of the joy and discovery in cooking!
Expert Tips and Notes for Perfect Hummus
Achieving that coveted silky-smooth, creamy hummus texture is easier than you might think with a few expert insights:
- Canned Chickpeas for Convenience: While many traditional Middle Eastern recipes for classic hummus advocate for using dried chickpeas (which involve overnight soaking and lengthy cooking), I assure you that a lusciously smooth hummus dip is absolutely achievable with the convenient canned variety. Trust the process – it truly works!
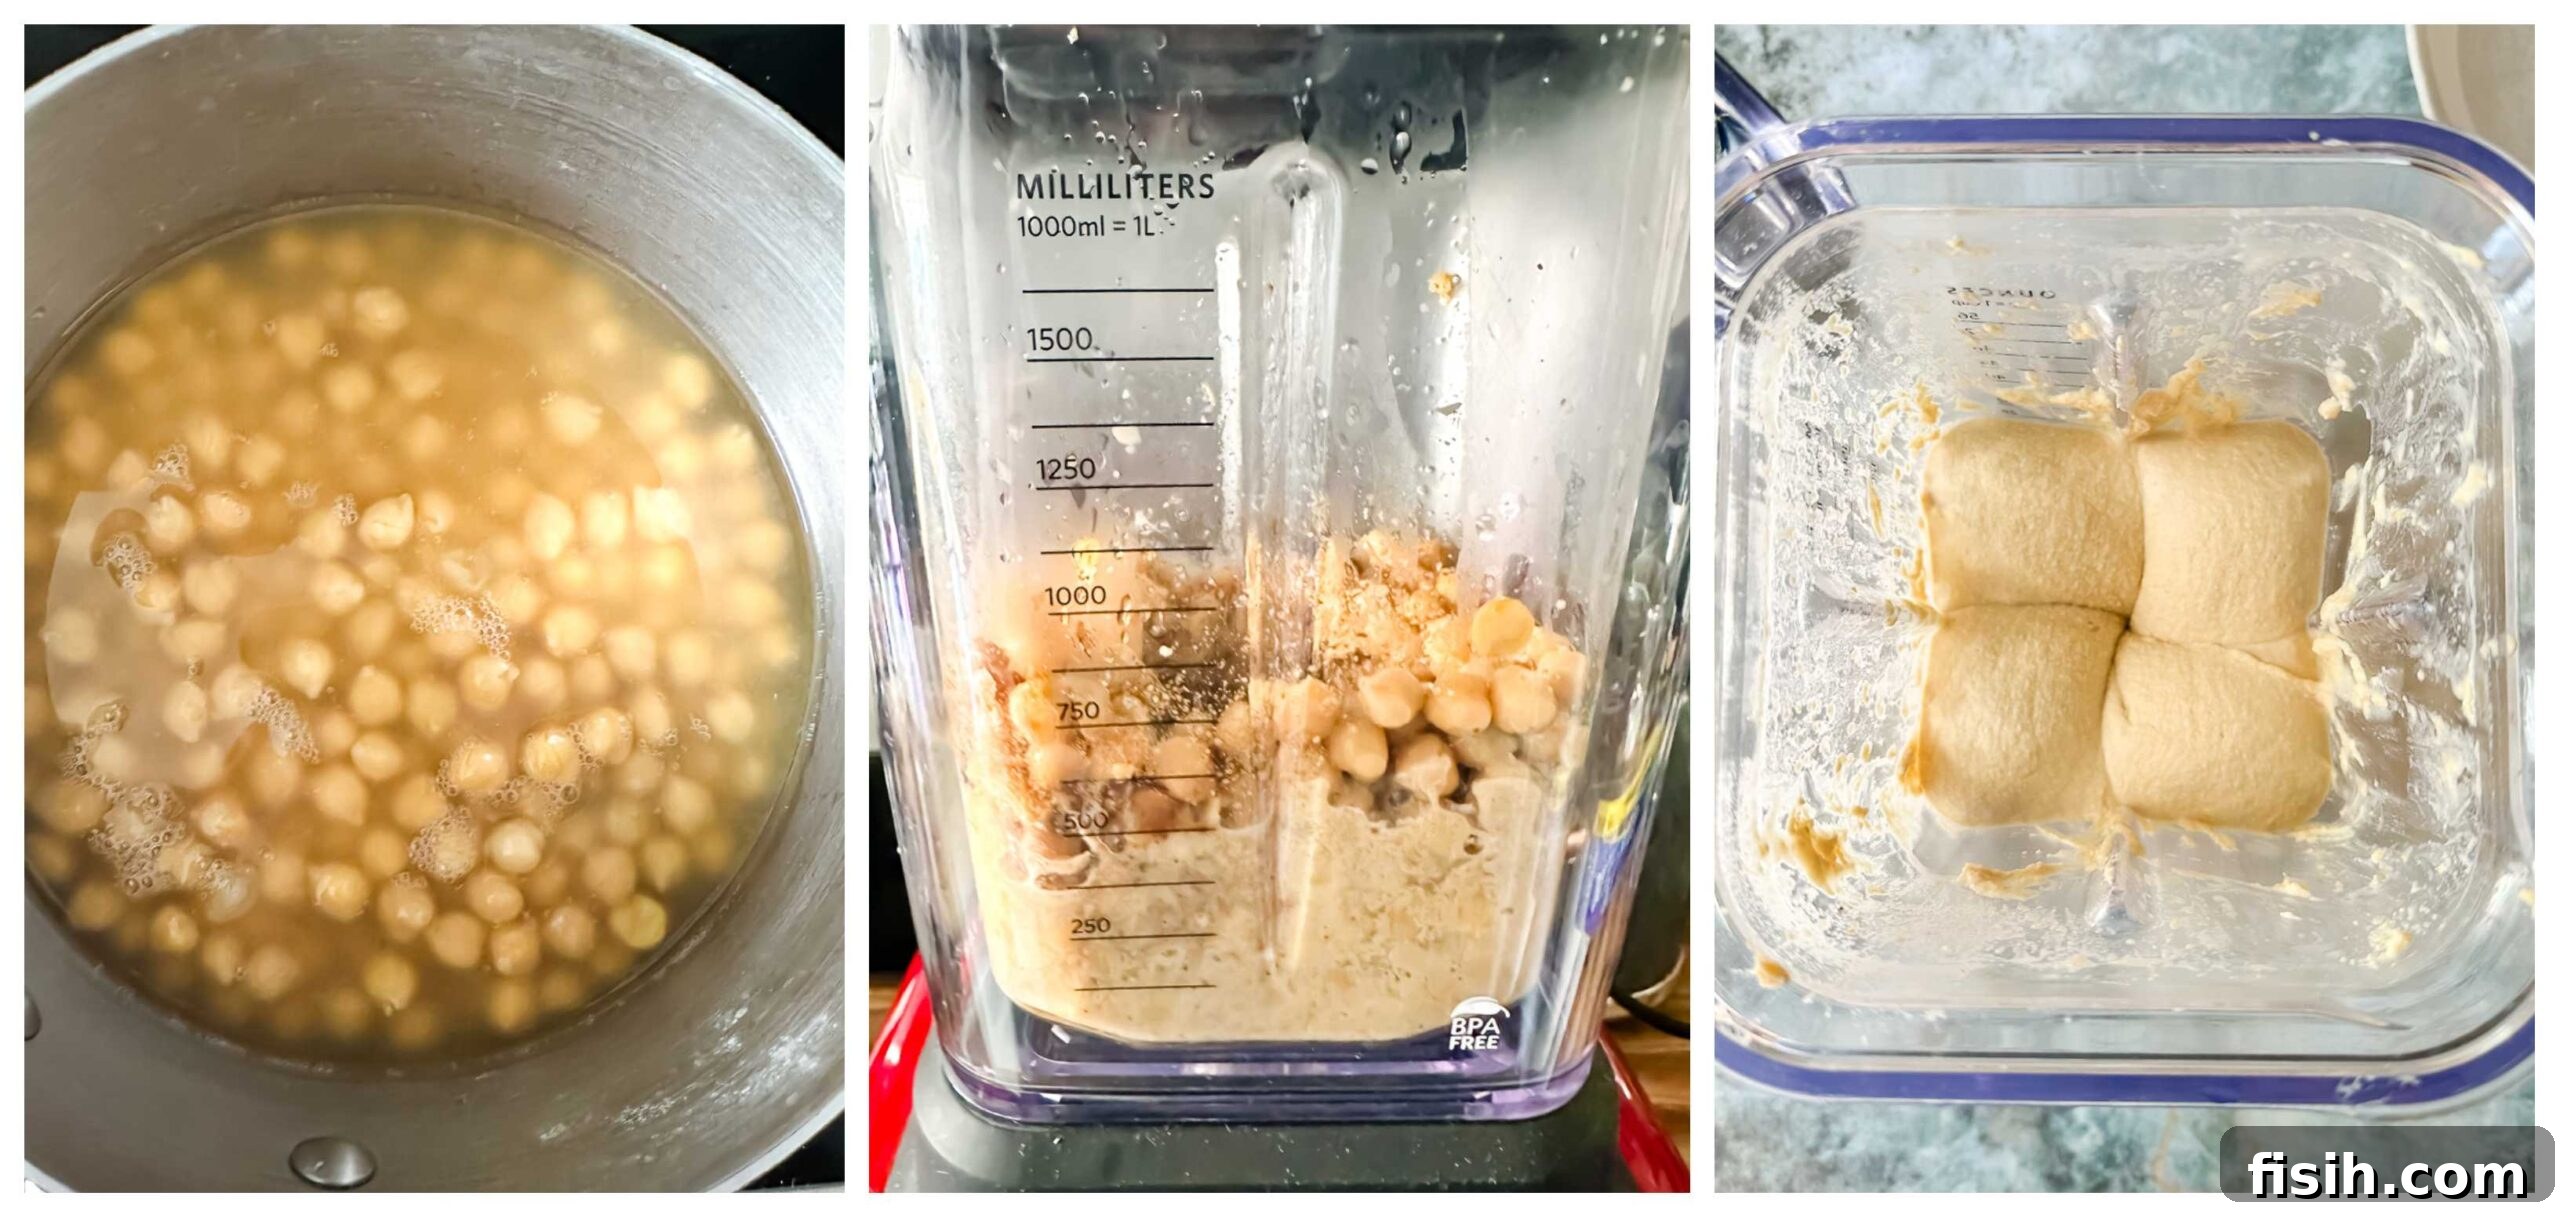
- The Secret to Smoothness: Tender Chickpeas: The crucial trick when using canned chickpeas is to cook them for an additional 10 minutes before blending. This extra boiling time makes them incredibly tender – soft enough to easily squash between your thumb and forefinger with virtually no resistance. A hard or undercooked chickpea is the primary culprit behind grainy, gritty hummus.
- The Tahini Imperative: As discussed, the quality of your tahini (sometimes called tahina) profoundly impacts the final flavor and texture of your hummus. Aim for a high-quality tahini that is pale in color, runny, and possesses a sweet, nutty aroma. Cheaper versions, often widely available in general supermarkets, can taste bitter and frequently separate into an undesirable consistency in the jar – a cement-like layer at the bottom, a thin goo in the middle, and a pool of oil on top. Opting for a quality brand truly makes a remarkable difference in the finished dish.
- Balancing Tahini Richness: Authentic, traditional Middle Eastern hummus often features a very generous amount of tahini, which I personally adore for its rich, robust flavor. However, I understand that for some palates, this can be quite overwhelming. My recipe strikes a delightful balance, offering a proportion that satisfies both the purist and those who prefer a slightly less intense tahini profile. Feel free to adjust to your preference once you’ve made it a few times!
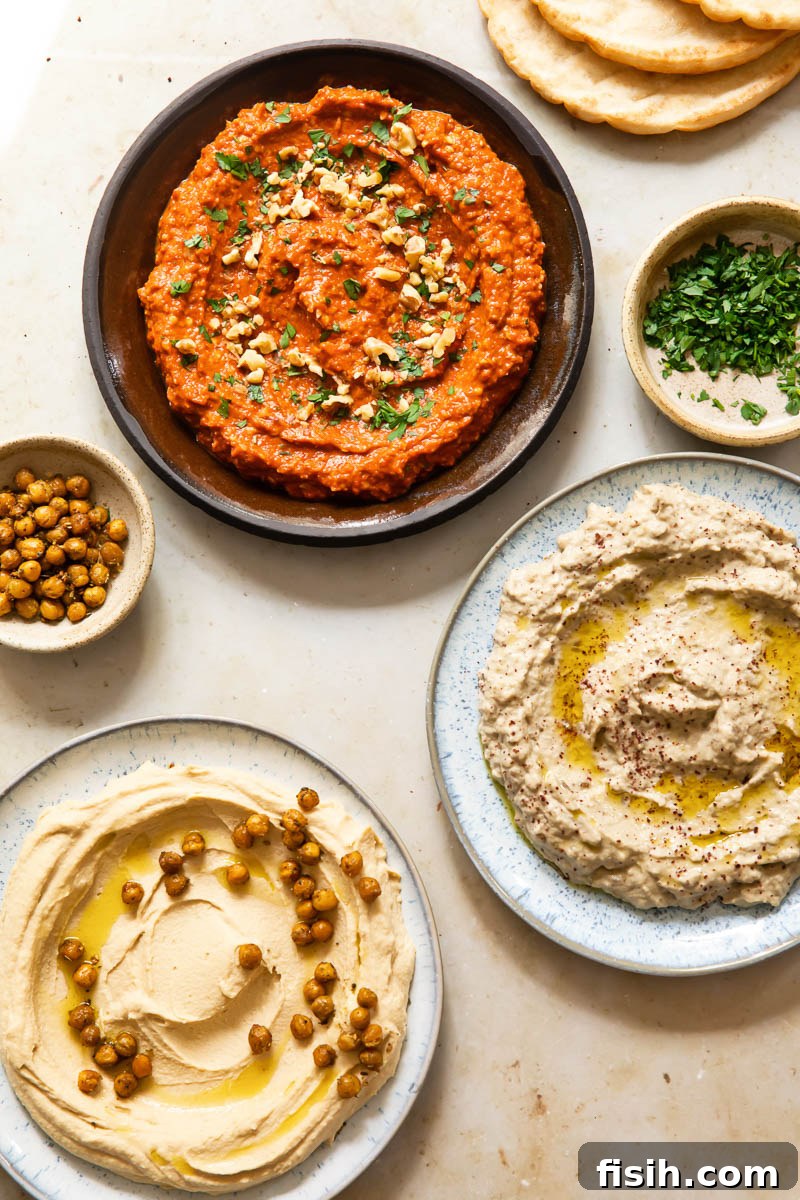
- The Elegance of Roasted Za’atar Chickpeas: My roasted za’atar chickpeas are more than just a garnish; they’re an embellishment that elevates the entire dish. Not only do they add a beautiful splash of color and a touch of visual appeal, but they also introduce a wonderfully pleasing crunch and an aromatic spice blend that contrasts perfectly with the otherwise smooth and creamy spread. If you prefer a simpler dish, feel free to omit this step, but I highly recommend giving it a try for an extra layer of flavor and texture.
Storage and Revival: Keeping Your Hummus Fresh
In my household, hummus is a constant presence! I frequently batch-cook it, keeping a portion in the fridge for immediate enjoyment and freezing the lion’s share for later. Proper storage ensures you always have a healthy, delicious dip on hand. Homemade hummus will retain its optimal freshness and flavor for 2-3 days when stored in an airtight container in the refrigerator. For longer storage, it freezes exceptionally well, maintaining its quality for up to 4 months.
When freezing, remember to portion out the hummus into smaller, freezer-safe containers. This makes thawing more convenient and prevents unnecessary waste. Allow a full 24 hours for it to thoroughly thaw in the refrigerator. If you notice the thawed texture appears a bit grainy or becomes overly thick, a simple remedy is to add a drizzle of high-quality olive oil and stir until smooth. Should the flavor seem a little muted after thawing, a squeeze of fresh lemon juice will instantly refresh and brighten its taste. With these tips, you can enjoy homemade hummus any time you crave it!
Other Delicious Middle Eastern Recipes to Explore
- Roast Chicken with Jerusalem Artichokes and Lemons
- Lemon Edamame and Butter Bean Hummus
- Middle Eastern Fattoush Salad
- Easy Flatbread Recipe
- Whipped Feta Dip with Pistachio Mint Pesto
Classic Hummus with Za’atar Chickpea Topping
By Julia Frey of Vikalinka
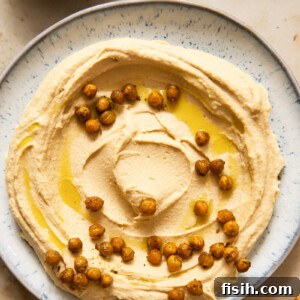
This homemade hummus recipe is incredibly simple to make, all natural, more affordable, and at least 100% fresher and tastier than any store-bought version.
Ingredients
- 2X400g/14oz cans of chickpeas
- 3 tsp ground cumin
- 2 cloves garlic
- 1/2 tsp salt
- 1 lemon, juice only
- 60g/1/4 cup tahini (affiliate link)
- 50ml/1/4 cup olive oil (affiliate link)
For Za’atar Chickpea Topping
- 100g/1/3 cup canned chickpeas
- 1/2 tbsp olive oil (affiliate link)
- salt
- 1/4 tsp garlic powder
- 1/4 tsp Za’atar seasoning
Instructions
- Preheat the oven to 200C/400F. Measure out 1/3 cup of chickpeas, pat them dry with paper towel, and arrange on a rimmed baking pan. Drizzle with 1/2 tbsp of olive oil and sprinkle with garlic powder and Za’atar. Roast in the oven for 15 minutes. Cool completely and set aside. Store in an airtight container until needed.
- In a saucepan, boil the rest of the canned chickpeas in their liquid for 10 minutes, uncovered. Let them cool. The chickpeas should be very soft and offer no resistance when squished between a thumb and forefinger. This step is crucial for achieving a smooth hummus.
- Add the cooled chickpeas (along with their cooking liquid), cumin, garlic, salt, lemon juice, tahini, and olive oil to a blender or food processor. Blend until the mixture is exceptionally smooth and creamy. Serve immediately, topped generously with the roasted za’atar chickpeas and warm flatbread or pita.
Nutrition
Calories: 135kcal | Carbohydrates: 12g | Protein: 4g | Fat: 9g | Saturated Fat: 1g | Polyunsaturated Fat: 2g | Monounsaturated Fat: 5g | Sodium: 125mg | Potassium: 143mg | Fiber: 3g | Sugar: 2g | Vitamin A: 21IU | Vitamin C: 2mg | Calcium: 33mg | Iron: 2mg
Nutrition information is automatically calculated, so should only be used as an approximation.
Tried this recipe? Let us know how it was!