
Mastering the Art of Food Photography: A Comprehensive Guide to Capturing Delicious Images
Embarking on the journey of food photography has been a dream of mine for years. For a long time, I hesitated to write about it, feeling that my own learning curve was still too steep to offer authoritative advice. Just three years ago, when I first started blogging, my knowledge of photography, and especially food photography, was minimal at best. Sharing insights then would have felt like proclaiming expertise I hadn’t yet achieved. However, the path of continuous learning has been incredibly rewarding, and I’ve gathered invaluable lessons that I am now thrilled to share with aspiring food photographers and seasoned bloggers alike. This guide is a culmination of my experiences, designed to help you elevate your food photography skills.
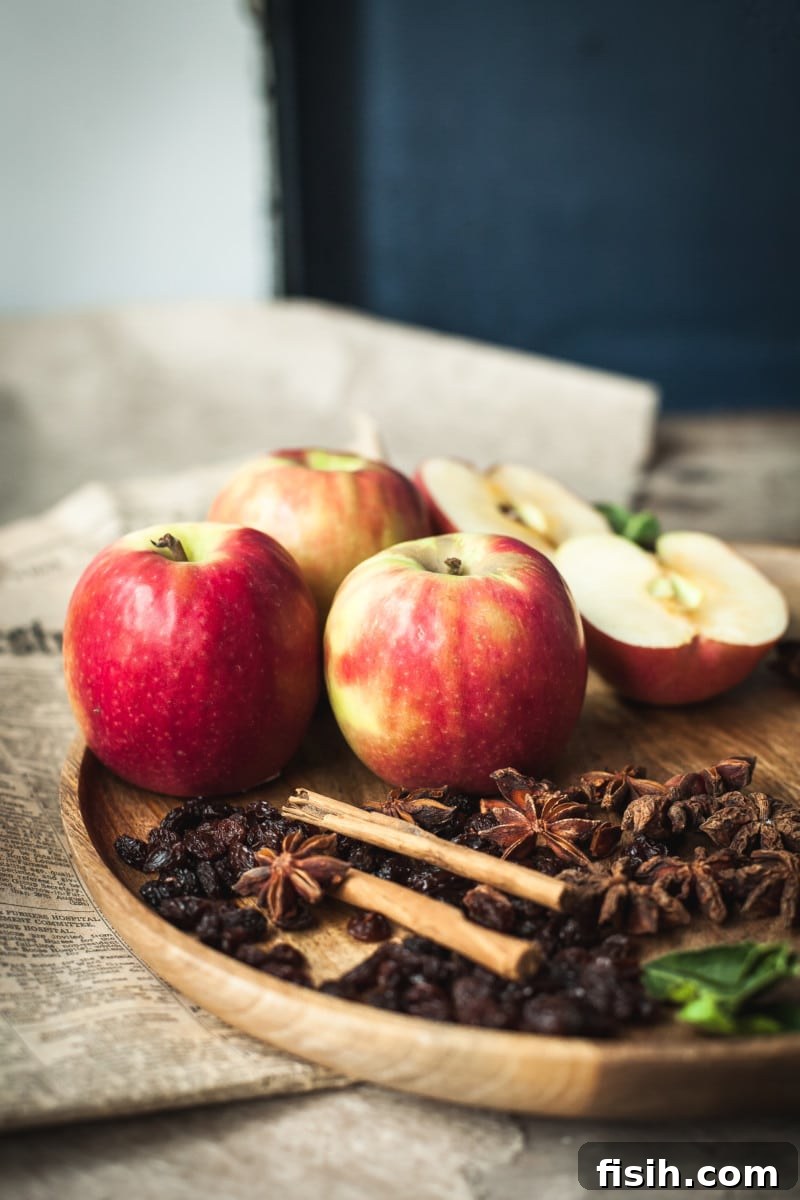
My passion for photography recently led me to an inspiring food photography masterclass in central London, hosted by Pink Lady Apples. I attended alongside my friend Lucy from Supergolden Bakes, enthusiastically bringing all my gear, including a rather hefty tripod. While the tripod might have been a bit of an ambitious accessory for a masterclass, it speaks volumes about the dedication and excitement I bring to anything photography-related. The workshop was a truly immersive experience, delving deep into the nuances of food styling and photography. It was also a wonderful opportunity to connect with many lifestyle bloggers who, like me, were eager to learn how to capture more compelling food photos. For many, platforms like Instagram serve as their primary means of communication, making the ability to style and shoot an exceptional image absolutely crucial. Being surrounded by like-minded individuals, discussing our shared love for visual storytelling, and photographing the vibrant Pink Lady apples – aren’t they just gorgeous? – was incredibly refreshing and inspiring.
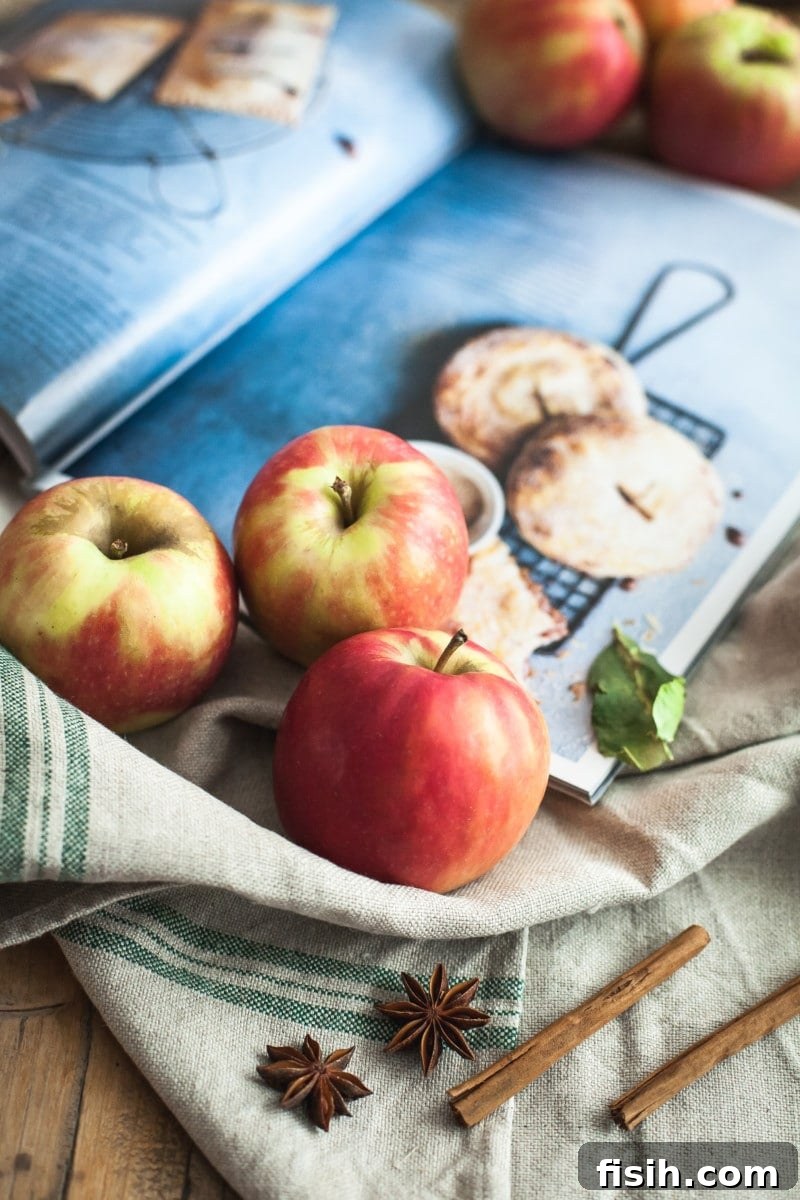
Listening to the presenter share her expert tips and showcase her stunning portfolio finally gave me the confidence boost I needed. It affirmed that my own three-year blogging journey had indeed equipped me with valuable insights that could benefit others. A heartfelt thank you to Aspire Photography for that pivotal moment of empowerment! So, let’s dive into my essential tips for improving your food photography.
Essential Food Photography Tips for Stunning Shots
1. Harness the Power of Natural Light
For anyone beginning their food photography journey, natural light is your absolute best friend. While much commercial food photography utilizes sophisticated artificial lighting setups, I strongly advise against starting there. There are several compelling reasons why natural light is the ideal foundation for learning.
- Understanding Light: To truly master photography, you must first understand how light behaves, how it interacts with your subject, and how it creates shadows and highlights. Natural light offers a dynamic yet accessible environment for this fundamental learning. It teaches you to observe and adapt, skills that are invaluable regardless of your equipment.
- Avoiding Unappetizing Color Casts: Common household artificial lighting, such as overhead fixtures or lamps, often casts an unattractive yellow or orange tint on your food. This can make even the most delicious dish look unappetizing and dull, a common pitfall we’ve all likely encountered on social media platforms like Facebook and Twitter. Natural light, on the other hand, provides a clean, neutral canvas that allows the true colors of your food to shine through.
- Cost and Complexity: Professional artificial lighting setups are not only expensive but also complex to operate. Attempting to use them without a solid grasp of natural lighting principles can be frustrating and counterproductive. Start simple, master natural light, and then explore artificial options if your needs evolve.
It’s important to remember that more light isn’t always better. I once made the mistake of moving my entire photo setup into my glass conservatory, believing maximum light exposure was the goal. Big mistake! Great photography, especially food photography, is about the interplay of light and shadows. Shadows add depth, texture, and mood, transforming a flat image into a compelling story. Your ideal setting is usually by a north-facing window, where the light is gentle, diffused, and consistent throughout the day. Direct sunlight, with its harsh shadows and blown-out highlights, is generally unflattering for food and should be avoided at all costs. If you only have access to direct sunlight, use a sheer curtain or a diffuser to soften it.
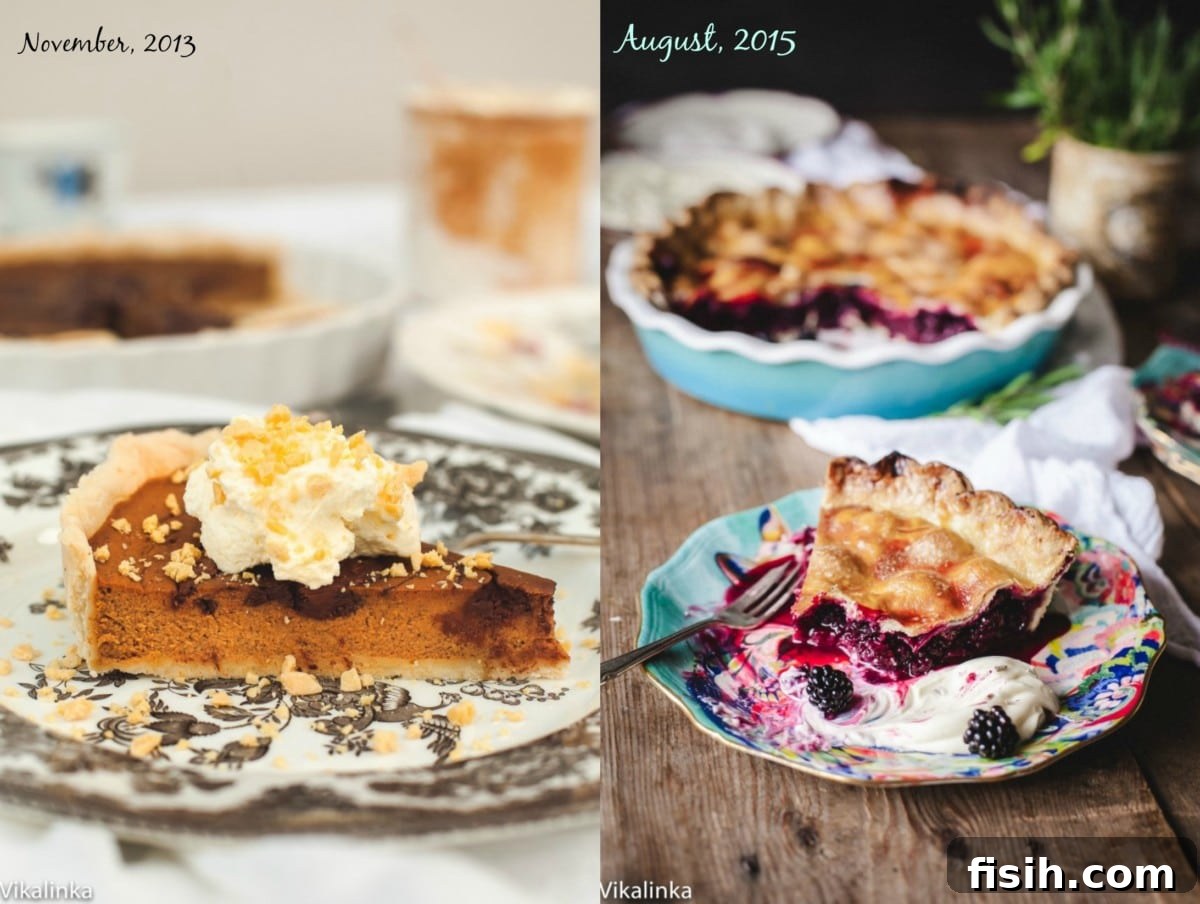
To illustrate the dramatic impact of good lighting, consider these two photos taken two years apart. The first was shot in my overly bright conservatory, while the second was captured in the soft, ambient light of my living room. The difference is stark, isn’t it? I often cringe when I look back at my old photos, and while I’m tempted to reshoot them all, I choose to keep some as a powerful reminder of my starting point and the progress I’ve made. This journey, I hope, serves as an encouragement to you. As someone once wisely shared with me, “The only photographer you should compare yourself to is the one you used to be.” This sentiment liberated me from the constant dissatisfaction of comparing my work to photographers I admire, allowing me to focus on my own growth and improvement.
2. Master Your Angles for Dynamic Compositions
One of the clearest indicators separating an experienced food photographer from a novice is the thoughtful use of angles. Beginners often photograph their subjects from awkward or uninspired viewpoints. For food photography, three primary angles consistently yield the most appealing results:
- Eye-Level/Side View (0-15 degrees): This angle places the viewer directly at the table, creating an intimate and engaging perspective. It’s perfect for dishes with height, layers, or prominent front features, such as burgers, layered cakes, stacked pancakes, or a glass of a beautifully crafted drink. It invites the viewer to imagine themselves about to take a bite. (Refer to the first photo in this post for an example.)
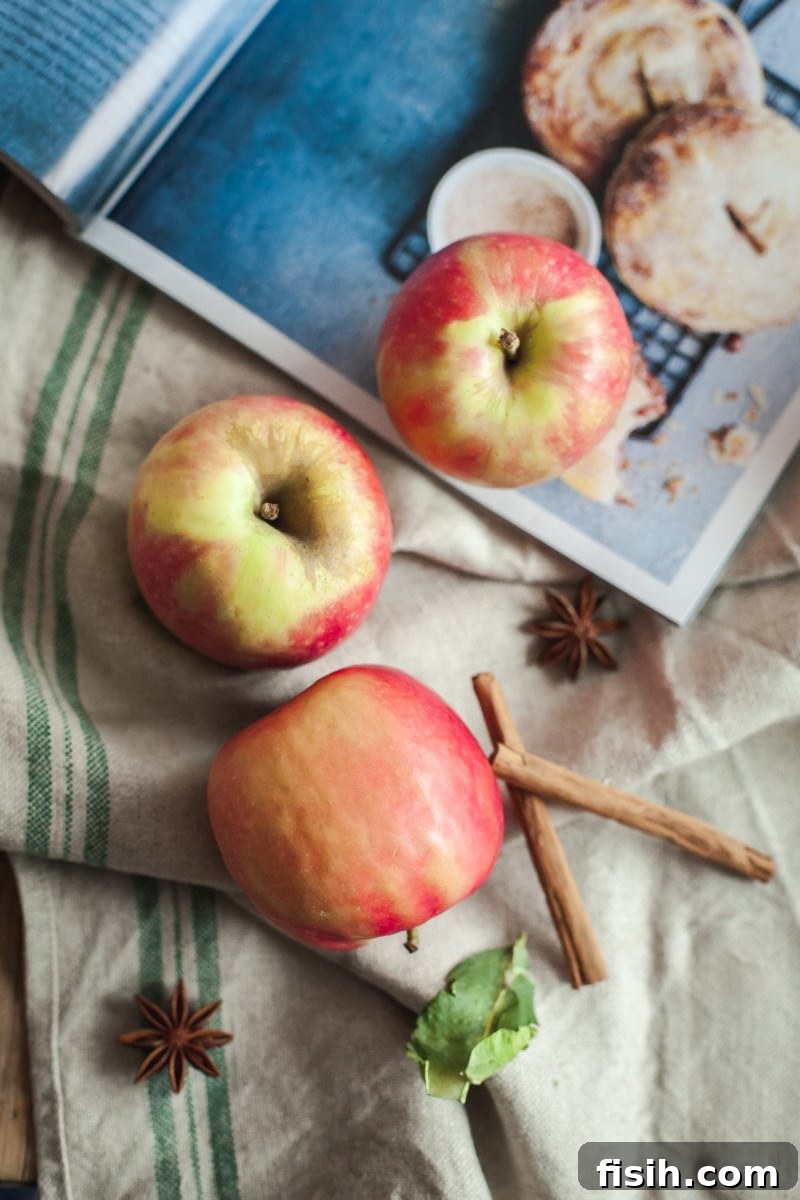
- Three-Quart View (45 degrees): This versatile angle strikes a perfect balance between showing the dish’s depth and providing context for the surrounding elements and props. It’s excellent for most dishes, offering a comprehensive view that highlights both the texture of the food and the overall styling of the scene. It gives a natural, pleasing perspective that feels familiar and appetizing. (Refer to the second photo in this post.)
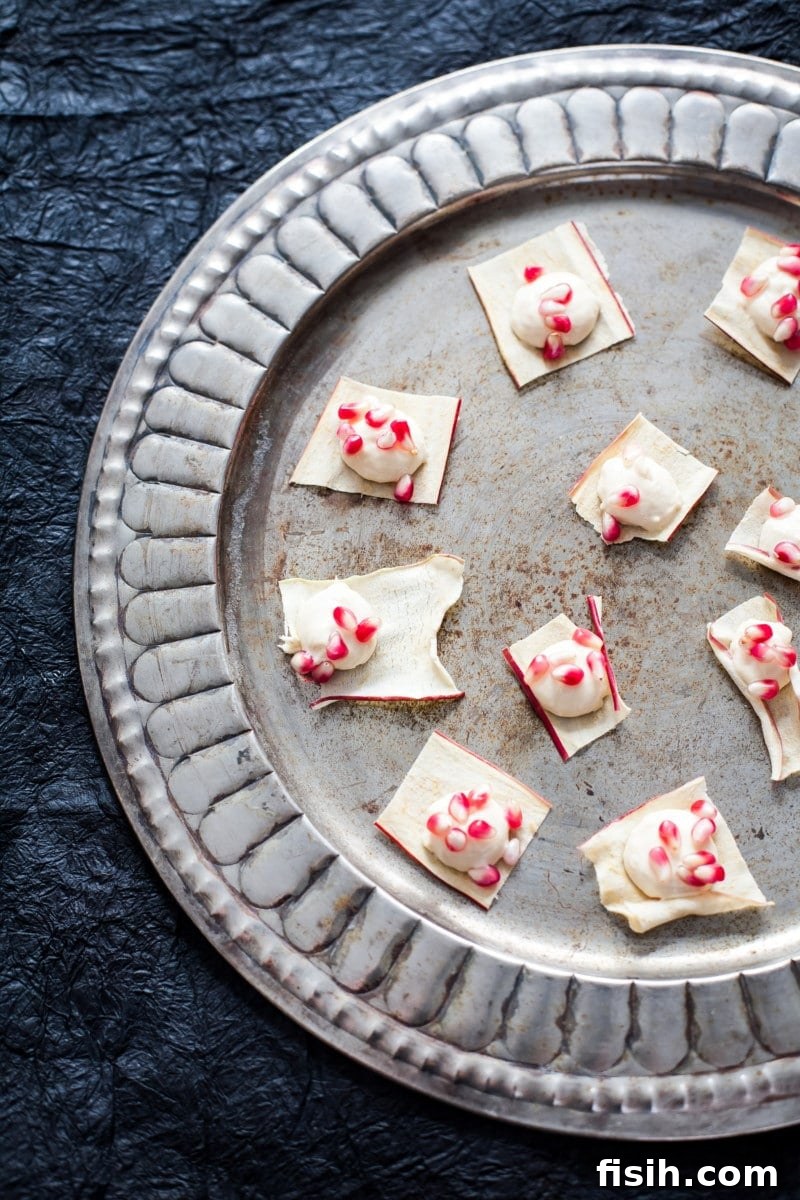
- Overhead/Flat Lay View (90 degrees): A popular and visually striking angle, the overhead shot looks directly down on your subject. This perspective is fantastic for showcasing a spread of ingredients, an array of smaller dishes, or any scene where patterns, shapes, and textures from above are key. It creates a graphic, often artistic, composition. I confess, I probably use overhead shots a bit too much in my own food photography, but we all have our preferred styles! To execute a great overhead shot, ensure your camera is perfectly parallel to your surface to avoid distortion, and a tripod can be incredibly helpful here.
3. Thoughtful Prop Styling: Textures and Colors
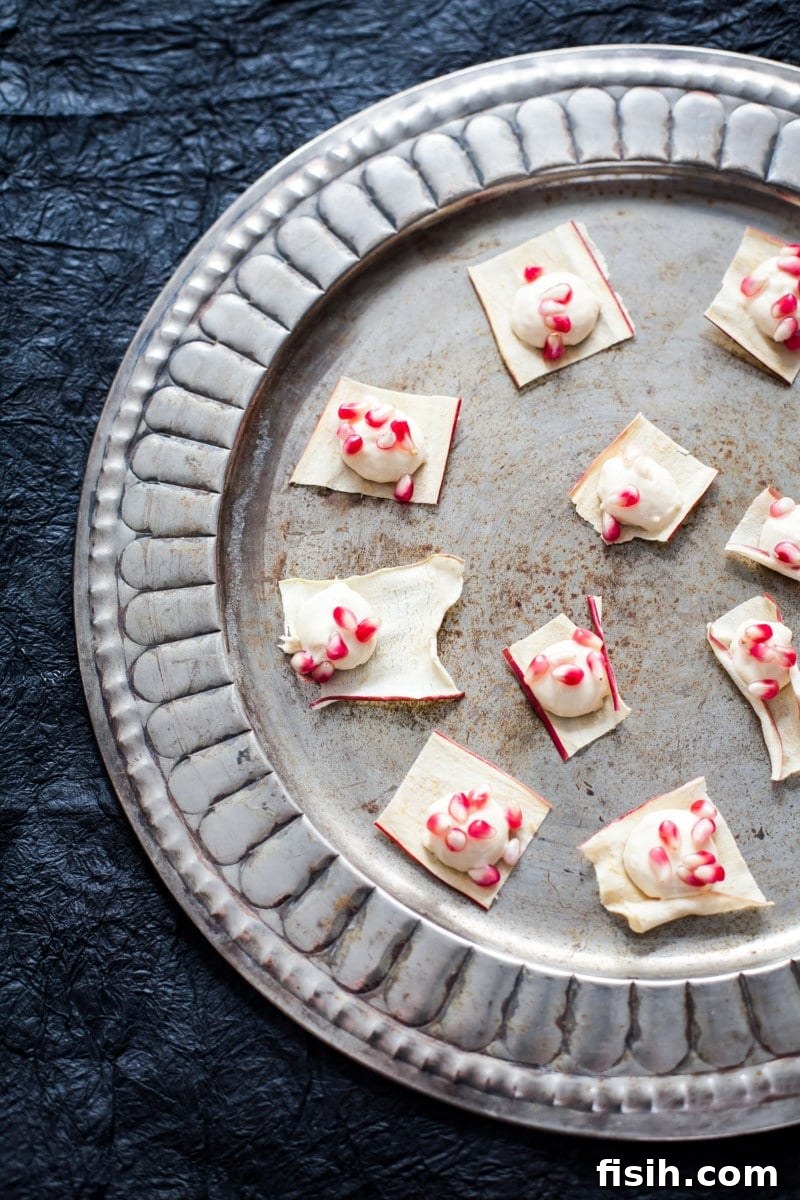
Remember this golden rule: it’s always easier to take beautiful photos of a beautiful scene. Food photography is as much about styling as it is about shooting. The props you choose and the way you arrange them play a critical role in enhancing your subject, setting the mood, and telling a story. Consider how colors and textures can compliment and highlight your food without overshadowing it. For instance, a rustic wooden board or a linen napkin can beautifully set off the vibrant burst of pomegranate seeds, as seen in the example. That gorgeous background is just paper and costs next to nothing!
Food photography can indeed become an expensive endeavor. Beyond a high-quality camera and lenses, a multitude of props often seem necessary to style that perfect shot. But if you’re just starting out, do not despair! You don’t need to spend a fortune overnight. Charity shops and thrift stores are my primary sources for unique and affordable props – from vintage cutlery to interesting plates and textured fabrics. Many bloggers also find fantastic deals on platforms like eBay or even by repurposing items from around their home. The key is to collect things gradually as you discover your style and needs. In the meantime, focus intensely on perfecting the technical aspects of your photography. A simple, well-lit dish with minimal, carefully chosen props will always look better than a cluttered, poorly lit scene with expensive accessories.
4. Achieve Razor-Sharp Focus in Every Shot
Capturing razor-sharp images is arguably the essence of good photography, and perhaps should have been mentioned earlier due to its fundamental importance. There’s a common misconception that you need a very expensive camera to achieve this. However, the reality is quite different. Your camera is merely a tool; if it moves or shakes while you’re taking a photo, even the most advanced equipment will produce blurry images. It’s as simple as that!
The secret to sharp photos lies in two key areas: correct focus and stability. Ensure your camera is focusing precisely on the most important element of your dish – whether it’s the glistening sauce, the crisp crust, or the delicate garnish. Many cameras offer different autofocus modes; experiment to find the one that best suits your style. More importantly, stability is paramount. A steady hand is a good start, but for truly consistent, professional-looking sharpness, especially in lower light conditions or when using slower shutter speeds, a **tripod and a remote control (or self-timer)** are indispensable. A tripod eliminates camera shake, allowing for longer exposures when needed, while a remote trigger prevents any movement caused by pressing the shutter button directly.
5. Demystifying Camera Settings: ISO, Aperture, and Shutter Speed
I understand that delving into camera settings can seem like a daunting task, especially if you’re used to shooting on automatic mode. However, understanding ISO, Aperture, and Shutter Speed – often referred to as the holy trinity of photography – is crucial for unlocking your creative potential. While it’s perfectly fine to start with automatic settings while you master composition, styling, and focusing, eventually you’ll want more control over your creative process. That’s where manual settings come in.
- Aperture (f-stop): This controls the size of the lens opening, influencing both the amount of light reaching the sensor and, more critically for food photography, your depth of field. A wider aperture (smaller f-number like f/2.8) creates a shallow depth of field, blurring the background (beautiful bokeh) and making your food pop. A narrower aperture (larger f-number like f/8 or f/11) keeps more of the scene in focus, ideal for flat lays or showing context.
- Shutter Speed: This determines how long the camera’s shutter remains open, controlling the amount of light and freezing or blurring motion. For food photography, you generally want a fast enough shutter speed (e.g., 1/125th second or faster) to prevent blur from camera shake. If you’re on a tripod, you have more flexibility with slower speeds, which can be useful in low light.
- ISO: This setting measures your camera sensor’s sensitivity to light. A lower ISO (e.g., 100 or 200) results in cleaner images with less digital noise (grain), which is always preferred. A higher ISO (e.g., 800 or 1600) makes the sensor more sensitive, allowing you to shoot in darker conditions or with faster shutter speeds, but at the cost of increased noise. Always aim for the lowest possible ISO that allows for proper exposure.
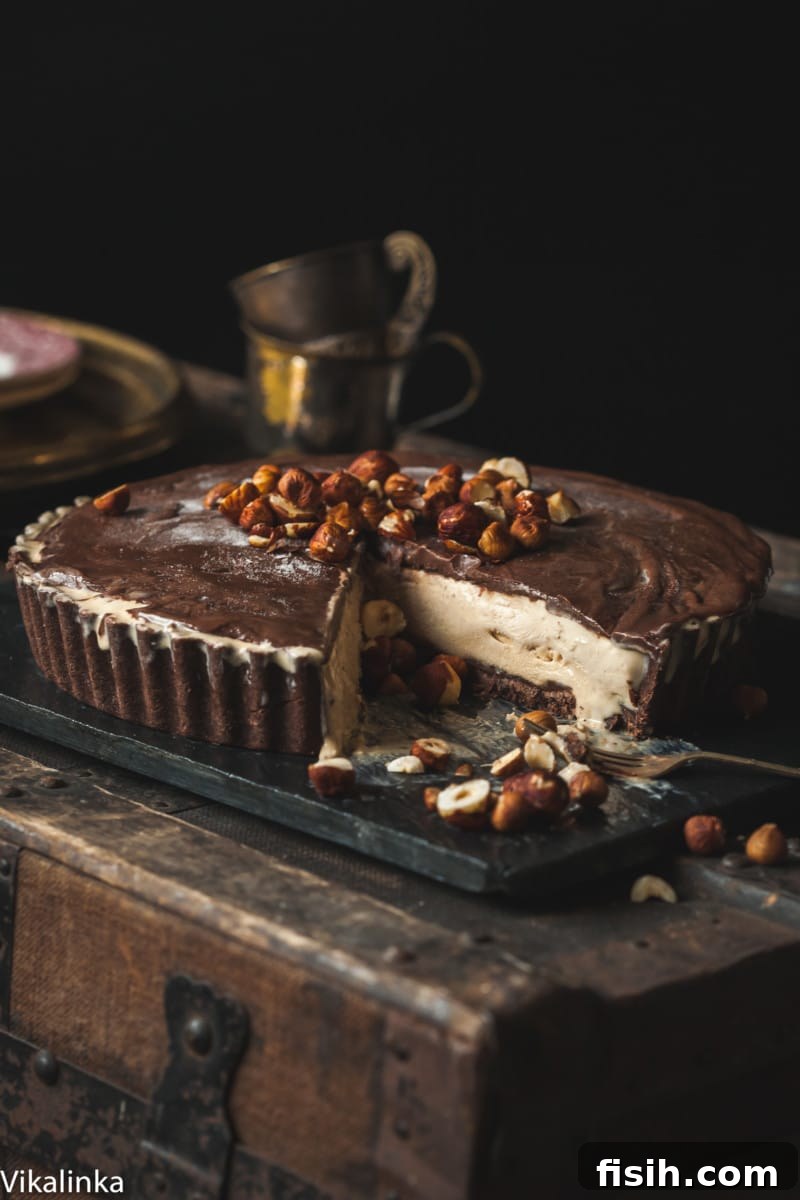
Understanding these settings empowers you to craft diverse visual stories. One day, you might choose to create very dark and moody shots, evoking a sense of drama and richness.
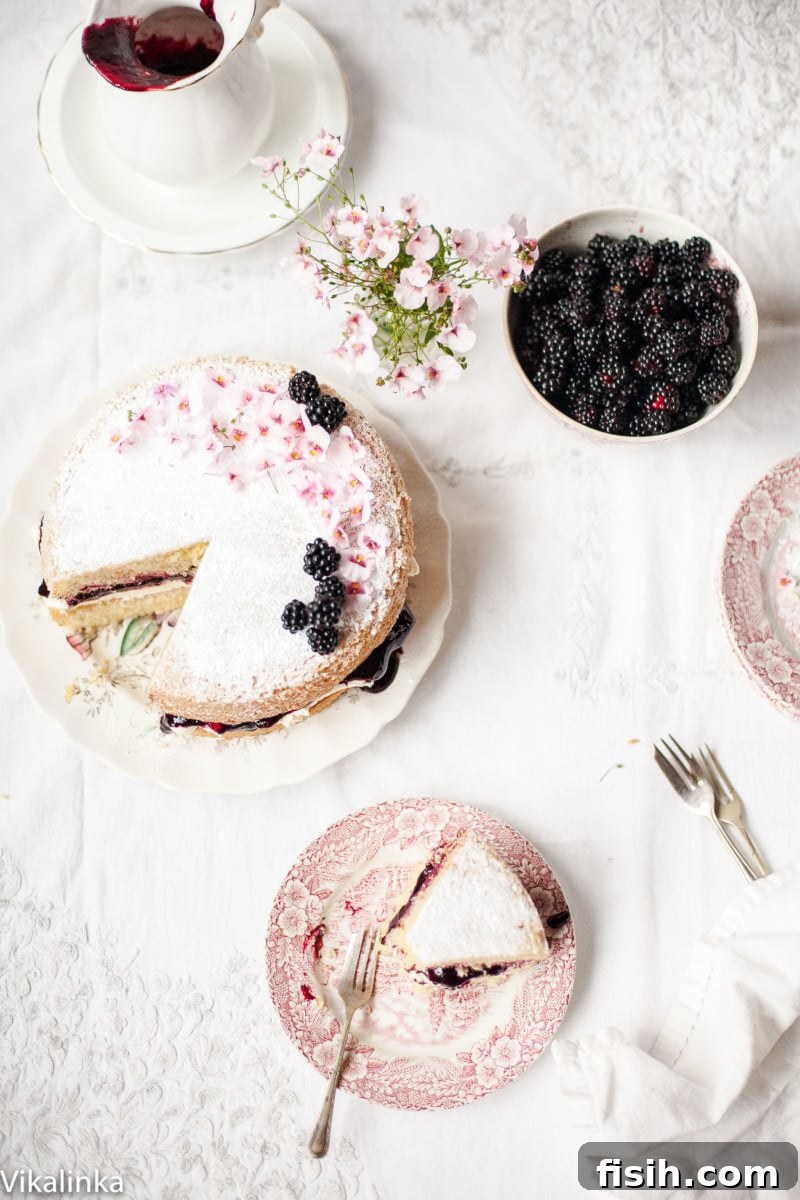
The next, you can effortlessly switch gears, opting for bright, airy, and inviting aesthetics.
You can choose to zero in on a beautiful subject by skillfully controlling your depth of field, creating a captivating separation from the background.
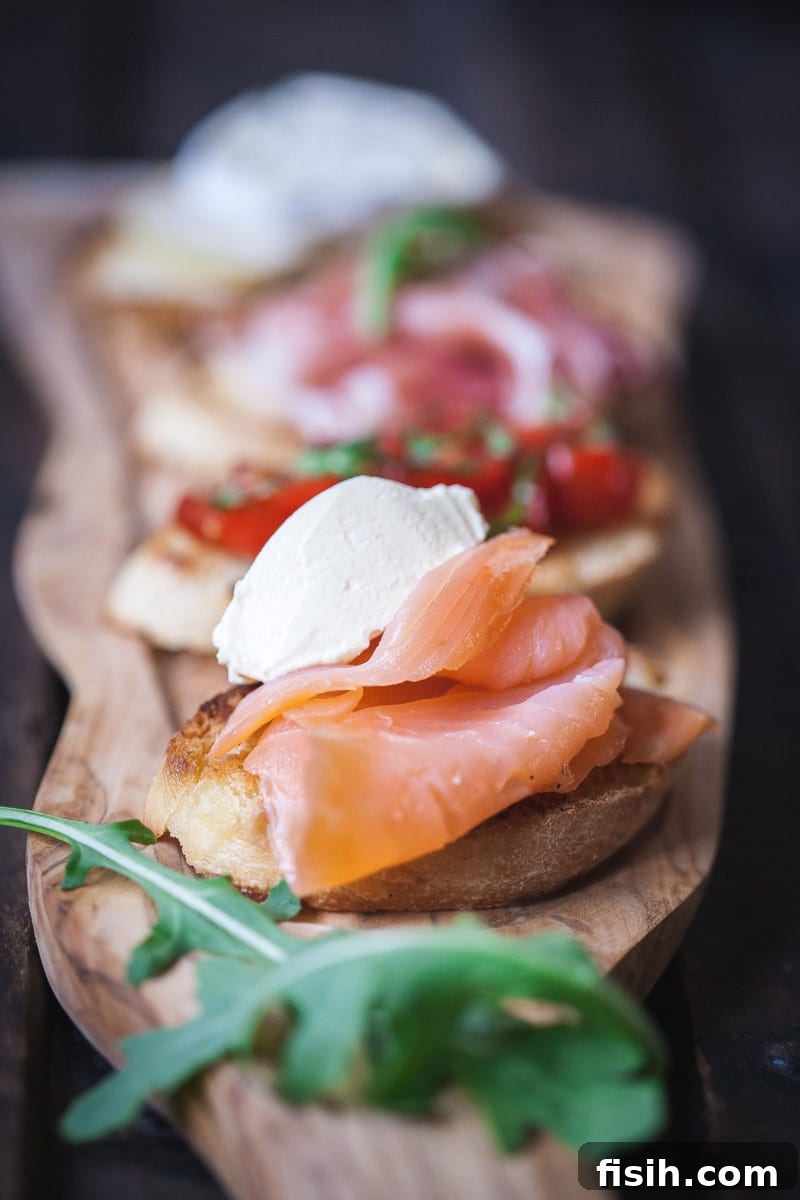
Or, you might decide to capture the entire scene, ensuring everything within the frame remains in sharp focus.
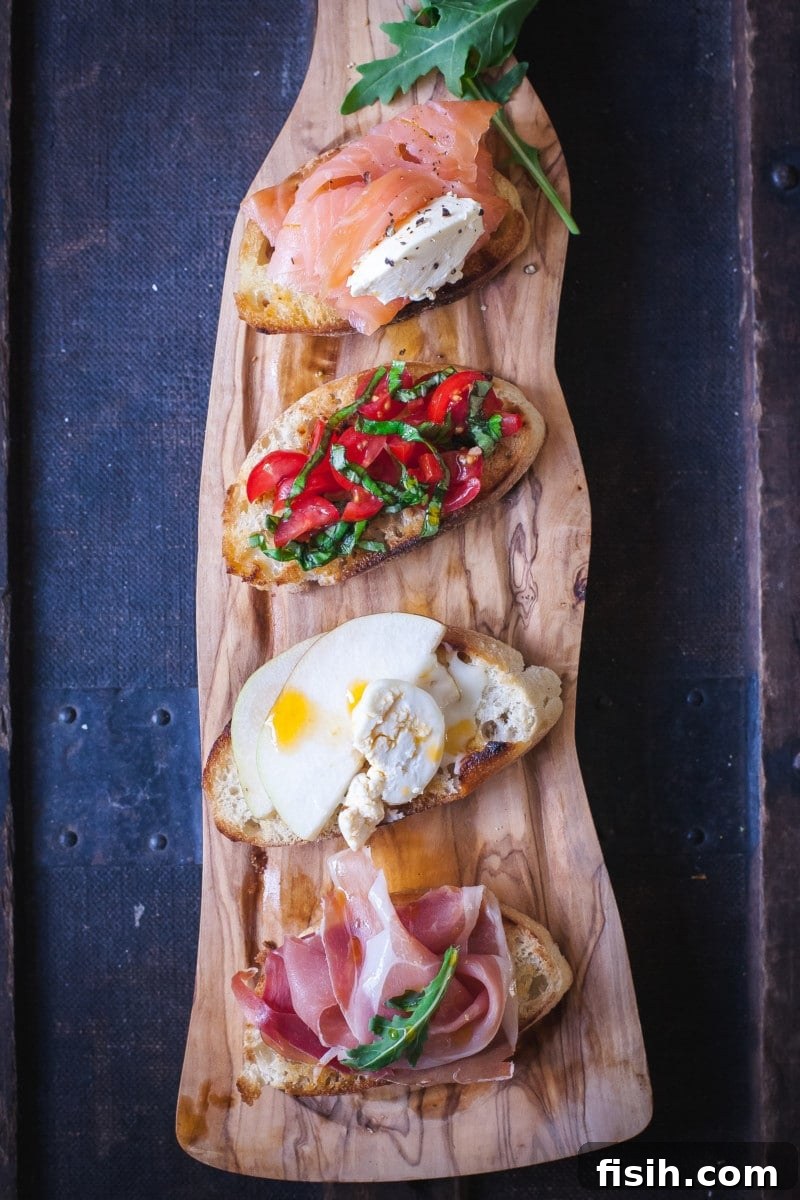
Knowledge truly is power, granting you the freedom to be truly creative and to visually express the mental concepts you envision.
6. Continuous Growth and Community Engagement
Photography is a journey of endless learning. To continuously refine your skills and stay inspired, I highly recommend these avenues:
- Study and Emulate: Actively seek out photographers whose work you admire. Analyze their compositions, lighting techniques, and styling choices. Don’t just scroll past their photos; truly study them. Read photography books, engage with online tutorials, and don’t be afraid to ask questions in photography forums or directly from other photographers. Then, practice applying what you’ve learned.
- Curate Inspiration: Create a dedicated Pinterest Photography Inspiration Board (or feel free to follow mine!). Use it as a visual library for ideas on styling, lighting, angles, and color palettes. Building a mood board helps define your aesthetic and gives you a reference point during your shoots. Consider shadowing a professional photographer for a day if possible; observing an expert in action can provide invaluable real-world insights that books simply cannot. And above all, practice, practice, practice!
- Connect and Learn: Finally, and perhaps most importantly, sign up for a food photography workshop. These immersive experiences offer hands-on learning, personalized feedback, and the incredible opportunity to meet people who share your passion. Exchanging valuable information, tips, and experiences within a supportive community can accelerate your growth exponentially. The connections you make and the knowledge you gain will be transformative. And yes, you guessed it: practice, practice, practice!
I realize that I could continue discussing photography indefinitely. This post merely scratches the surface of the “nitty-gritty” details, such as precisely how to set up a perfect shot or intricately control all your camera settings. Regrettably, it’s impossible to cover everything in a single article. Some aspects of photography, by their very nature, must be felt and experienced firsthand to be truly learned and mastered. That’s why I am incredibly excited to announce that a Practical Photography Workshop, in collaboration with the wonderful Lucy Parissi, is currently in the works! We are actively discussing and planning the curriculum, and we would absolutely love to hear your thoughts and what you’d be most interested in learning. Please feel free to comment below or message me directly if you are interested in joining us! I sincerely hope this post has provided helpful insights and ignited your passion for capturing beautiful food images.
Cheers,
~Julia