
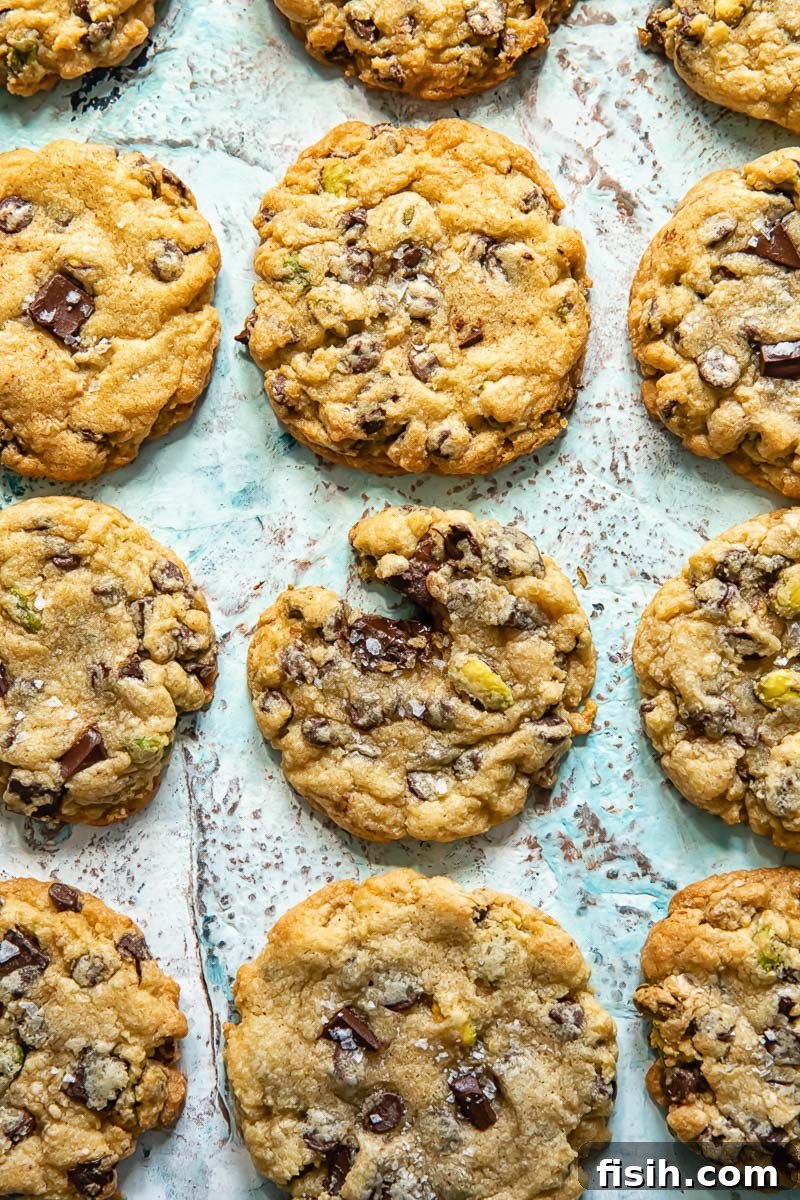
Welcome to a culinary journey that promises to fill your home with an intoxicating aroma and your heart with pure joy. Imagine biting into a cookie that is simultaneously chewy, gooey, and studded with irresistible chunks of melted chocolate and vibrant, crunchy pistachios, all perfectly balanced with a whisper of sea salt. This isn’t just a cookie; it’s an experience, a symphony of textures and flavors that captivates from the first glance to the last crumb. Our recipe for **Chocolate Chip Cookies with Pistachios and Sea Salt** elevates the classic comfort treat to gourmet status, offering a delightful twist that will have everyone reaching for more. Best of all, you can whip up three dozen of these exceptional cookies in no time, making them the ideal anytime indulgence or a standout dessert for special occasions.
While we delve into the magic of this sweet and salty sensation, if you’re exploring alternatives or prefer a nut-free, lighter option, you might enjoy my lemon ricotta cookies. These bright and airy delights offer a zesty lemon flavor, delicately enhanced with a hint of white chocolate, providing a completely different yet equally enchanting cookie experience.
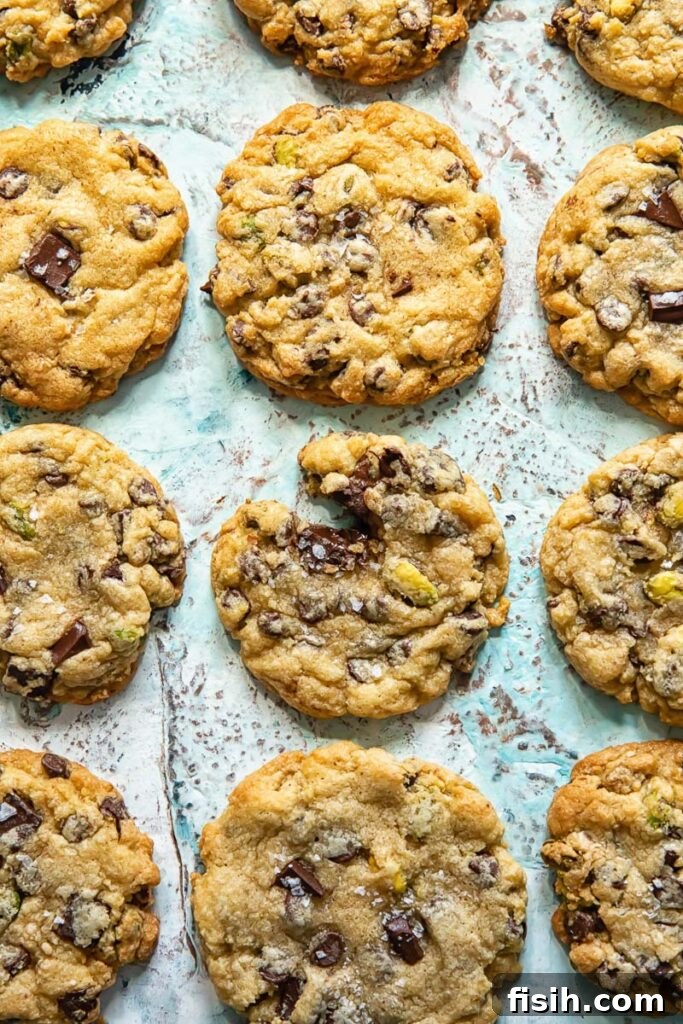
The Irresistible Allure of Gourmet Chocolate Chip Cookies
As an avid baker and enthusiast of unique flavor combinations, I am incredibly thrilled to share this particular cookie recipe. It perfectly highlights one of my absolute favorite culinary trios: the rich earthiness of pistachio, the intense depth of dark chocolate, and the essential brightness of sea salt. The addition of salt is not merely an afterthought; it’s a critical component that dramatically transforms the cookie’s profile. Salt acts as a natural flavor enhancer, intensifying the complex notes of cocoa in the dark chocolate and providing a welcome counterpoint to the sweetness of the dough. This creates a more sophisticated and nuanced taste, moving beyond a simple sugary treat.
For this recipe, I specifically chose dark chocolate over its milkier counterparts. Its higher cocoa content delivers a more pronounced chocolate flavor and a subtle bitterness that beautifully offsets the sugary cookie dough. This contrast is what truly elevates the cookie, preventing it from being overly sweet. Then there are the pistachios. Beyond their distinct, savory, and slightly sweet nutty flavor, pistachios add a magnificent pop of color with their natural vibrant green and occasional purple hues, making each cookie a visual delight. Their crunch also provides a much-needed textural contrast to the soft, chewy interior.
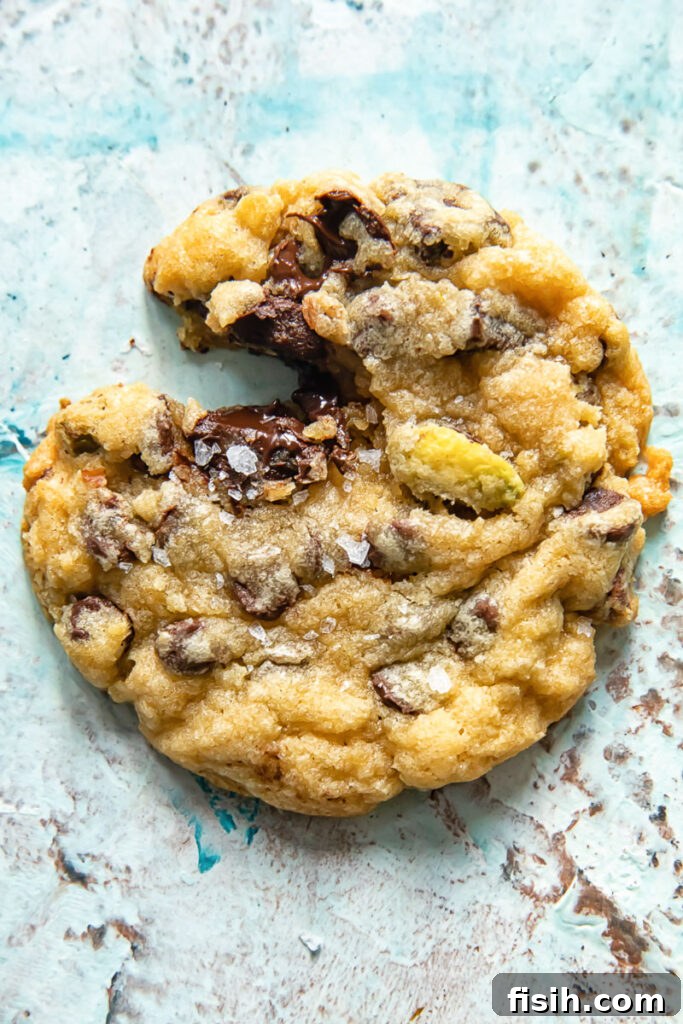
When it comes to cookies, people often fall into one of two distinct camps: those who adore soft, chewy, and tender cookies, and those who prefer a crispy, snappable texture. My personal preference, and what this recipe aims to achieve, is the best of both worlds: a tender, slightly chewy center with perfectly golden, crunchy edges. However, the beauty of homemade cookies is their versatility. Even a rustic plate of slightly crunchy, wonderfully crumbly cookies brings immense pleasure and satisfies the soul. This recipe, with its careful balance of ingredients and techniques, ensures a universally beloved texture that leans towards that desirable chewiness.
The Science Behind Perfect Cookie Ingredients
Baking is often described as a precise science, and nowhere is this more evident than in a cookie recipe. Each ingredient plays a crucial role, undergoing chemical reactions that collectively contribute to the final taste, texture, and appearance of your perfect cookie. Understanding these roles allows you to fine-tune your baking for optimal results. Let’s explore how the key players in our cookie dough interact:
- All-Purpose Flour: This is the hero for achieving a delightfully chewy cookie. Its moderate protein content develops just enough gluten to give structure without making the cookie tough. It’s also excellent for preventing excessive spread during baking. While self-rising flour might seem convenient, it contains leavening agents that can result in a snappier, more biscuit-like texture, which isn’t our goal for a soft-chewy cookie.
- Cornstarch (or Cornflour in the UK): Often overlooked, cornstarch is a game-changer. As a thickening agent, it works wonders in creating a cookie that is wonderfully chewy without becoming overly cakey or crumbly. It interferes with gluten development, promoting tenderness, and helps to absorb moisture, resulting in that sought-after soft, dense interior. This is the secret to the optimum, melt-in-your-mouth texture.
- Baking Soda and Baking Powder: These two are often confused but perform different functions. Baking soda requires an acid (like brown sugar in this recipe) to activate and produces carbon dioxide, which helps cookies spread and brown beautifully. Baking powder contains both an acid and a base and reacts twice: once when wet and again when heated. The combination of both in this recipe is key to achieving cookies with soft, tender centers and wonderfully crisp edges. Omitting baking soda, for instance, would lead to a thicker, fluffier, and more cake-like cookie, lacking the desired spread and chew.
- Butter: The foundation of flavor and texture. It is crucial to use softened butter, not melted. Softened butter (butter that gives slightly when pressed but still holds its shape) creams beautifully with sugar, incorporating air that contributes to a lighter, more tender crumb. If you forget to take your butter out early and resort to melting it, you’ll likely end up with flatter, greasier cookies with a somewhat wrinkled appearance because the fat separates too quickly and the emulsion with sugar is compromised. You can use either salted or unsalted butter, but remember to adjust the added salt accordingly if using salted butter.
- Sugar (Granulated and Brown): The type and combination of sugars significantly impact cookie texture and flavor. Using a blend of granulated (caster) and packed brown sugar is crucial for balance. Granulated sugar contributes to spread and crispness, while brown sugar (especially light brown) adds moisture, chewiness, and a lovely caramel-like flavor dueating to its molasses content. Relying solely on granulated sugar would produce very pale, flat cookies with toppings that seem to float on top. Conversely, using only brown sugar would yield a darker, fluffier, and very soft, almost pillow-like cookie. The combination allows them to meet perfectly in the middle, creating a balanced flavor and texture.
- Eggs: Eggs are vital binders in cookie dough, providing structure and richness. They emulsify ingredients, contribute to moisture, and help the cookie hold its shape. While egg substitutes exist, baking with real eggs typically yields superior results in terms of binding and overall structure. Without them, cookies can become compact and more prone to crumbling. Using large eggs is generally recommended for consistent results.
- Vanilla Extract: Pure vanilla extract is a flavor powerhouse, enhancing the sweetness and complexity of the cookies without overpowering other ingredients. It adds warmth and depth, making the chocolate and pistachio flavors sing.
- Pistachios: Choose unsalted, shelled pistachios. Their distinct flavor, vibrant color, and satisfying crunch are integral to this recipe. I prefer them whole, avoiding pre-toasting, as they risk burning during the cookie’s bake time.
- Dark Chocolate Chips or Chunks: The choice between chips and chunks is mostly aesthetic, but chunks tend to provide more dramatic pools of melted chocolate throughout the cookie. Dark chocolate, as discussed, provides the best flavor contrast.
- Sea Salt (Flaked): Beyond being an ingredient in the dough, a final sprinkle of flaky sea salt (like Maldon) after baking is the ultimate finishing touch. It provides an immediate burst of salinity that enhances the sweetness and chocolate, adding an edgy, gourmet touch.
Mastering the Art of Shaping and Baking Your Cookies
Achieving homemade cookies that are consistently uniform in size, color, and texture might seem like a daunting task, but with a few simple tricks and tips, you can ensure picture-perfect results every time. Precision in preparation is just as important as the ingredients themselves.
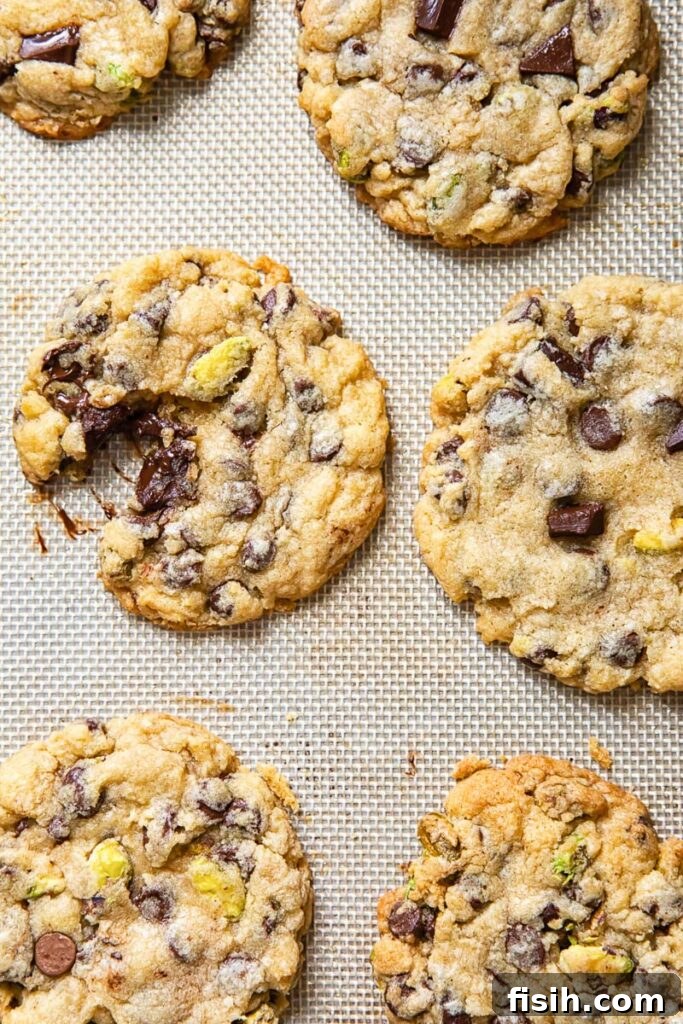
Firstly, once your cookie dough is perfectly mixed, the key to uniformity lies in portioning. I highly recommend using an ice cream scoop (preferably one with a trigger mechanism) to portion out your dough balls. This simple tool ensures that each cookie is precisely the same size, which is critical for even baking. Uniformity guarantees that all cookies on a tray will reach that ideal golden-brown hue and perfect texture simultaneously.
Next, arrange all your freshly scooped dough balls onto a baking sheet lined with parchment paper or a silicone baking mat. Don’t worry about spacing them out at this stage; you can place them relatively close together. This batch of dough is destined for an essential overnight stay in the refrigerator. This chilling period is perhaps the most crucial step in preventing the dreaded “cookie spread”—a common issue where the fat in the dough, not sufficiently bound to the flour, leaks out during baking, resulting in thin, flat, and often crispy cookies. Chilling allows the fats to solidify and the flavors to deepen and meld, promising a richer taste and superior texture.
After their well-deserved rest, ideally the following day, remove the chilled dough balls from the fridge. Now, it’s time to rearrange them on your baking trays. This time, ensure ample space between each dough ball, at least 3 inches in every direction. This generous spacing is vital to prevent them from merging into one giant, irregular chocolate chip tray bake as they expand during baking.
For that appealingly round cookie shape and to encourage even spreading, gently press down on each dough ball with the bottom of a glass or a measuring cup. This flattens them slightly, helping them bake evenly and achieve a consistent thickness of approximately 1½ cm (½ inch). Now, your perfectly shaped and chilled cookie dough is ready for the oven, prepared to transform into golden, gooey perfection!
Essential Recipe Tips and Notes for Cookie Perfection
- As we’ve emphasized, baking thrives on precision. Accurately measure all your ingredients. Kitchen scales are an invaluable tool for this, providing the most accurate measurements for consistent results. If you have them, now is the time to put them to good use!
- For efficient dough preparation, a stand mixer fitted with the paddle attachment is ideal for creaming butter and sugar. If your kitchen lab is lacking this apparatus, don’t fret! A good quality hand mixer will also do the job perfectly for combining the softened butter and sugars until light and fluffy.
- Remember, “softened butter” means butter that is pliable but still holds its shape, not melted or greasy. Melting it will fundamentally alter the cookie’s texture, leading to flatter and tougher results.
- The recipe calls for brown sugar. Both dark and light brown sugar can be used. While light brown sugar offers a milder molasses flavor, dark brown sugar will impart a deeper, more intense caramel note. Either choice will still result in an incredibly delicious cookie.
- I prefer my pistachios whole and untoasted to preserve their vivid green color and distinct, fresh flavor. Toasting them beforehand can cause them to burn during the cookie’s baking time, which negatively impacts both their appearance and taste.
- This next tip is paramount for achieving the ultimate cookie: I strongly recommend resting the cookie dough in the refrigerator overnight. This step, while requiring patience, offers significant benefits:
- Concentrated Flavors: The ingredients have time to meld and deepen, resulting in a more complex and nuanced flavor profile.
- Controlled Spread: Chilling solidifies the butter, preventing the cookies from spreading too much and becoming thin and brittle during baking. This ensures thicker, chewier cookies.
- Peak Texture: The rest period allows the flour to fully hydrate, leading to an incredibly chewy and tender texture. It’s a little bit of waiting for a whole lot of gain!
- If an overnight chill is absolutely out of the question due to time constraints, aim for a minimum of 5 hours of refrigeration. Even a shorter chill is better than none.
- Scooping cold, hard cookie dough straight from the fridge can be a struggle. To avoid this, portion your dough balls using an ice cream scoop *before* refrigerating, when the dough is still pliable and easy to work with.
- An ice cream scoop with a trigger is genuinely an efficient tool for this task, ensuring evenly sized dough balls quickly and effortlessly.
- This recipe yields a generous batch of about 3 dozen cookies. If you find yourself with surplus dough balls after portioning, simply place them in an airtight container and freeze them for up to 3 months. When cravings strike, you can bake them directly from frozen, adding a few extra minutes to the baking time.
- For an ultra-gooey center, bake your cookies for precisely 12 minutes. They might appear slightly underbaked on top, but the bottoms will be perfectly golden and crisp. Resist the urge to overbake! Allow them to cool on the baking sheet for 10-15 minutes before transferring. This allows the centers to set and the molten chocolate chips to firm up slightly without losing their incredible gooiness.
- Finally, for that signature gourmet touch, sprinkle a pinch of flaky sea salt (such as Maldon) over the baked cookies immediately after they come out of the oven. The salt crystals adhere to the warm, melted chocolate and surface of the cookie, delivering an immediate burst of sweet and salty perfection. It’s an edgy, stylish, and incredibly successful taste experiment!

Storage and Maximizing Your Leftovers
This fantastic recipe is designed to yield a substantial batch—around three dozen delicious cookies. This abundance makes it perfect for sharing, entertaining, or for stocking up your freezer for future cravings. Freezing cookie dough is a brilliant way to ensure you always have fresh-baked cookies within reach.
To freeze the dough, simply follow the instructions for scooping and chilling, then transfer the portioned dough balls to an airtight freezer-safe container or a zip-top bag. They will keep beautifully for up to 3 months. When you’re ready to bake, simply place the frozen dough balls on a lined baking sheet, allow them to thaw for about 30 minutes at room temperature, then flatten and bake as per the original instructions. You might need to add an extra minute or two to the baking time if baking directly from frozen.
Once your chocolate chip cookies have cooled completely (this is important to prevent condensation), store them in an airtight container at room temperature. This method helps to maintain their desirable chewy texture. For optimal freshness and that perfect soft-chewy bite, enjoy them within 3 days. While they will still be delicious after this time, the texture might begin to change slightly. If you wish to extend their life, you can also freeze baked cookies in an airtight container for up to a month; simply thaw at room temperature or gently warm them in the oven for a few minutes for that fresh-from-the-oven feel.
More Irresistible Cookie and Dessert Recipes to Explore
If you’ve enjoyed mastering these gourmet chocolate chip cookies, you’ll be delighted to explore more of our decadent and creative dessert recipes. Expand your baking repertoire with these other fantastic treats:
- Chocolate Cake Truffles
- Chocolate Candy Cane Cookies
- Slow Cooker Chocolate Butterscotch Cookie Bars
- White Chocolate Matcha Cookies
- Cowboy Cookies
Chocolate Chip Cookies with Pistachios and Sea Salt
Print Recipe
Equipment
-
Stand mixer
-
Baking sheet
-
Ice cream scoop
-
Kitchen Scale
Ingredients
- 465g / 3⅓ cups plain / all-purpose flour
- 55g / 1/3 cup cornstarch (cornflour in UK)
- 1½ tsp baking powder
- 1¼ tsp baking soda
- 1 tsp salt
- 285g / 1¼ cup unsalted butter, softened (omit salt if using salted butter)
- 300g / 1½ cups packed brown sugar (light brown sugar recommended)
- 150g / 3/4 cup caster or granulated sugar
- 2 large eggs
- 2 tsp vanilla extract
- 200g / 1½ cup unsalted pistachios
- 400g / 2½ cups dark chocolate chips or chunks
- 1 tbsp flaked sea salt such as Maldon (for sprinkling)
Instructions
-
In a medium bowl, whisk together the flour, cornstarch, baking powder, baking soda, and salt. Set this dry mixture aside.
-
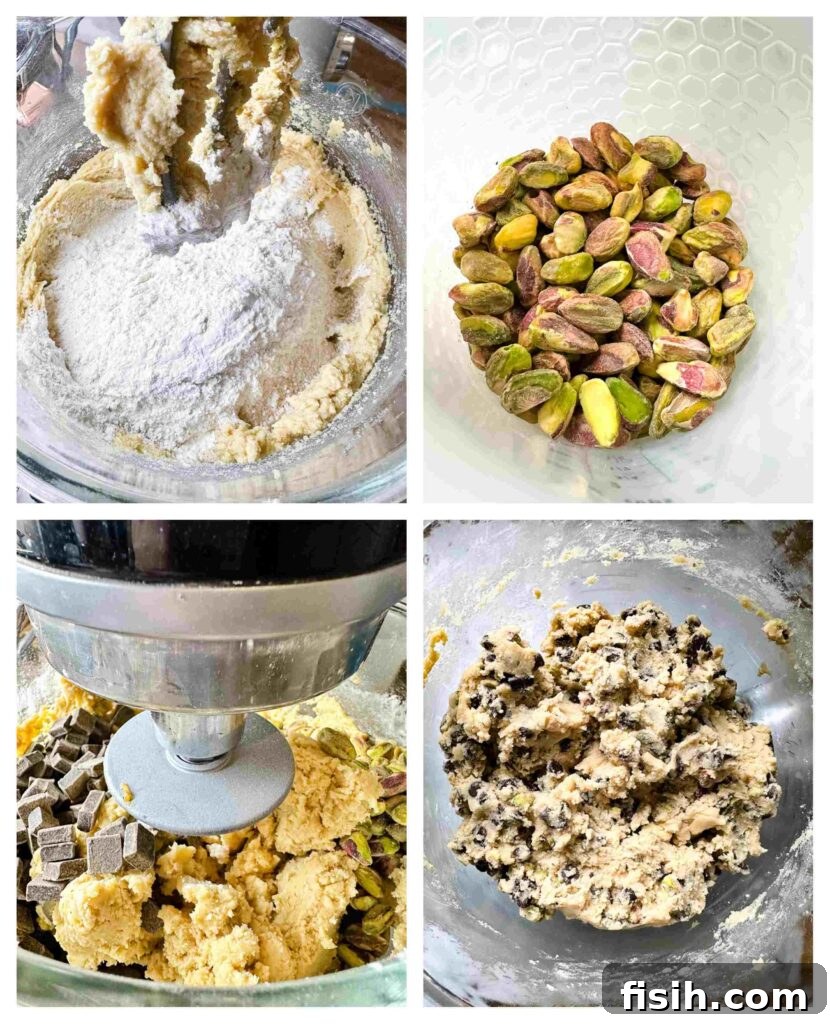
In the bowl of a stand mixer fitted with the paddle attachment, cream together the softened butter with both the brown sugar and granulated sugar on medium speed until the mixture is light, fluffy, and pale in color (about 2-3 minutes). Scrape down the sides of the bowl as needed. Add the eggs one at a time, beating well after each addition until fully incorporated. Stir in the vanilla extract. Gradually add the reserved dry ingredients to the wet mixture, mixing on low speed until just combined. Be careful not to overmix. Fold in the pistachios and dark chocolate chips (or chunks) until they are evenly distributed throughout the cookie dough.
-
Prepare two large cookie sheets by lining them with parchment paper or silicone baking mats. Using a 1/4 cup ice cream scoop, portion out the cookie dough into balls and place them onto the prepared cookie sheets. At this stage, you can place the dough balls relatively close together as they will be chilling. Cover the cookie sheets tightly with plastic wrap and refrigerate the cookie dough balls overnight, or for a minimum of 5 hours. This crucial chilling step significantly enhances flavor and prevents excessive spreading during baking.
-
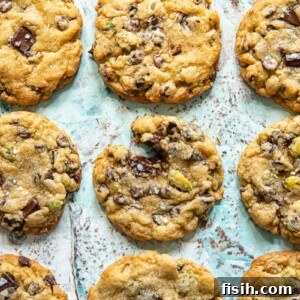
The following day, preheat your oven to 180°C (350°F). Remove the chilled cookie sheets from the refrigerator. Re-arrange the dough balls on each sheet, ensuring they are spaced at least 3 inches apart in every direction to allow for proper spreading. Gently press down on each dough ball with the bottom of a measuring cup or a glass to flatten them slightly. This helps the cookies spread evenly and bake uniformly, maintaining a thickness of about 1½ cm (½ inch). Bake in the preheated oven for 12 to 14 minutes. For chewier, softer cookies, aim for the 12-minute mark (the centers may still look slightly undone). For a firmer cookie with crispier edges, bake for the full 14 minutes. As soon as the cookies come out of the oven, immediately sprinkle them with flaky sea salt. Let the cookies cool on the baking sheets for 10-15 minutes before transferring them to a wire rack to cool completely. This allows them to set properly and ensures the chocolate remains gooey.
Nutrition
Nutrition information is automatically calculated and should only be used as an approximation.
Tried this recipe?Let us know how it was!