
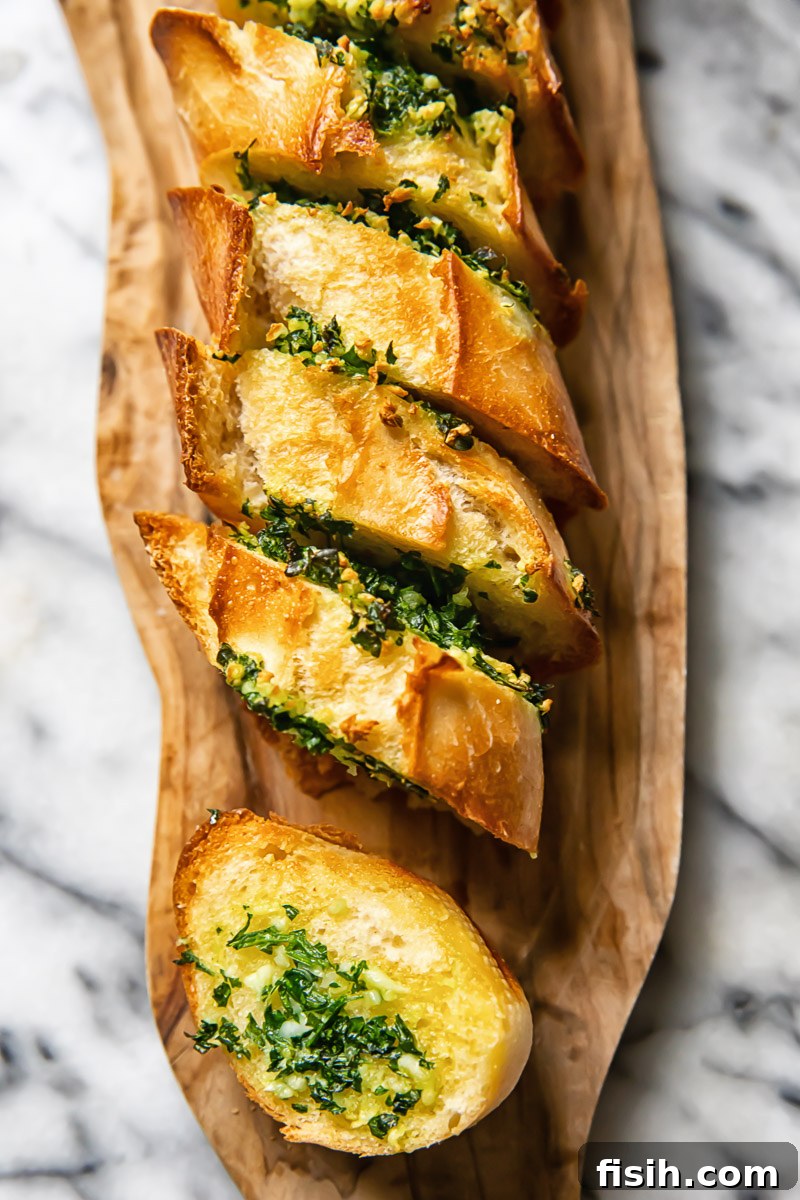
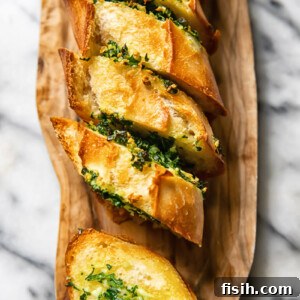
Imagine the irresistible aroma filling your kitchen – that’s what you get with this Air Fryer Garlic Bread! We’re talking about a humble part-baked baguette transformed into a golden, gooey, cheesy masterpiece, bursting with fresh, herby garlic butter. All baked to heavenly perfection in your air fryer in just minutes. It’s the ultimate crowd-pleaser, incredibly simple to make, and ready to elevate any meal. Forget store-bought; once you taste this homemade delight, there’s no turning back!
For me, a meal isn’t complete without a delicious side of garlic bread, especially when serving classic Italian dishes. This super herby homemade baguette is the ideal companion to a rich traditional spaghetti Bolognese, a hearty pasta e fagioli soup, or really, any comfort food craving you might have. Its crispy exterior and melt-in-your-mouth interior provide a delightful contrast that complements almost anything.
The Unbeatable Appeal of Homemade Air Fryer Garlic Bread
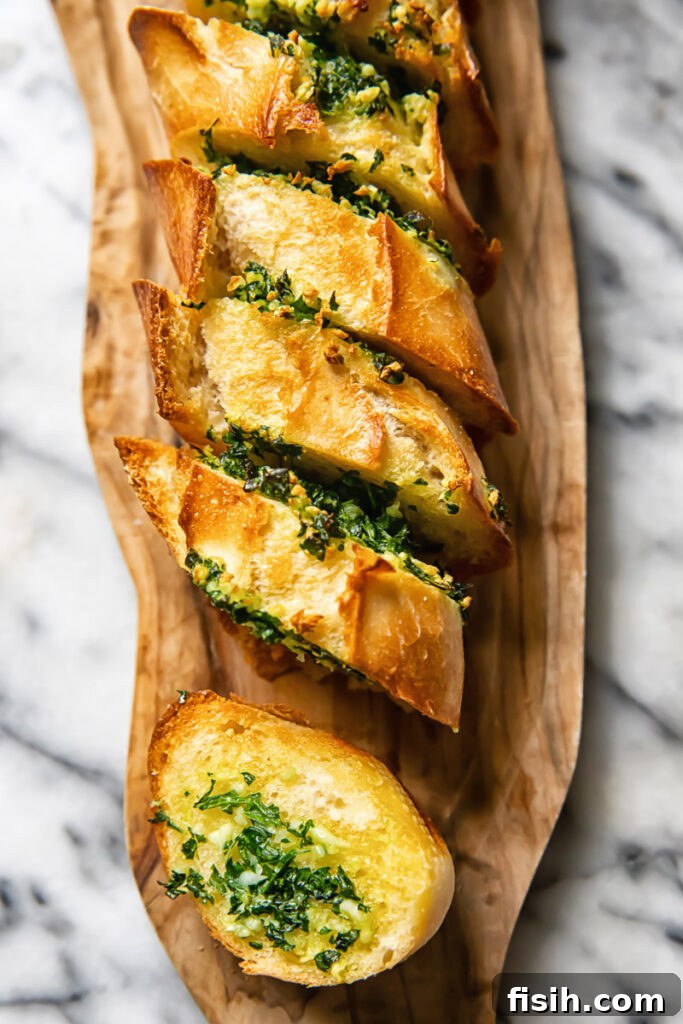
There’s a reason homemade always tastes better, and garlic bread is no exception. Once you experience the superior flavor and texture of your own air fryer garlic bread, I promise, you’ll be converting friends and family to the homemade revolution. It’s not just about the taste; it’s about the freshness, the quality of ingredients, and the incredible speed and ease of preparation.
This recipe doesn’t just outperform frozen, shop-bought baguettes; it bakes in a fraction of the time, making it perfect for busy weeknights or unexpected guests. The real magic, however, lies in the control you have over the filling. While I personally adore a generous amount of fresh parsley and potent garlic butter, loaded with creamy mozzarella cheese, you can tailor it precisely to your preference. I typically bake it for just 3 minutes to achieve that coveted golden, crunchy crust while maintaining a soft, moist, and wonderfully gooey center. It’s truly an artisanal experience in minutes.
Want more garlic? Go for it! Prefer less? Adjust accordingly. Feeling adventurous with herbs? Experiment! The beauty of this easy air fryer garlic bread recipe is its flexibility. You can ramp up or dial down the garlic and herbs to perfectly match your palate. Add a generous sprinkle of your favorite cheese for an extra layer of decadence, or omit it for a purist’s garlic bread. Play with the bake times – a minute or two longer for an extra-crispy loaf, or slightly shorter for a softer, more bread-like texture. This isn’t just a recipe; it’s a blank canvas for your culinary creativity.
Why the Air Fryer is a Game-Changer for Garlic Bread
If you haven’t embraced the air fryer for garlic bread, you’re missing out! The air fryer circulates hot air rapidly, creating an incredibly even and efficient cooking environment. This means faster cooking times and perfectly consistent results, every single time. Unlike a traditional oven, which often requires preheating for longer periods and can sometimes dry out the bread, the air fryer delivers a crispy exterior and a tender, moist interior with unparalleled speed. It’s also more energy-efficient for smaller batches, making it ideal for a single baguette or two. Plus, cleanup is usually a breeze, which is always a bonus!

Unlock a World of Flavor Variations for Your Garlic Bread
I wholeheartedly believe there’s a perfect garlic bread variation to complement literally any dish you can imagine. While my garlic butter dinner rolls are a fantastic option if you have more time to spare, these air fryer baguette variations are just as easy to whip up and guarantee to deliver that undeniable “wow!” factor. Get ready to expand your garlic bread horizons with these exciting and unexpected twists:
- Cheese and Homemade Basil Pesto: Not a drastic departure from the classic, but the vibrant, fresh notes of basil pesto (especially if homemade!) paired with gooey cheese creates an aromatic and utterly delicious garlic bread. It’s an absolute dream with any pasta dish, adding an extra layer of Mediterranean goodness. Imagine serving this alongside a simple pasta primavera or a hearty lasagna!
- Brie and Cranberry Butter: This delightful combination offers a festive, Christmassy twist that’s surprisingly versatile. The rich, creamy brie melts beautifully, while the tart cranberry butter adds a sweet-savory balance that is simply divine. Try this with roasted turkey, glazed ham, or even as a sophisticated appetizer with a glass of sparkling cider during the holidays.
- Sun-Dried Tomato Pesto: For a burst of glorious color and intense, savory flavor, sun-dried tomato pesto is an excellent choice. Its concentrated tomato goodness and herby profile make it an ideal partner for chicken dishes. Picture this alongside a flavorful Provencal chicken or a comforting classic chicken parmesan. The robust flavors really sing together.
- Harissa or Za’atar Spiced: Take your taste buds on a journey to the Middle East with a kick of harissa or the earthy, tangy blend of za’atar. These spices infuse the butter with incredible depth and warmth. This version is a must-try for a Middle Eastern feast, served alongside creamy hummus, a refreshing tabbouleh, or a vibrant whipped feta dip. It adds an authentic, aromatic touch to any mezze platter.
- Miso Butter with Garlic and Cheese: Wild? Perhaps. But this umami-rich riff on traditional garlic bread is a blinding taste sensation you absolutely have to experience. The savory depth of miso paste combined with garlic and melted cheese creates an incredibly complex and satisfying flavor profile that’s truly addictive. This adventurous variation pairs astonishingly well with rich dishes like a slow cooker Italian beef ragu, various soups, or saucy chicken preparations. It’s an unexpected fusion that works wonders.
Expert Recipe Tips and Essential Notes
- Choosing Your Baguette: Bake-at-home (or part-baked) baguettes are absolutely ideal for this recipe. You’ll typically find them in the bread aisle of most major supermarkets, often sealed in a plastic bag and looking slightly under-baked. Their semi-baked nature means they absorb the garlic butter wonderfully and finish baking to perfection in the air fryer, achieving that sought-after crispy crust and tender crumb.
- Size Matters for Air Fryers: I often opt for the mini baguettes because they fit much more easily and comfortably into the basket of my air fryer. If you’re using a standard-sized baguette, you might need to cut it in half or bake it in batches, depending on the size of your air fryer model. Ensure there’s enough space for air to circulate for even cooking.
- The Best Cheese for Melty Goodness: For truly cheesy garlic bread with that ultimate, satisfying cheese-pull, mozzarella is your best friend. Its superior melting properties and mild flavor make it the perfect choice. When you tear into the cooked baguette, you’ll be rewarded with luscious strings of melted cheese.
- Grated vs. Fresh Mozzarella: I usually use easy-sprinkling pre-grated mozzarella for convenience, which works perfectly for a quick and cheesy twist. However, feel free to get creative with your cheese! You could easily leave the cheese out entirely for a simpler version or experiment with other cheeses like Parmesan, cheddar, or a blend of Italian cheeses to match the specific flavors of your main dish. (Don’t forget to check out our flavor variations section for inspiration!)
- No Air Fryer? No Problem!: Don’t have an air fryer yet? You can still enjoy this incredible garlic bread! Simply follow the preparation steps exactly as described, but instead of using the air fryer, place your butter-laden baguette on a baking sheet and pop it into your regular oven. Keep the temperature the same (200°C/400°F) but bake for a slightly longer duration, typically between 7-10 minutes.
- Oven Baking Watch-Outs: When using a traditional oven, remember that all ovens vary slightly in temperature and cooking efficiency. Keep a close eye on your garlic bread; it might need a minute or two longer, or perhaps even a little less time, than the suggested range. You’ll know it’s perfectly done when the bread is beautifully golden brown on the outside, and the cheese (if using) is bubbly and molten. Trust your senses – the aroma alone will tell you it’s ready!
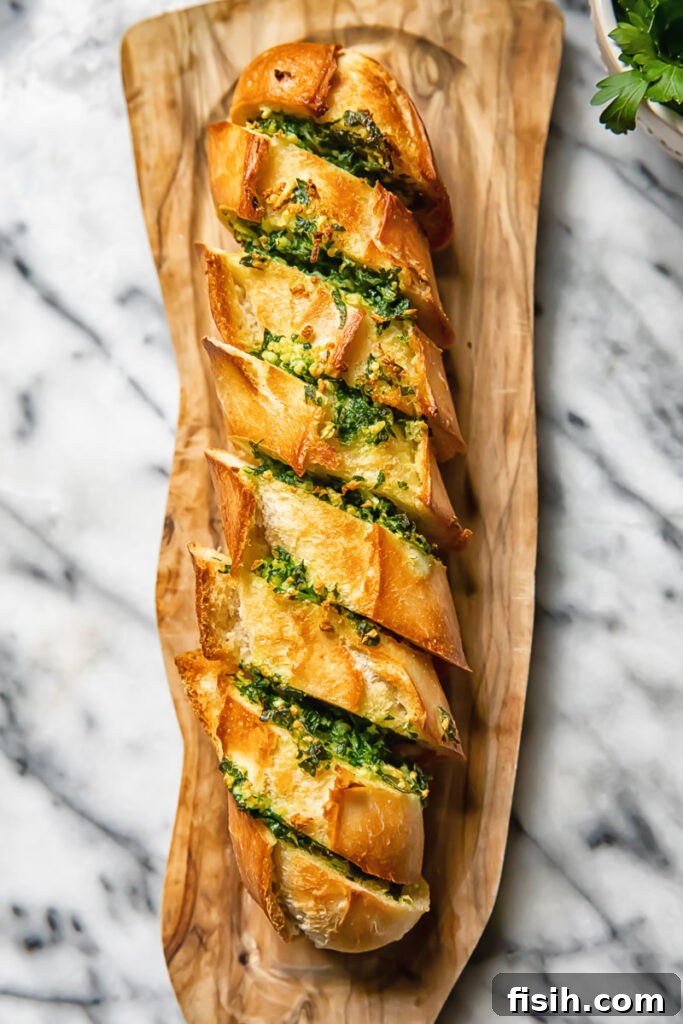
- Achieving the Perfect Cut: When making the slits in your baguette, use a sharp serrated knife. Make sure the cuts are deep enough to create pockets for the garlic butter, but crucial that you don’t cut all the way through the base of the baguette. Keeping the base intact ensures the bread holds together and the butter and cheese stay nestled inside.
- Don’t Be Shy with the Butter: Generously spread the garlic butter into every crevice of the cuts. Don’t worry if the baguette seems to tear a little during this process; the butter will act as a binding agent, helping it hold together beautifully during baking. The more butter, the more flavor and moisture!
Storage and Leftovers: Maximizing Your Garlic Bread Enjoyment
With this cheesy air fryer garlic bread recipe taking under 10 minutes from start to finish, it’s hardly a time-consuming endeavor! However, if you’re a fan of meal prep or simply want to get a head start on dinner, you’ll be pleased to know that you can easily prepare your bread ahead of time. Stuff it with your delicious, custom-made fillings a day or two before you plan to bake it.
To store, simply wrap the prepared baguette tightly in aluminum foil. This helps to prevent the bread from drying out and keeps the flavors fresh. Store it in the fridge for up to 3 days. When you’re ready to enjoy, simply unwrap it and follow the air fryer or oven cooking instructions as written in the recipe. It will taste just as fresh and phenomenal as if you had prepped it moments before!
Reheating Leftover Garlic Bread
Should you be lucky enough to have any leftovers (a rare occurrence with this recipe!), reheating is incredibly easy. For best results, place individual slices or the remaining baguette back into your air fryer at 180°C/350°F for 2-3 minutes. This will bring back that desirable crispy crust and melt the cheese to perfection. Alternatively, you can reheat it in a conventional oven at the same temperature for 5-7 minutes, or until warmed through and crisp.
Other Irresistible Side Dishes to Try
While this air fryer garlic bread stands strong as a stellar side, sometimes you just need a little more variety! Here are some other fantastic side dishes from our collection that are worth trying:
- Tuna Macaroni Salad: A creamy, satisfying classic perfect for picnics or light lunches.
- Honey Garlic Roasted Parsnips: Sweet and savory, these roasted root vegetables are an excellent addition to any dinner spread.
- Butternut Squash Casserole (Gratin): A rich, comforting gratin showcasing the sweet notes of butternut squash, ideal for cooler evenings.
- Parmesan Crusted Potatoes: Crispy, cheesy potatoes that are incredibly addictive and pair well with almost anything.
Air Fryer Garlic Bread
Julia Frey of Vikalinka
5 mins
5 mins
10 mins
10 people
Equipment
-
Air Fryer
Ingredients
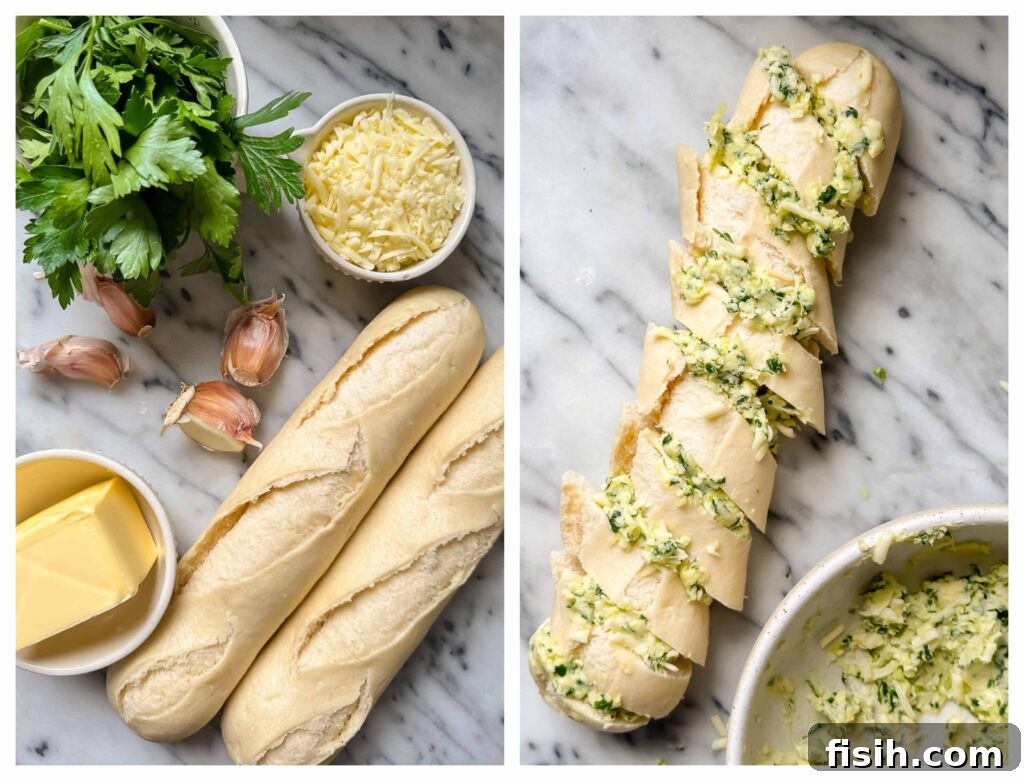
- 2 small (bake at home) baguettes or 1 regular size
- 75g / 1/3 cup softened salted butter
- 6-8 cloves garlic, minced
- 3 tbsp parsley, minced
- 60g / 1/4 cup grated mozzarella (for the cheesy version)
Instructions
-
In a medium bowl, combine the softened butter, minced garlic, and finely chopped parsley. If using, mix in the grated mozzarella cheese until well combined.
-
Using a sharp knife, make several deep slits across the top of your baguette. Ensure these cuts are deep enough to create pockets for the garlic butter, but do not cut all the way through the bottom of the baguette, keeping the base intact.
-
Generously spread the prepared garlic butter mixture inside each of the cuts. Don’t worry if the baguette tears a bit during this process; the butter will help hold it together as it bakes.
-
Preheat your air fryer to 200°C/400°F. Carefully place one baguette diagonally into the basket of the air fryer. Bake for 3 minutes for a soft and gooey, cheesy garlic bread, or extend the cooking time to 5 minutes for a crispier texture. Adjust cooking time for additional baguettes as needed, ensuring they are cooked in a single layer without overcrowding the basket.
Nutrition
Carbohydrates: 13g |
Protein: 3g |
Fat: 7g |
Saturated Fat: 4g |
Polyunsaturated Fat: 1g |
Monounsaturated Fat: 2g |
Trans Fat: 0.2g |
Cholesterol: 18mg |
Sodium: 221mg |
Potassium: 49mg |
Fiber: 1g |
Sugar: 1g |
Vitamin A: 308IU |
Vitamin C: 2mg |
Calcium: 47mg |
Iron: 1mg
Nutrition information is automatically calculated and should only be used as an approximation.
Tried this recipe?
Let us know how it was!