
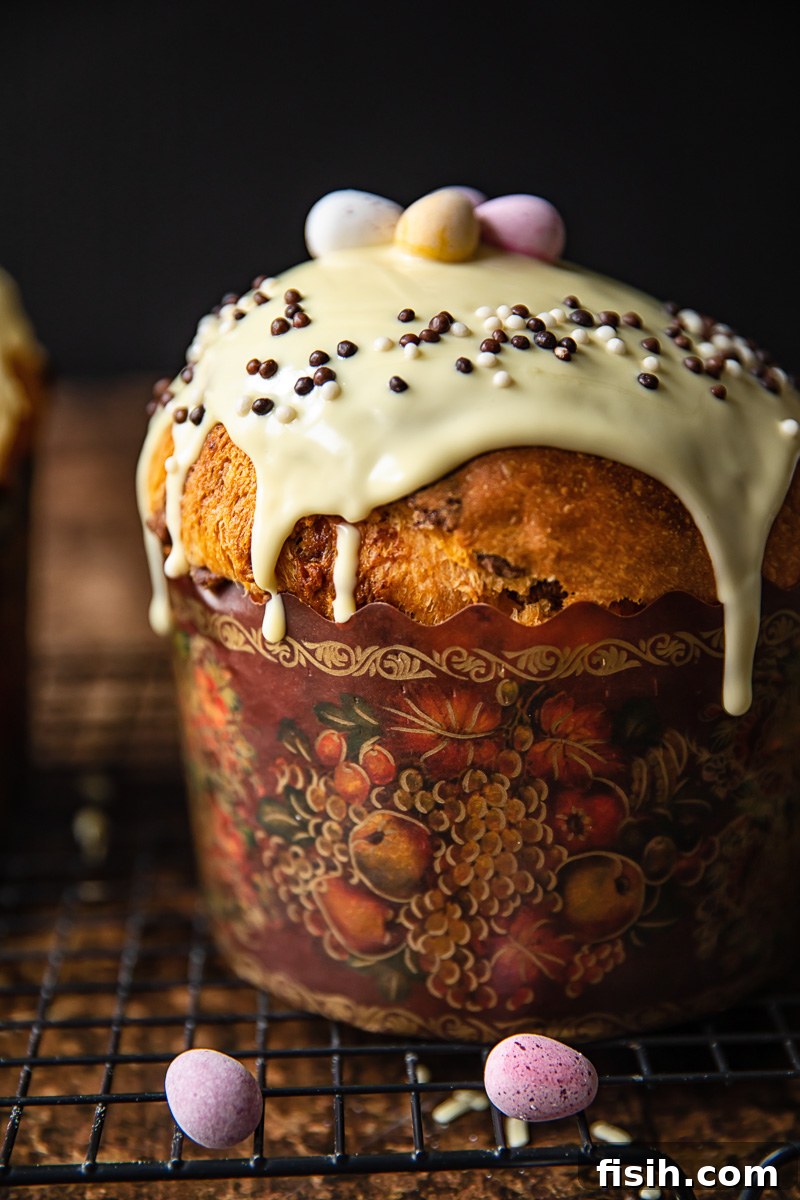
Authentic Russian Easter Bread Kulich: A Sweet Tradition for Your Holiday Table
As the vibrant season of Easter approaches, a powerful call to tradition resonates in many households, especially within Orthodox communities. For us, Easter is not just a holiday; it’s the most significant celebration of the year, a time deeply rooted in cherished customs, vibrant colors, and, of course, unparalleled culinary delights. Among these, the sweet, brioche-like Easter bread known as Kulich or Paska stands as the undisputed star, gracing every festive table with its towering presence and irresistible aroma. Glazed with a simple sugar icing or a luscious coating of melted white chocolate, this bread isn’t just a treat; it’s a symbol of joy, new life, and the enduring spirit of the holiday.
For those seeking to immerse themselves in the rich tapestry of Eastern European Easter traditions, pairing this magnificent Kulich with another beloved classic, Sweet Cheese Pudding Paskha, creates an unforgettable holiday experience. This combination embodies the heart and soul of Orthodox Easter, promising a brunch that is both deeply traditional and incredibly delicious.
The Heart of Orthodox Easter: Understanding Kulich and Paska
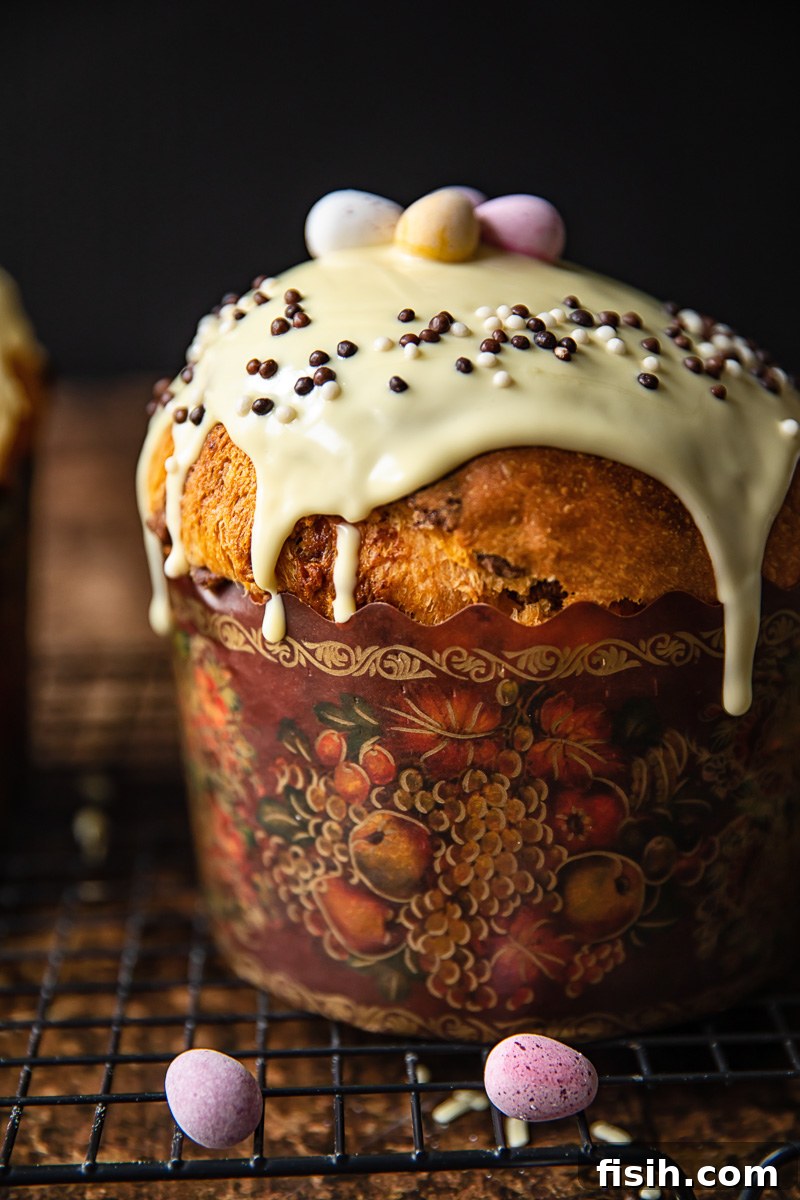
In Russian and Ukrainian households, the sweet Easter bread, known as Kulich or Paska, is far more than just a baked good; it’s a central pillar of the Easter celebration. Much like the ubiquitous hot cross buns enjoyed in other cultures, Kulich is an unbreakable tradition, prepared with reverence and anticipation in the days leading up to Pascha. Its presence symbolizes Christ’s resurrection and new life, often baked to be tall and cylindrical, resembling a church dome.
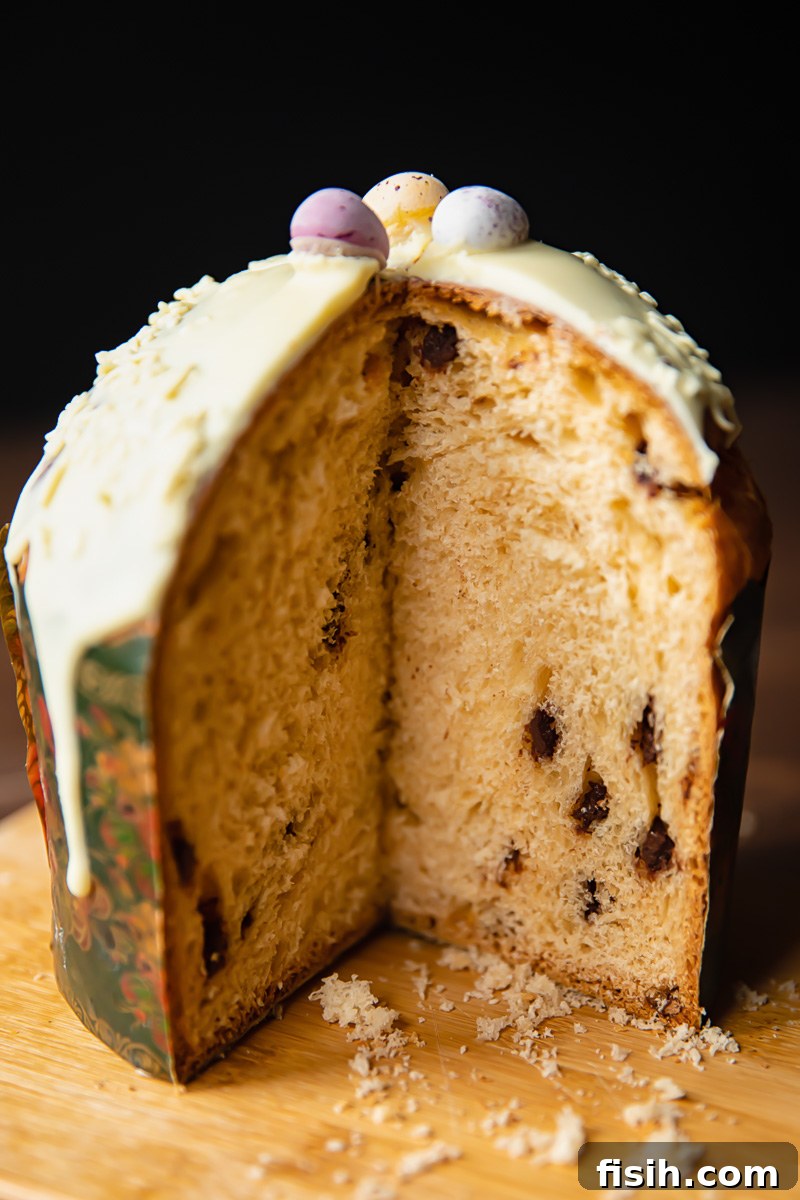
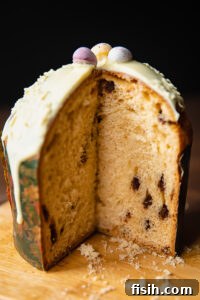
This exquisite bread boasts a rich, buttery, and slightly sweet flavor, with a tender, golden-yellow crumb that practically melts in your mouth. Traditionally, it’s studded with an array of delightful additions such as plump golden raisins, fragrant candied citrus peel, and crunchy almonds, though modern variations might include chocolate chips for a contemporary twist. The texture is often compared to a luxurious cross between the airy lightness of Italian Panettone and the rich, tender crumb of French Brioche. It’s a bread that exudes comfort and celebration, a true testament to the joy of the Easter season.
Crafting Tradition: My Journey to the Perfect Kulich Recipe
My earliest and most cherished childhood memories are inextricably linked to the aromas emanating from my grandmother’s kitchen during Easter. Waking up to the sweet scent of freshly baked bread – alongside savory pastries and delightful cinnamon buns – was an experience that defined my Easters. Grandma, a true culinary artist, would begin her Kulich dough the night before, allowing it to rise slowly, ensuring its perfect texture. She would then rise well before dawn on Easter morning, tirelessly baking an array of goodies that were unparalleled by any other. Her baking was, quite simply, the best; no one else’s grandmothers even came close to her greatness in my young eyes. Sadly, she never documented her recipes, and many of these precious culinary traditions, of which she was the sole keeper, were lost with her passing.
Driven by these powerful nostalgic memories and the high expectations they created, I never believed I could find or create a Kulich recipe that would truly satisfy me. However, the deep desire to revive this beautiful tradition within my own family spurred me on a dedicated recipe hunt. I spent years searching, experimenting, and tweaking, always with the faint echo of my grandmother’s culinary genius guiding me. While I was just a child and didn’t remember the exact methods she used, I was determined to develop a rendition that captured the essence of her legendary bread.
My journey involved countless Kuliches, each one a step closer to striking the perfect balance: a sweet and tender crumb, yet with enough structural integrity to rise tall and proud. This pursuit of perfection took a considerable amount of time and effort, but the result is a recipe that, while perhaps not identical to my grandmother’s, is remarkably close and deeply satisfying. It’s a labor of love that honors her memory and ensures this cherished tradition continues. Along the way, I introduced a few modern twists. Instead of the traditional raisins, I opted for chocolate chips, a popular choice in my family. I also swapped the classic sugar glaze for a decadent melted white chocolate topping. Furthermore, I incorporated saffron, paying homage to 19th-century baking traditions that gave Kulich its characteristic golden hue and subtle aromatic depth.
The Art of Baking Kulich: A Step-by-Step Overview
Baking Kulich, while appearing complex due to its multi-stage process, is surprisingly accessible for home bakers familiar with yeasted doughs. If you’ve successfully made homemade bread or delightful cinnamon rolls, you’ll find the process for this Easter bread very similar. It typically unfolds over three distinct stages, which, although they require a full day, are neither overly time-consuming nor particularly difficult. Much of the “time” is actually passive waiting for the dough to rise.
The first stage involves preparing a rich, active starter or sponge, which ensures a light and airy texture. Next comes the main kneading, where the dough is enriched with butter, eggs, and sugar, followed by its first significant rise. Finally, the dough is gently shaped, given a second crucial rise in its baking molds, and then baked to golden perfection. Each step is vital for developing the unique flavor and magnificent structure that define a truly exceptional Kulich. The key is patience and attention to the visual cues of the dough, allowing it to develop naturally and fully.
Choosing Your Kulich Mold: Achieving the Iconic Tall Shape
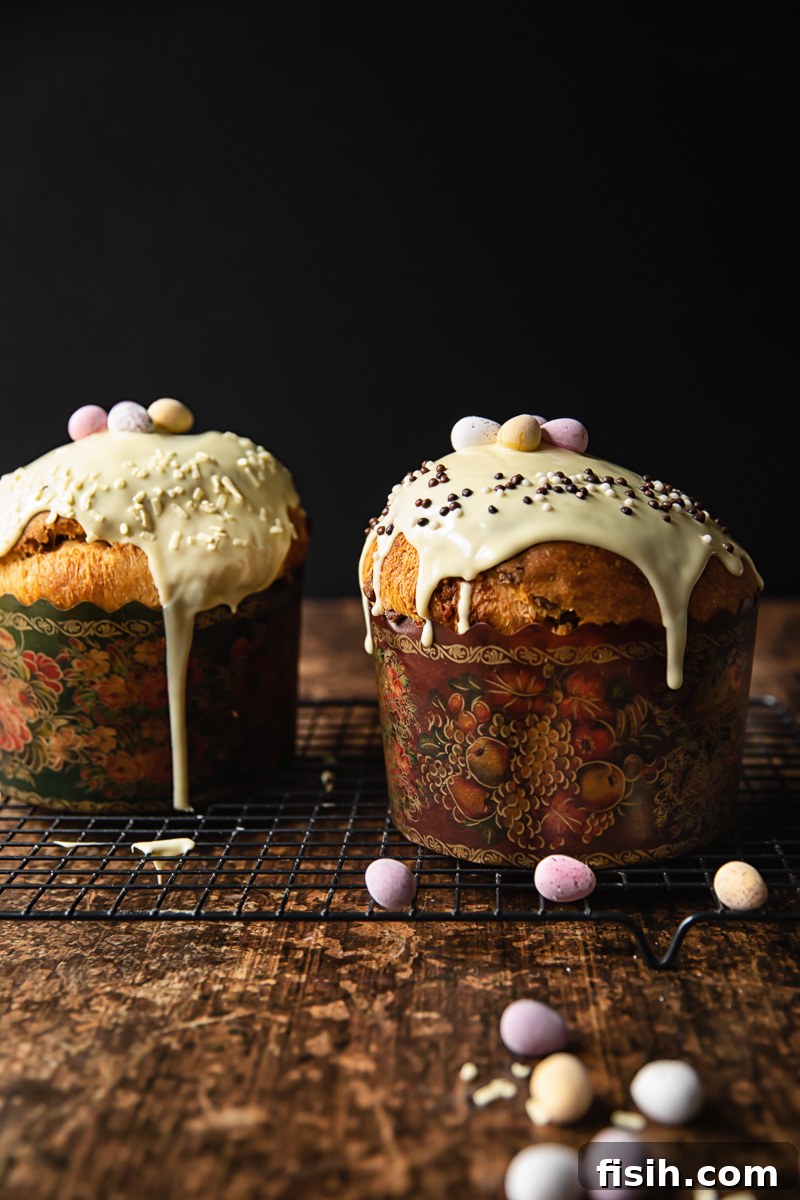
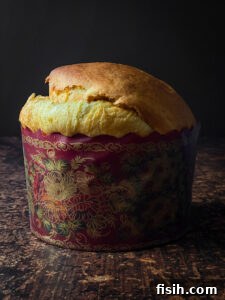
A hallmark of traditional Kulich is its impressive height and distinctive cylindrical shape, which symbolically represents the dome of an Orthodox church. Historically, in Russia, large coffee cans were often repurposed as baking molds to achieve this iconic tall form. Today, home bakers have several excellent options for replicating this traditional silhouette.
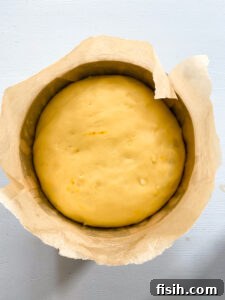
While traditional coffee cans still work, many prefer modern alternatives. Deep cake pans, particularly those with an 8-inch diameter and substantial height, are a practical choice. For an even more authentic look, specialty molds designed for Italian Panettone are ideal, as they are engineered for baking tall, rich breads. These panettone molds are widely available online, including on platforms like Amazon. You can also specifically search for “Paska molds” or “Kulich molds” to find options that may come with traditional decorative patterns. If your preferred pans are not quite tall enough, a clever trick is to extend their height by lining the sides with parchment paper, allowing the dough to rise upwards without overflowing. The goal is for the dough to fill no more than halfway up the sides of your chosen mold before its final rise, ensuring enough room for it to crown magnificently.
Decorating Your Easter Masterpiece: Glazes and Symbolism
Once baked, the decoration of Kulich is an integral part of the Easter celebration, adding to its festive allure and symbolic meaning. Traditionally, Kulich is crowned with a simple yet elegant sugar glaze, typically made by whisking together icing sugar and a small amount of water until smooth. My grandmother, ever the traditionalist, often used a blend of beaten egg white and sugar, which, once set, would harden into a beautiful, glossy, and protective layer.
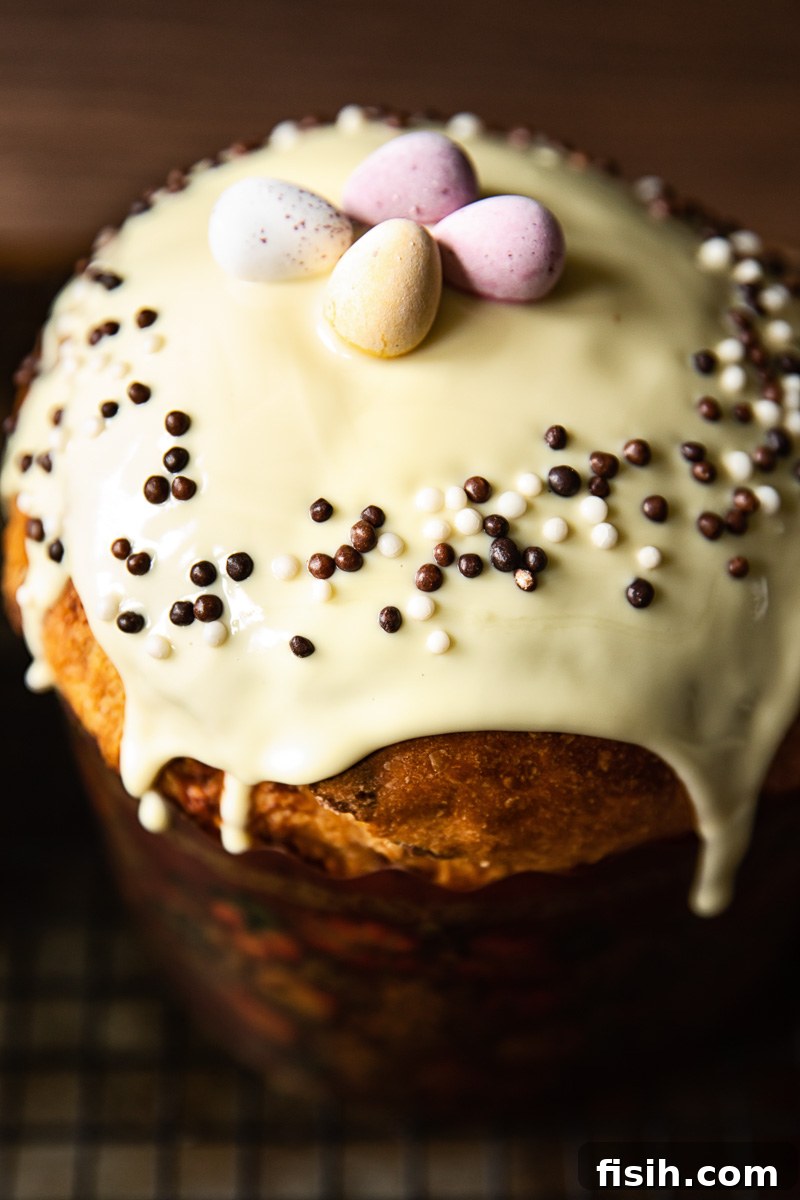
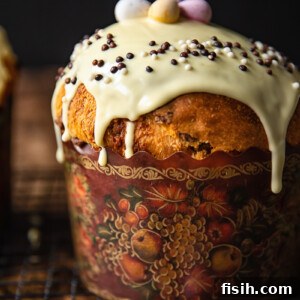
For a more contemporary touch, I personally adore topping my Easter bread with a generous layer of melted white chocolate. This provides a rich, creamy contrast to the tender bread and serves as a perfect canvas for colorful sprinkles or other festive embellishments. Sometimes, I choose to leave the bread unglazed, opting instead to pipe the traditional Orthodox lettering directly onto its surface. The initials “XB” are commonly used, standing for “Christos Voskrese!” (Христос Воскресе!), which translates to “Christ is Risen!” This powerful phrase replaces “hello” as the standard greeting throughout Easter Sunday and the subsequent week, exchanged with joy and reverence among celebrants. This beautiful lettering, whether piped or simply implied by the bread’s shape, reinforces the profound spiritual significance of Kulich as a symbol of resurrection and hope.
The joy of baking Kulich is often matched only by the delight of sharing it. Our first loaf usually disappears within hours of cooling, a testament to its irresistible appeal. Thankfully, this recipe yields two loaves, ensuring your Easter table will be graced with this gorgeous bread, enjoyed by generations past and destined to bring smiles for many Easters to come. Happy Easter!
Essential Tips for Baking Flawless Kulich
- **Thorough Preparation is Key:** Before embarking on this baking adventure, take a moment to read the entire recipe from start to finish. This will give you a comprehensive understanding of the ingredients, equipment, and steps involved, making the process smoother and more enjoyable.
- **Achieving the Iconic Shape:** Kulich is renowned for its tall, cylindrical form, often even taller than an Italian Panettone. While older generations famously used large coffee cans, modern bakers can find excellent results with specialized panettone molds, widely available online. For beautifully decorated molds like mine, search for “Paska molds” or “Kulich molds” on Amazon. Don’t be discouraged if you don’t have specialty molds; a regular deep cake pan with high sides can also yield fantastic results. If your pan isn’t tall enough, simply extend its height with a collar of parchment paper secured around the rim.
- **The Golden Hue of Saffron:** My recipe includes saffron, a precious spice historically used in Kulich baking. It imparts a beautiful golden color and a subtle, distinctive flavor to the bread. While traditional, saffron is quite expensive and often omitted today. Feel free to skip it if it’s not readily available or within your budget; your Kulich will still be delicious.
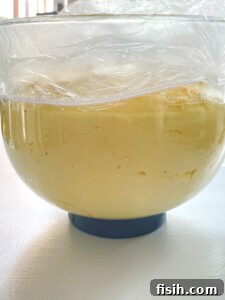
- **Mastering the Proof:** Correct proofing of the dough is paramount for any yeasted bake, and Kulich is no exception. I’ve provided approximate rising times, but remember these are heavily influenced by your kitchen’s temperature. Always rely on visual cues: the dough should double in bulk or reach the indicated volume. If it needs more time, let it rise until it looks right. Refer to step-by-step photos (if available in the recipe card) to guide your visual assessment.
- **Glaze Your Way:** The topping is where personal preference shines! I love the creamy richness of melted white chocolate, but a classic sugar glaze (icing sugar and water) is equally delicious and traditional. Sometimes, I even leave my Kulich unglazed, especially if I plan to pipe the symbolic “XB” initials. All options are wonderful, though white chocolate does add an extra touch of spectacle!
- **Choose Your Inclusions:** While I use chocolate chips in my recipe, as they are a family favorite, traditional Kulich often features plump raisins and dried fruits. If you opt for raisins, remember to soak them in warm water or, traditionally, rum, before adding them to the dough. This prevents them from absorbing moisture from the bread during baking, which could lead to a dry crumb. Candied citrus peel and dried cranberries are also excellent additions.
Storing and Enjoying Your Homemade Kulich
This recipe thoughtfully yields two loaves, ensuring you have plenty of this delightful bread to enjoy over several days. To maintain its freshness, store any uneaten Kulich in a bread box or a tightly sealed plastic bag at room temperature for up to two days. For longer storage, it can be refrigerated for up to a week. However, like most freshly baked goods, Kulich is at its absolute best when enjoyed shortly after baking. So, don’t hesitate to indulge and savor its rich flavors while it’s still wonderfully fresh!
Should you find yourself with any leftovers that have started to become a little stale, don’t let them go to waste! Stale Kulich makes an absolutely divine French toast, soaking up egg batter beautifully for a luxurious breakfast. It can also be toasted and spread with butter or jam, or even transformed into a delectable bread pudding.
More Festive Easter Recipes
- Double Decker Devilled Eggs
- Roast Leg of Lamb with Mint Sauce
- Glazed Ham
- Rosemary Potatoes au Gratin
- Tsoureki Greek Easter Bread
Russian Easter Bread Kulich: The Full Recipe
Russian Easter Bread Kulich
Ingredients
For the bread
- 500g/4 ½ cups strong bread flour
- 125 ml/ ½ cup whole milk
- pinch saffron threads
- 14 g/ 2 tbsp active dry yeast
- 150g/ ¾ cup granulated sugar
- 150g/ ½ cup + 2 tbsp unsalted butter
- 2 egg yolks
- 2 eggs
- 4 tsp vanilla
- 1/4 tsp salt
- 100g/1/2 cup chocolate chips, milk or white
For the glaze
- 100g/3.5 oz white chocolate, melted
- 1 tbsp sprinkles
Instructions
-
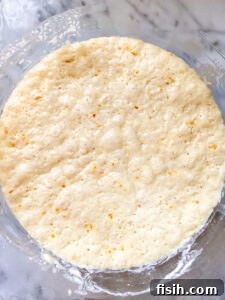
To a small saucepan add the milk with a pinch of saffron and warm up lightly without bringing it to a boil. Alternatively, you can warm up the milk in a microwave. In the bowl of a stand mixer, fitted with a paddle attachment, combine the infused milk with the yeast, 50g/¼ cup of the sugar and 100g/3/4 cup of the flour, cover it with plastic wrap and let it rise in a warm place for 1 hour.

-
With an electric mixer whip the softened butter with the remaining sugar until creamy, then add the eggs, egg yolks, vanilla and the salt. Then add this mixture to the yeast mixture and mix until well combined.
-
Replace the paddle attachment with a dough hook, add the remaining 400g/3 3/4 cups flour and start kneading until you get elastic dough. This will take 10-15 minutes on medium speed. Towards the end of the kneading time turn the speed up to high and knead for 5 minutes to develop gluten in the dough. At the end the dough will be very soft and a little sticky. Fold in chocolate chips until evenly distributed.
-
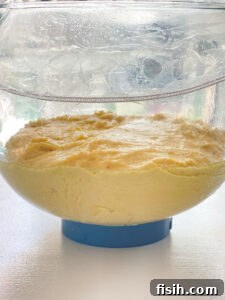
Transfer the dough to an oiled bowl, cover with plastic wrap and let it rise in a warm place for 2 hours-2.5 hours until it’s doubled in bulk. It might take longer if your house is cool.
-
Divide the dough and with oiled hands transfer into two 5 inch or 6 inch pans. Ideally your pans should also be tall or you can use panettone moulds. You can build up the sides of your pan with parchment paper if your pans are not tall enough. Your dough should come up no higher than halfway up the sides of the pans. Let the dough rise one more time for 40 minutes to 1 hour.
-
Bake in the preheated to 180C/350F for 35-40 minutes. Take out of the oven and let it cool, then remove from pans when cool enough to handle. Don’t remove if using paper moulds.
-
Cool and glaze with melted white chocolate and decorate sprinkles. The bread is best on the day it is baked or the following day.
Notes
Nutrition
Nutrition information is automatically calculated, so should only be used as an approximation.