
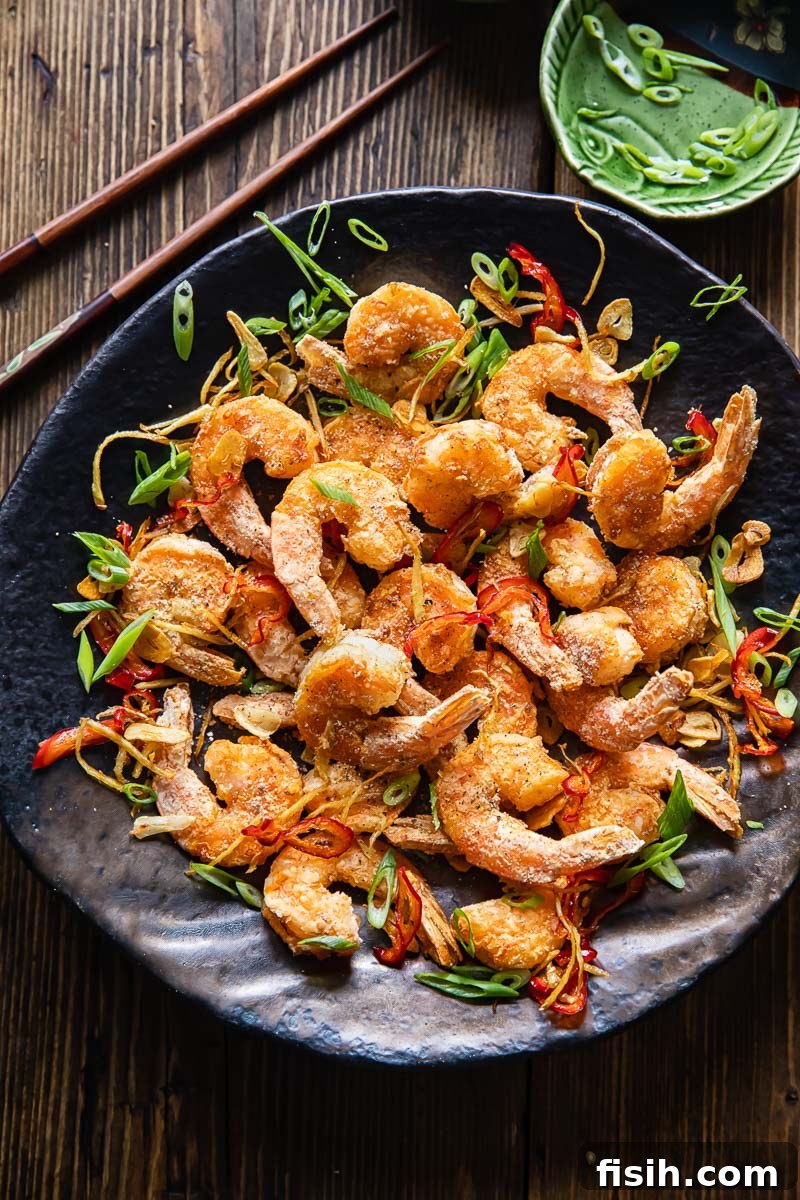
Unlock the secret to restaurant-quality Salt and Pepper Shrimp right in your own kitchen with this incredible air fryer recipe! Experience succulent jumbo shrimp enveloped in a perfectly crispy, seasoned coating, delivering that irresistible Chinese takeout flavor with significantly less oil. This dish isn’t just a meal; it’s a guilt-free indulgence, a healthier twist on a beloved classic that promises to become a new family favorite. Say goodbye to deep-frying worries and hello to effortless gourmet cooking!
For more delightful seafood creations, be sure to explore our Easy Shrimp Chow Mein!
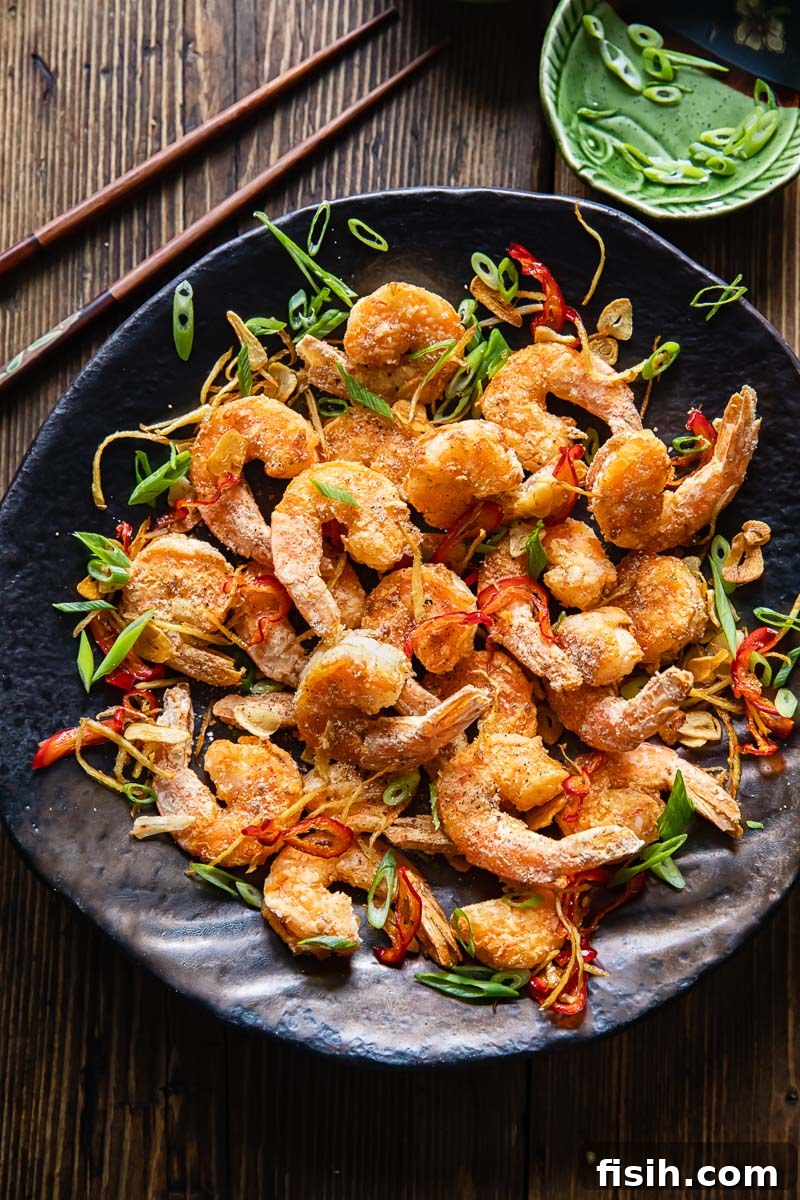
There’s a certain magic to Asian takeout favorites – the speed, the flavors, the sheer convenience. Yet, many of us hesitate to recreate these culinary delights at home, often associating them with complex techniques or, more commonly, the daunting task of deep-frying. The thought of vats of hot oil, messy cleanup, and the constant concern for safety often deters even the most enthusiastic home cooks. I confess, I used to be one of them. My desire to replicate those authentic flavors was often overshadowed by my aversion to the deep-frying process.
This classic Chinese American Salt and Pepper Shrimp recipe perfectly embodies that dilemma. It’s undeniably delicious, a symphony of crispy texture and aromatic spice. But traditionally, it relies heavily on deep-frying to achieve its signature crunch. That’s where the modern kitchen hero steps in: the air fryer. As an enthusiastic air fryer advocate, I firmly believe this appliance can revolutionize how we enjoy many of our favorite dishes, making them healthier, easier, and just as satisfying.
Driven by the desire to enjoy this iconic dish without the deep-frying hassle, I embarked on a mission to adapt the traditional Salt and Pepper Shrimp recipe for the air fryer. My goal was simple: achieve the same irresistible crispiness and vibrant flavor profile, but with significantly less oil and effort. After careful experimentation and minor tweaks to the original preparation, I’m thrilled to say it worked! This adapted recipe delivers everything you love about Salt and Pepper Shrimp, offering a lighter, cleaner version that’s incredibly easy to prepare in your air fryer, no wok required.
If you’re craving a saucier shrimp dish, be sure to try our delectable Bang Bang Shrimp recipe!
Air Fryer Salt and Pepper Shrimp: A Healthier Takeout Classic
The intimidation factor of deep frying is real. The splattering oil, the precise temperature control, and the lingering smell can make even seasoned chefs think twice. Beyond the mess, there’s always the concern for safety, especially with children around. It’s these very reasons that led me to avoid many delicious recipes that traditionally required deep frying for years.
However, the advent of the air fryer has been a true game-changer. Since I welcomed my first air fryer into my kitchen a few years ago, I’ve transformed countless dishes, making them not only healthier but also incredibly convenient. This appliance opens up a world of culinary possibilities, allowing us to enjoy crispy textures and rich flavors without the heavy oil. It has empowered me to confidently recreate restaurant favorites, including this fantastic Salt and Pepper Shrimp, with minimal fuss and maximum enjoyment.
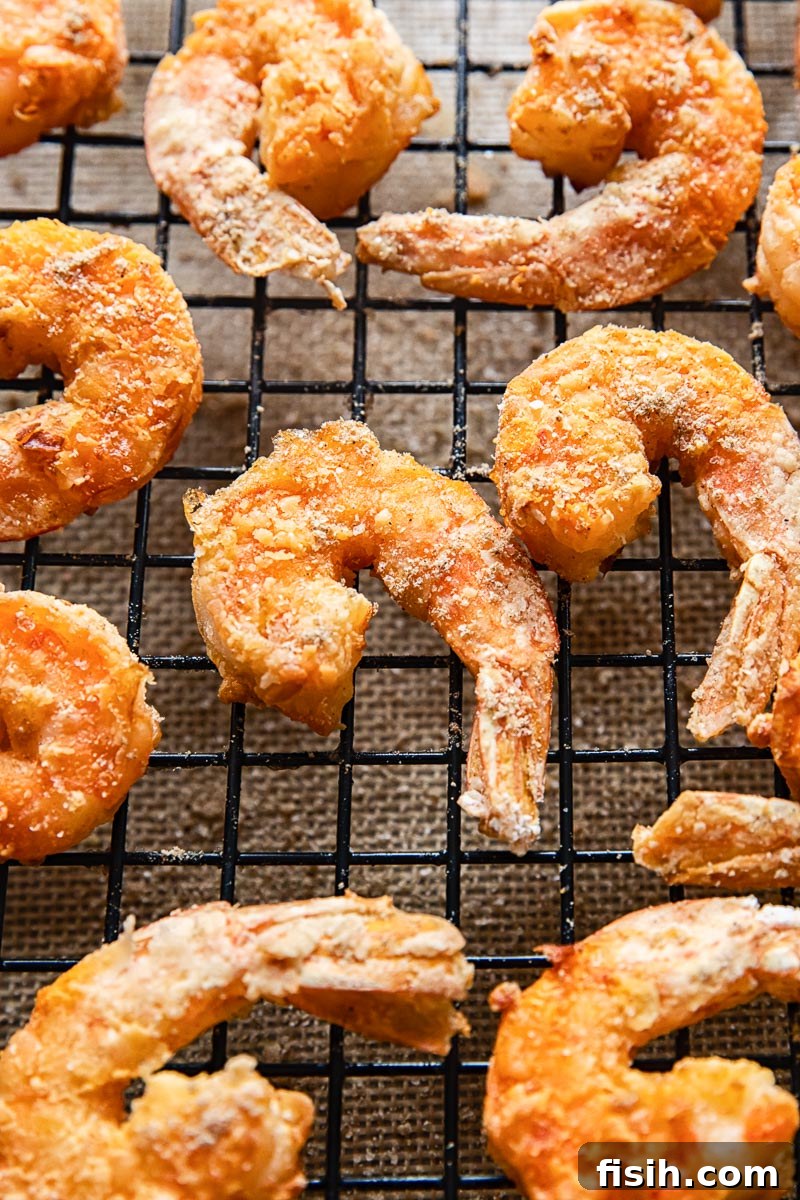
Salt and Pepper Shrimp is an elegantly simple dish that packs a huge flavor punch. It’s versatile enough to serve as a tantalizing starter or a satisfying main course. The magic begins with the shrimp, meticulously coated in a light, finely seasoned layer of cornstarch. This delicate coating is crucial; it’s what transforms during air frying, creating an irresistibly crispy exterior that contrasts beautifully with the juicy, tender flesh of the shrimp inside. The texture play is truly one of the dish’s highlights, offering a delightful crunch with every bite.
Traditionally, after deep-frying, the shrimp would be tossed in a blend of salt and pepper. While that method works well for conventional frying, the air fryer benefits from a slight modification. For this air fryer version, the salt and pepper are ingeniously incorporated directly into the cornstarch coating. This ensures that every piece of shrimp is thoroughly and evenly seasoned as it cooks, resulting in a consistent and robust flavor profile throughout the dish. This adjustment is key to achieving that signature “salt and pepper” taste when opting for the air fryer method.
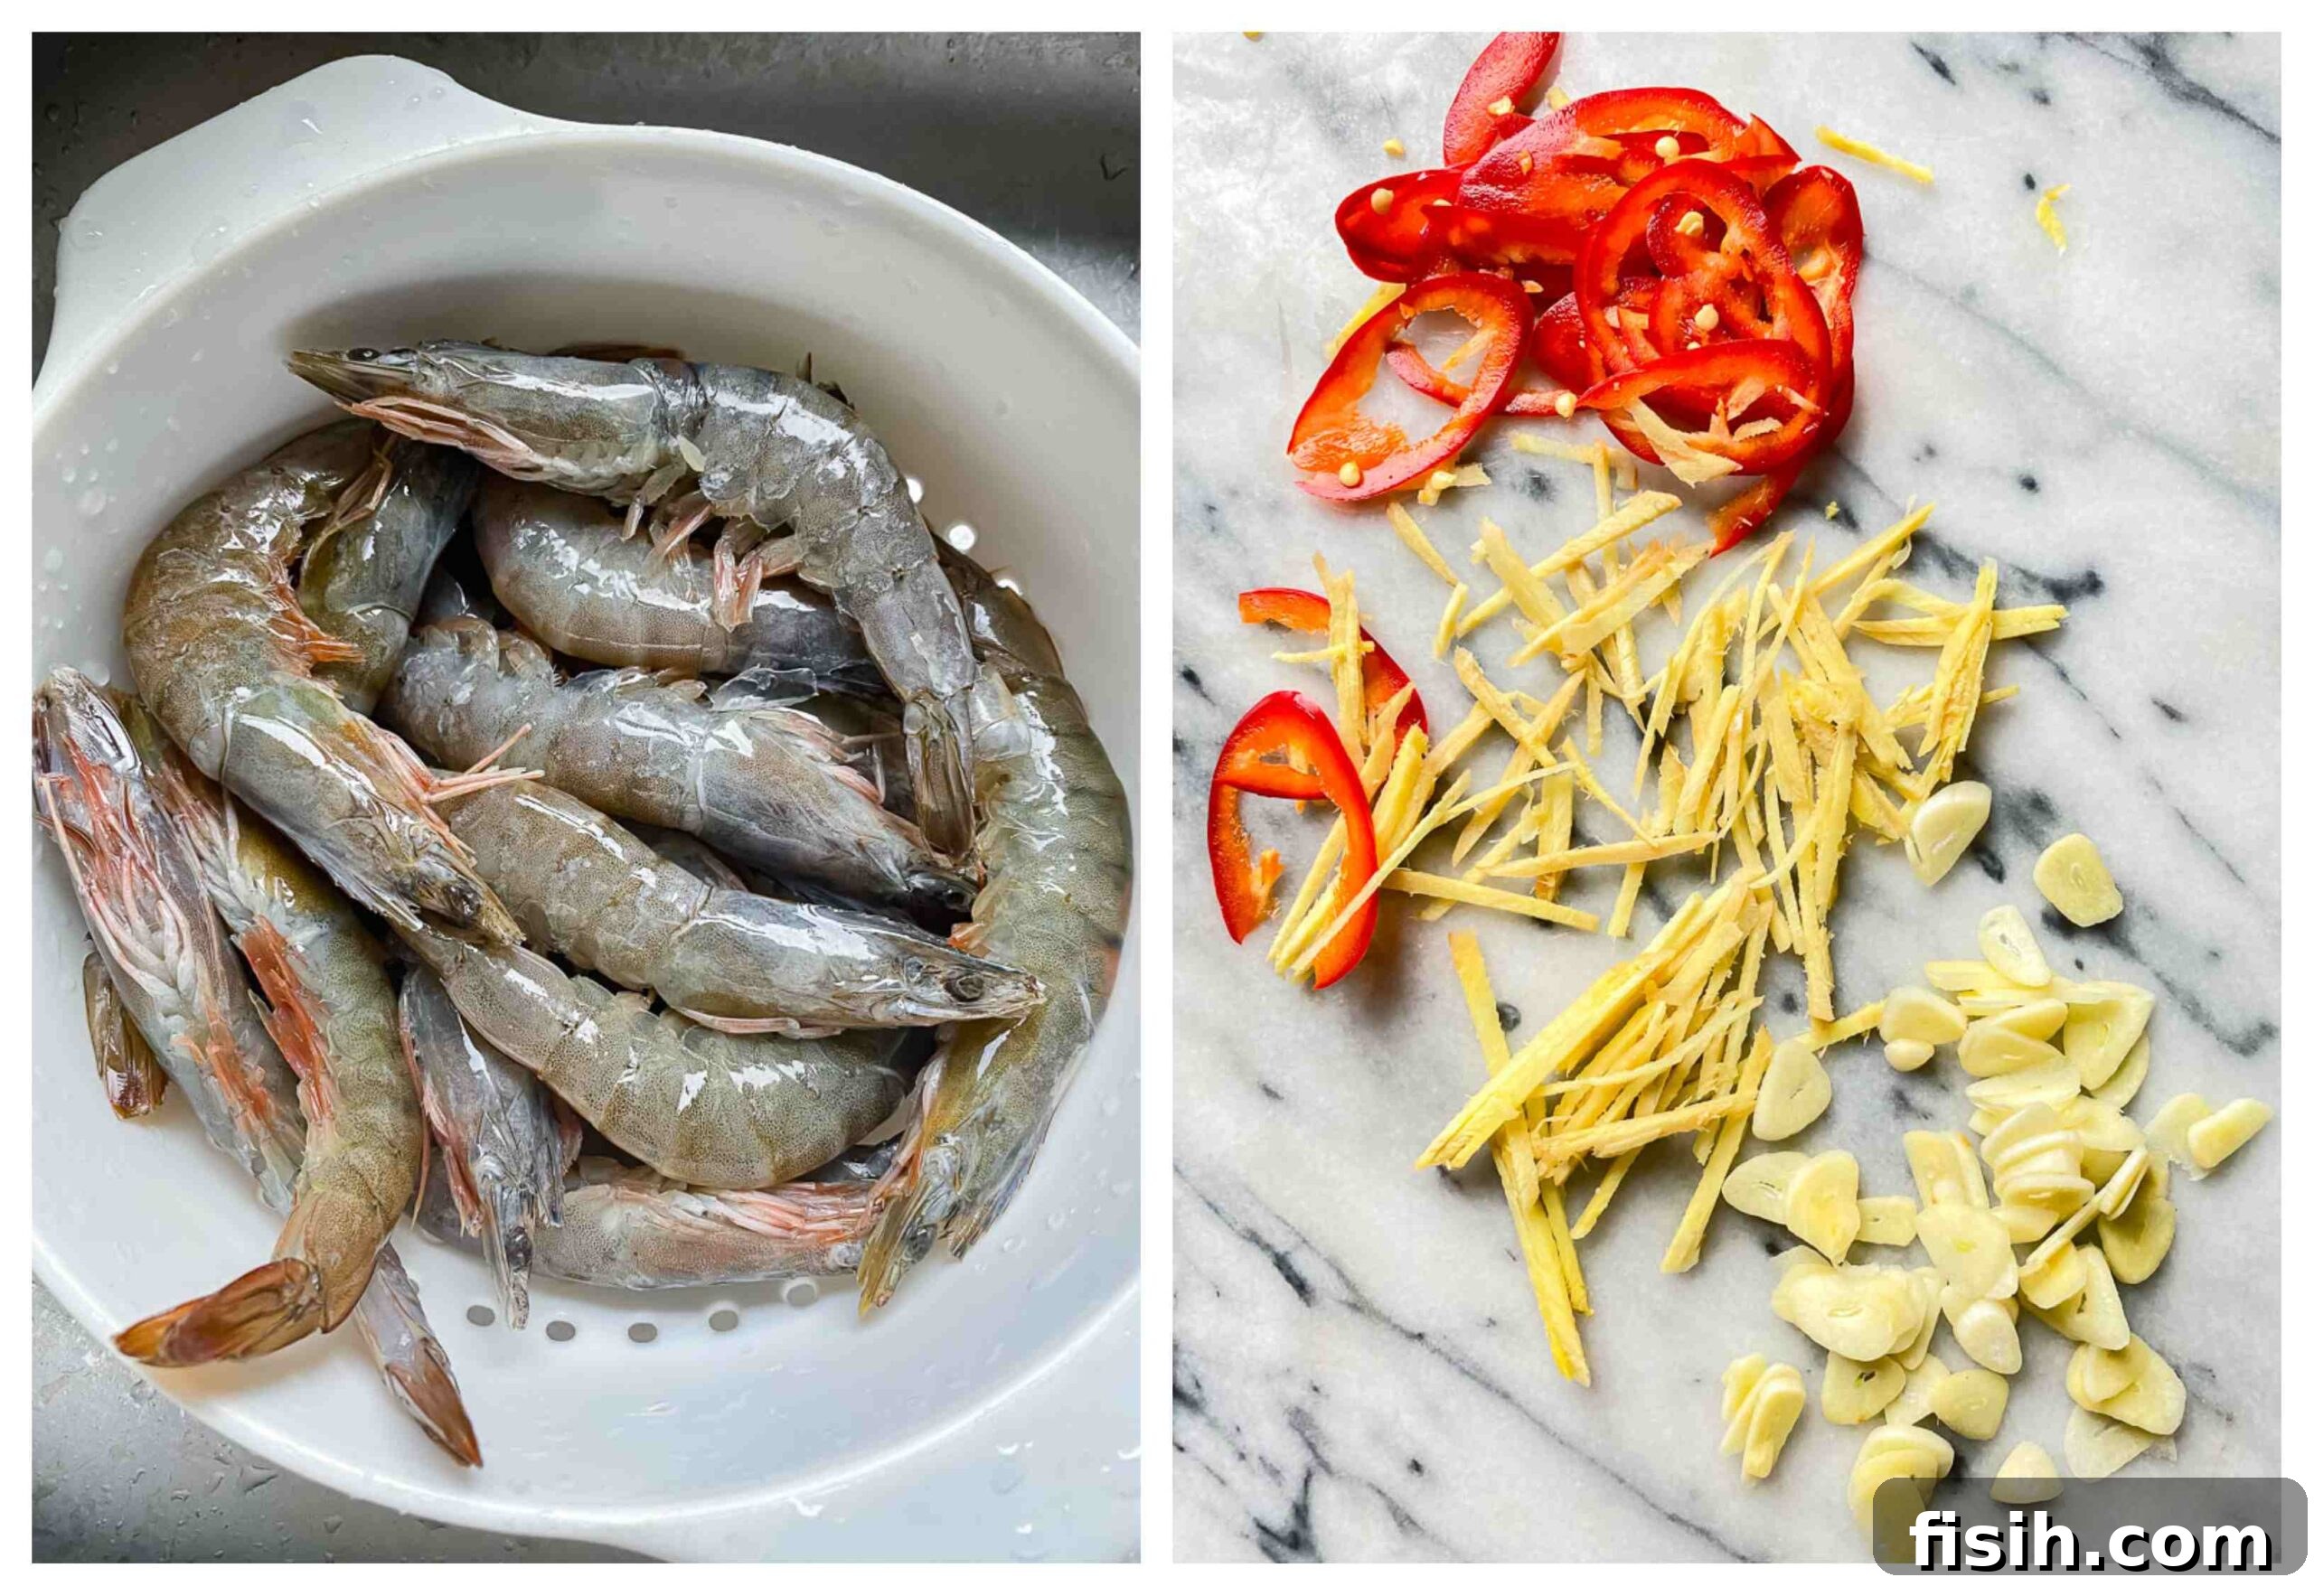
Beyond the seasoned shrimp itself, the vibrant garnish is what truly elevates this dish from simple to spectacular. These aromatic additions infuse the shrimp with layers of fresh, spicy, and savory notes that awaken the palate. My preferred garnish features thinly sliced red chilies, fresh garlic, and ginger, all cut into delicate matchsticks. When lightly fried, these aromatics become wonderfully fragrant and slightly crispy. Combined with the fresh, zesty bite of sliced green onions, this garnish isn’t just for show; it’s an essential flavor component that ties the entire dish together, creating a harmonious and unforgettable experience. Do not underestimate its power to transform the shrimp from pleasant to profoundly delicious.
Expert Recipe Tips for Perfect Air Fryer Salt and Pepper Shrimp
- Quality Matters: Since this recipe is beautifully simple, the quality of your ingredients truly shines. Always opt for the highest quality jumbo shrimp or prawns you can find. Fresh, plump shrimp will yield the most tender and flavorful results. Clean and devein them thoroughly, leaving the tails on for an elegant presentation and an easy handle.
- Shell On or Off? Traditionally, salt and pepper shrimp is deep-fried with the shell on, which becomes crispy and edible. However, for a more universally appealing and kid-friendly option (and my personal preference), I recommend shelling the shrimp. The tails can be left on if you like a convenient way to pick them up, or removed entirely for a completely shell-free experience.
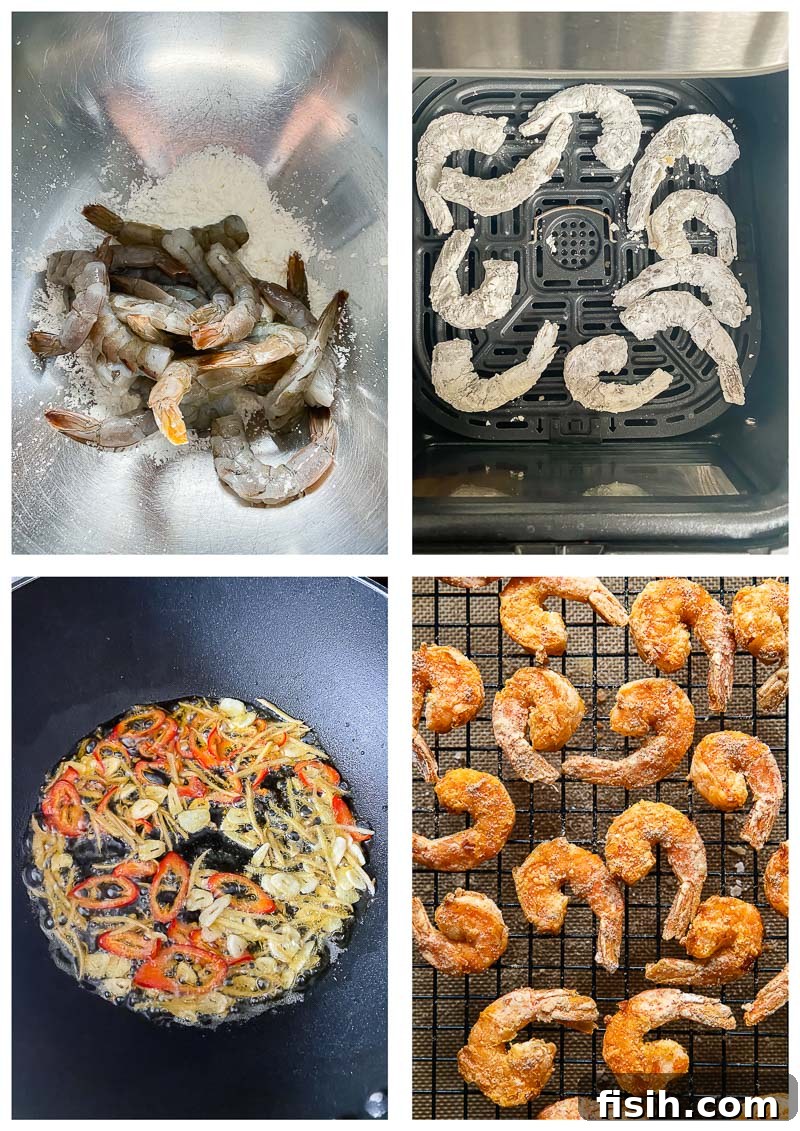
- The Art of the Coating: The cornstarch, seasoned with salt and pepper, forms the crucial crispy coating. When air frying, it’s important to use just a light dusting of cornstarch to prevent a dry, chalky texture. Ensure each shrimp is evenly coated by tossing them in a large, shallow bowl, then gently shaking off any excess. This thin, even layer is key to achieving that perfect crispiness.
- Don’t Skip the Garnish: The fried aromatics (chili, garlic, ginger) and fresh green onions are not optional; they are essential flavor enhancers. Without them, the shrimp, while tasty, might lack that complex, aromatic depth. Fry them quickly and carefully until fragrant and lightly crispy, then immediately remove them from the oil to prevent burning, which can turn their flavor bitter.
- Mastering the Spray: This is perhaps the most critical step for air fryer success. After coating the shrimp in cornstarch, liberally spray them with cooking spray until the entire surface looks visibly wet and thoroughly covered. Flip them and spray the other side equally well. This thin layer of oil is what allows the cornstarch to crisp up beautifully rather than turning into a powdery, dry crust.
- Optimal Air Frying Technique: Cook the shrimp at 180°C/350°F for a total of 7-8 minutes. Remember to flip them halfway through (after 4 minutes) and give them another generous spray of cooking oil to ensure even crisping and a golden-brown finish on all sides.
- Avoid Overcrowding: For truly crispy air-fried shrimp, proper air circulation is vital. Do not overcrowd your air fryer basket. Cook the shrimp in a single layer, in batches if necessary, to allow the hot air to circulate freely around each piece. Overcrowding leads to steaming rather than frying, resulting in soggy shrimp.
Serving Suggestions: Crafting a Complete Meal
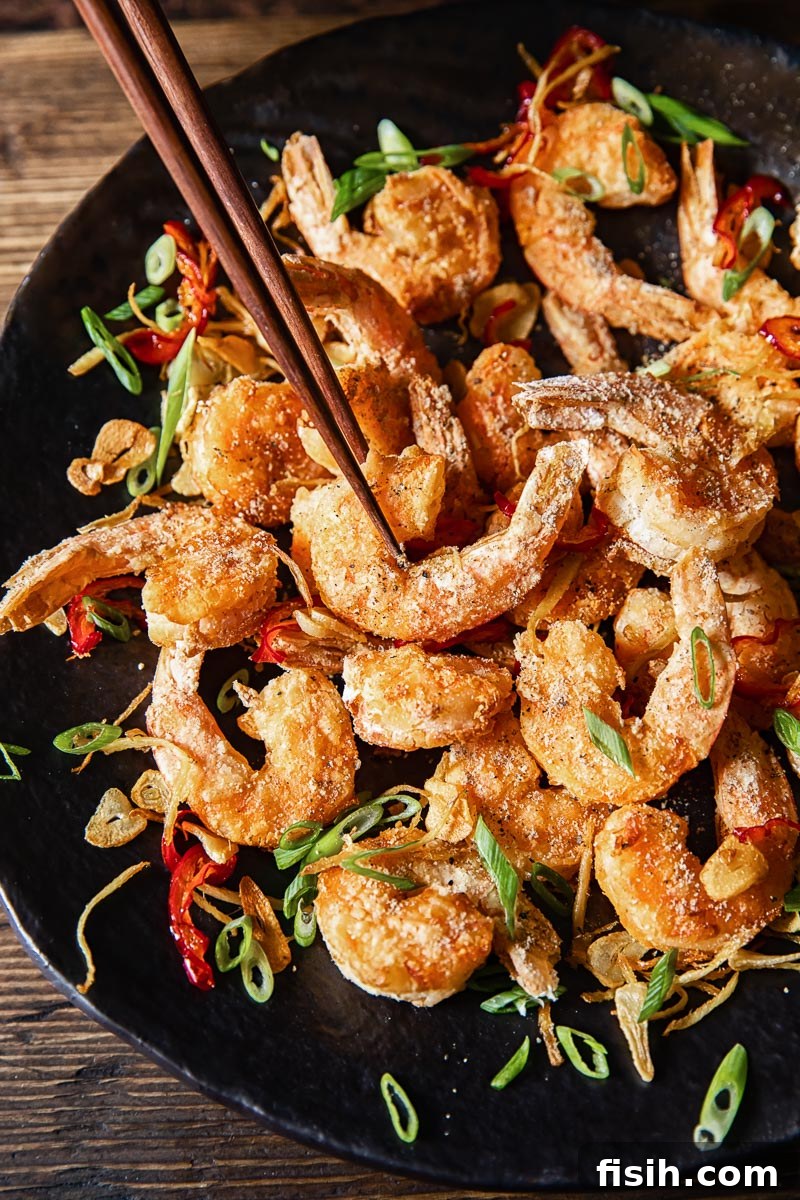
Given its crispy texture and lack of a heavy sauce, Air Fryer Salt and Pepper Shrimp excels as an appetizer. It’s perfect for sharing, a delightful bite-sized treat that whets the appetite without being too filling. However, its versatility means it can effortlessly anchor a main course, especially when paired thoughtfully.
For an authentic Asian-inspired feast, serve these crispy shrimp alongside a rich and flavorful noodle dish like our spicy Dan Dan Noodles, or a comforting main like Chinese Chicken Curry, which is wonderful with a side of fluffy rice. The crispiness of the shrimp offers a fantastic textural contrast to saucier dishes, creating a well-rounded and satisfying meal.
If you’re opting for the Salt and Pepper Shrimp as the star of your meal, consider pairing it with refreshing side dishes. A vibrant Asian Noodle Salad with Peanut Dressing provides a cool, tangy counterpoint, while fragrant Coconut Rice adds a subtle sweetness and creamy texture that complements the savory, spicy shrimp beautifully. Don’t be afraid to experiment with your favorite stir-fried vegetables or a simple green salad for a lighter meal.
Storage and Reheating Leftovers
Leftover Salt and Pepper Shrimp can be a delightful treat, provided they are stored and reheated correctly to preserve their texture. Store any uneaten shrimp in an airtight container in the refrigerator for up to 3-4 days. While they won’t be as crispy as freshly made, they will still retain much of their flavor.
To bring back some of that desirable crispiness, your air fryer is once again your best friend for reheating. Preheat your air fryer to 160°C (325°F) and arrange the shrimp in a single layer in the basket. Reheat for approximately 2-3 minutes, or until just heated through and crisped up. Be sure to keep a close eye on them, as shrimp can quickly become overcooked and rubbery if reheated for too long. A quick reheat will restore much of their original charm, making leftovers almost as good as the fresh batch.
More Favorite Air Fryer Recipes to Explore
- Air Fryer Chicken Katsu Curry
- Crispy Air Fryer Chicken Tenders with Honey Mustard Sauce
- Flavorful Asian Air Fryer Chicken Wings
- Perfectly Crispy Air Fryer Potatoes
Air Fryer Salt and Pepper Shrimp
Equipment
- Air Fryer
Ingredients
- 450g/1 lbs large shrimp/prawns, cleaned and deveined
- 3 tbsp cornstarch/corn flour
- 1 tsp salt
- 1 tsp white pepper
- cooking spray
For the garnish
- 3 cloves garlic, sliced
- 1/2 red chilli, sliced
- 1 tbsp ginger, cut into thin matchsticks
- 2 tbsp vegetable oil
- 2 green onions, sliced
Instructions
- Prepare the shrimp by cleaning and deveining them. You may leave the tails on for presentation if desired. Slice the garlic cloves and red chili, and cut the fresh ginger into thin matchsticks. Set these garnishes aside for later use.
- In a shallow, medium-sized bowl, combine the cornstarch, salt, and white pepper. Add the cleaned shrimp to this mixture and toss until each piece is lightly and evenly coated. Gently shake off any excess cornstarch, then arrange the shrimp in a single layer in your air fryer basket. Liberally spray the coated shrimp with cooking spray, ensuring the entire cornstarch coating looks wet. Flip the shrimp to the other side and spray again to ensure even coverage.
- Air fry the shrimp at 180°C (350°F) for 4 minutes. After 4 minutes, open the air fryer, flip the shrimp to the other side, and spray them with cooking spray one more time. Continue to cook for an additional 3-4 minutes, or until the shrimp are opaque, cooked through, and crispy. (If your air fryer does not have a specific temperature setting, use the “air fry” preset.)
- While the shrimp cooks, preheat 2 tablespoons of vegetable oil in a small pan or saucepan over medium heat. Add the sliced red chili, garlic, and ginger to the hot oil and fry quickly. Watch carefully, as these aromatics can burn very fast. As soon as you see the red chili beginning to curl and the garlic turns lightly golden (this usually takes about 1-2 minutes), immediately remove the aromatics from the oil using a slotted spoon and transfer them to a paper towel-lined plate to absorb any excess oil. Serve the crispy air-fried shrimp topped generously with these fried aromatics and the sliced green onions.
Notes
- For the best flavor and texture, always choose the freshest, highest quality jumbo shrimp or prawns available. In simple recipes like this, superior ingredients truly make a significant difference.
- The garnish composed of fried garlic, ginger, chili, and fresh green onions is crucial for the overall flavor profile of the dish. It prevents the shrimp from tasting bland and adds essential aromatic depth. Fry the aromatics carefully and remove them promptly once they start to crisp and turn fragrant to avoid burning.
- Ensure the cornstarch-coated shrimp are completely covered with cooking spray until they appear wet. This critical step ensures the cornstarch crisps up beautifully during air frying, rather than remaining powdery or drying out.
- To ensure even cooking and maximum crispiness, remember to flip the shrimp halfway through the air frying process (around 4 minutes) and apply another light spray of cooking oil.
- Avoid overcrowding the air fryer basket with shrimp. Cooking in a single layer allows hot air to circulate properly around each piece, promoting even cooking and optimal crisping. If your air fryer basket is small, cook in batches.
Nutrition
Nutrition information is automatically calculated and should only be used as an approximation.